


Fail. On both. Sorta.
This will be short without much detail on work performed…
First start since reassembly. Immediate start. Immediate noise. I couldn’t quite make it out because the exhaust had not been installed yet, but there was at least a definite lifter tick. I’d would find out later that it was more than that.
I successfully got it driven down the street to Expert Exhaust for a complete exhaust including Flowmaster Series 50 Delta Flow mufflers, which are much more aggressive sounding than I expected.
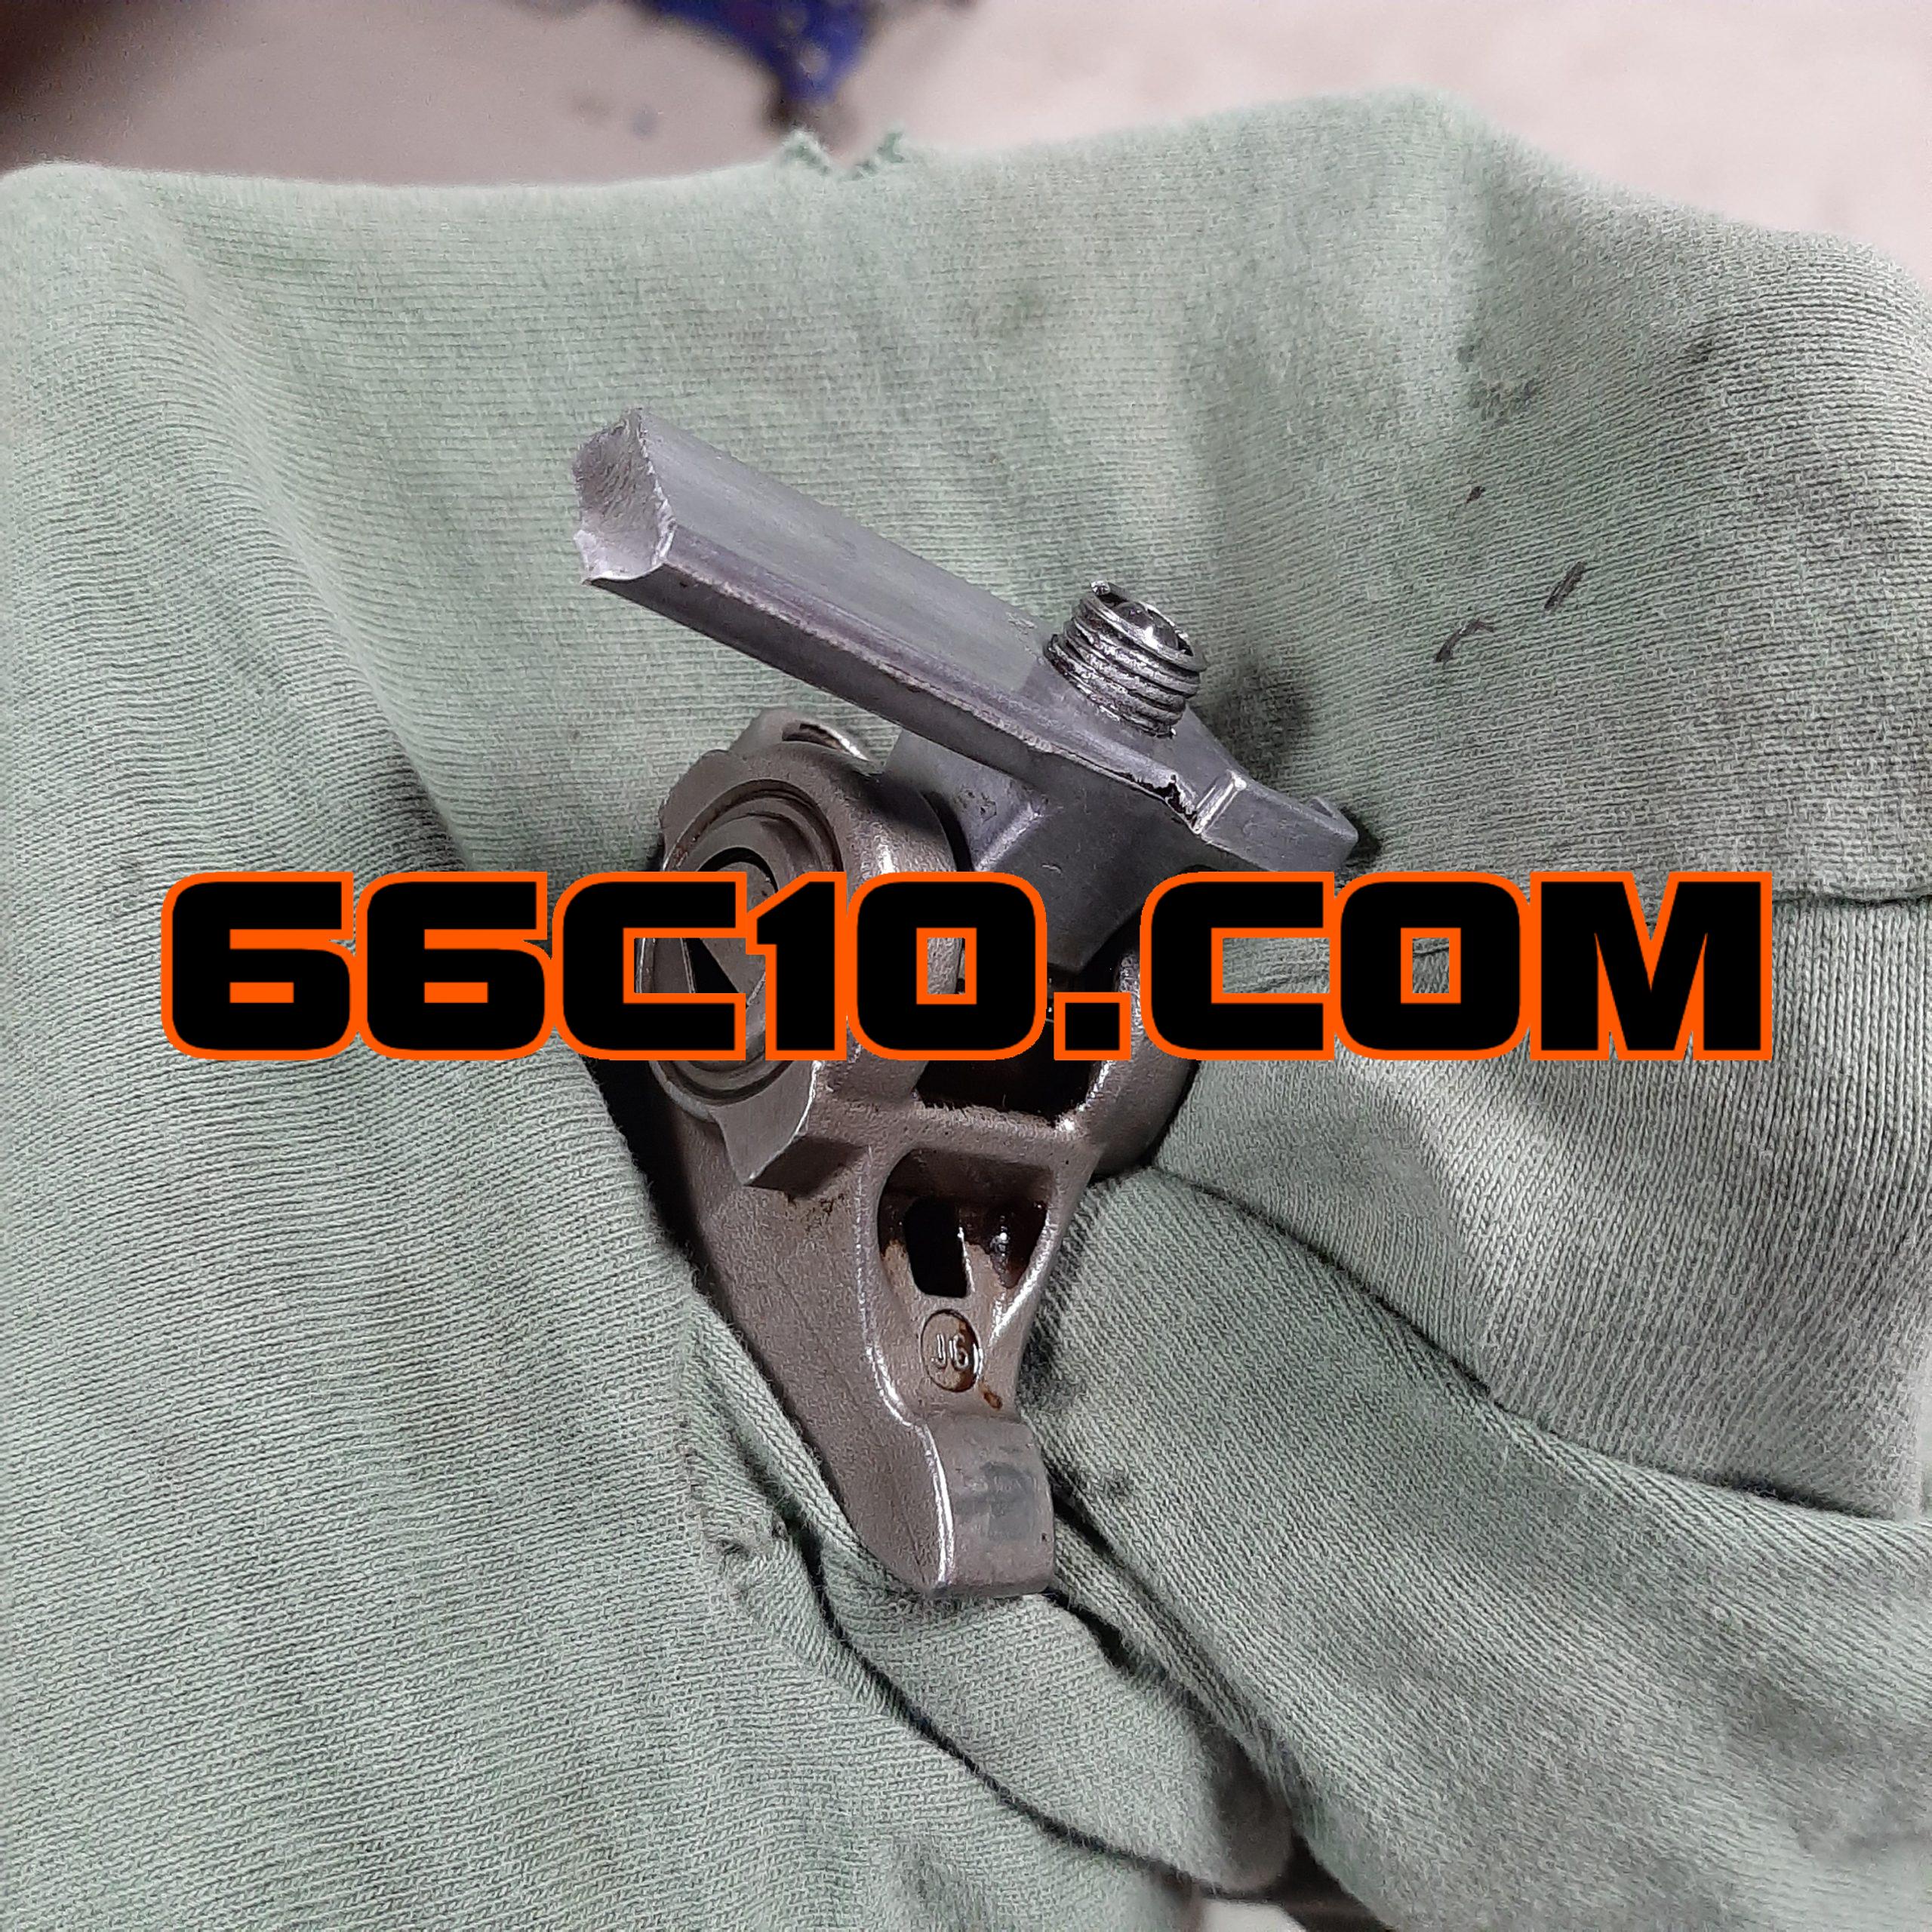
Things were much quieter now though than they previously were being exhaust-less. This allowed me to find the source of the noise under the hood. During rocker arm install, I had stripped the threads in a couple of rocker arm bolt holes. I repaired them with thread inserts (Helicoil type). Apparently I did not do at least one correctly and it stripped the insert and broke the rocker arm cradle. It was just dangling there. A quick trip to the yard for a new cradle and another Helicoil install later, it was all back together and working properly again… Except I still have a small lifter tick that goes away after a few minutes. Annoying, but OK.

After the rocker arm repair, I went for another short test drive.. Now I find that the 4L60E transmission had decided it no longer wanted to work correctly. It was shifting perfectly fine before removing it from the donor vehicle and shifted good as I drove to the exhaust shop, but now it had given up third/fourth gear. Typical for these OEM transmissions. Instead of removing the transmission myself and delivering to the shop, I decided to just let them do the removal. So, a tow to the transmission shop to get some updated internals and performance clutches installed resulted in a beautiful shifting smooth ride.
It was a beautiful sunny drive home and the farthest drive I had gotten to take in it yet. Within just a couple miles in town, I received four compliments on the truck. That was a nice feeling, but still didn’t completely make-up for the transmission rebuild cost. Close, but not quite.
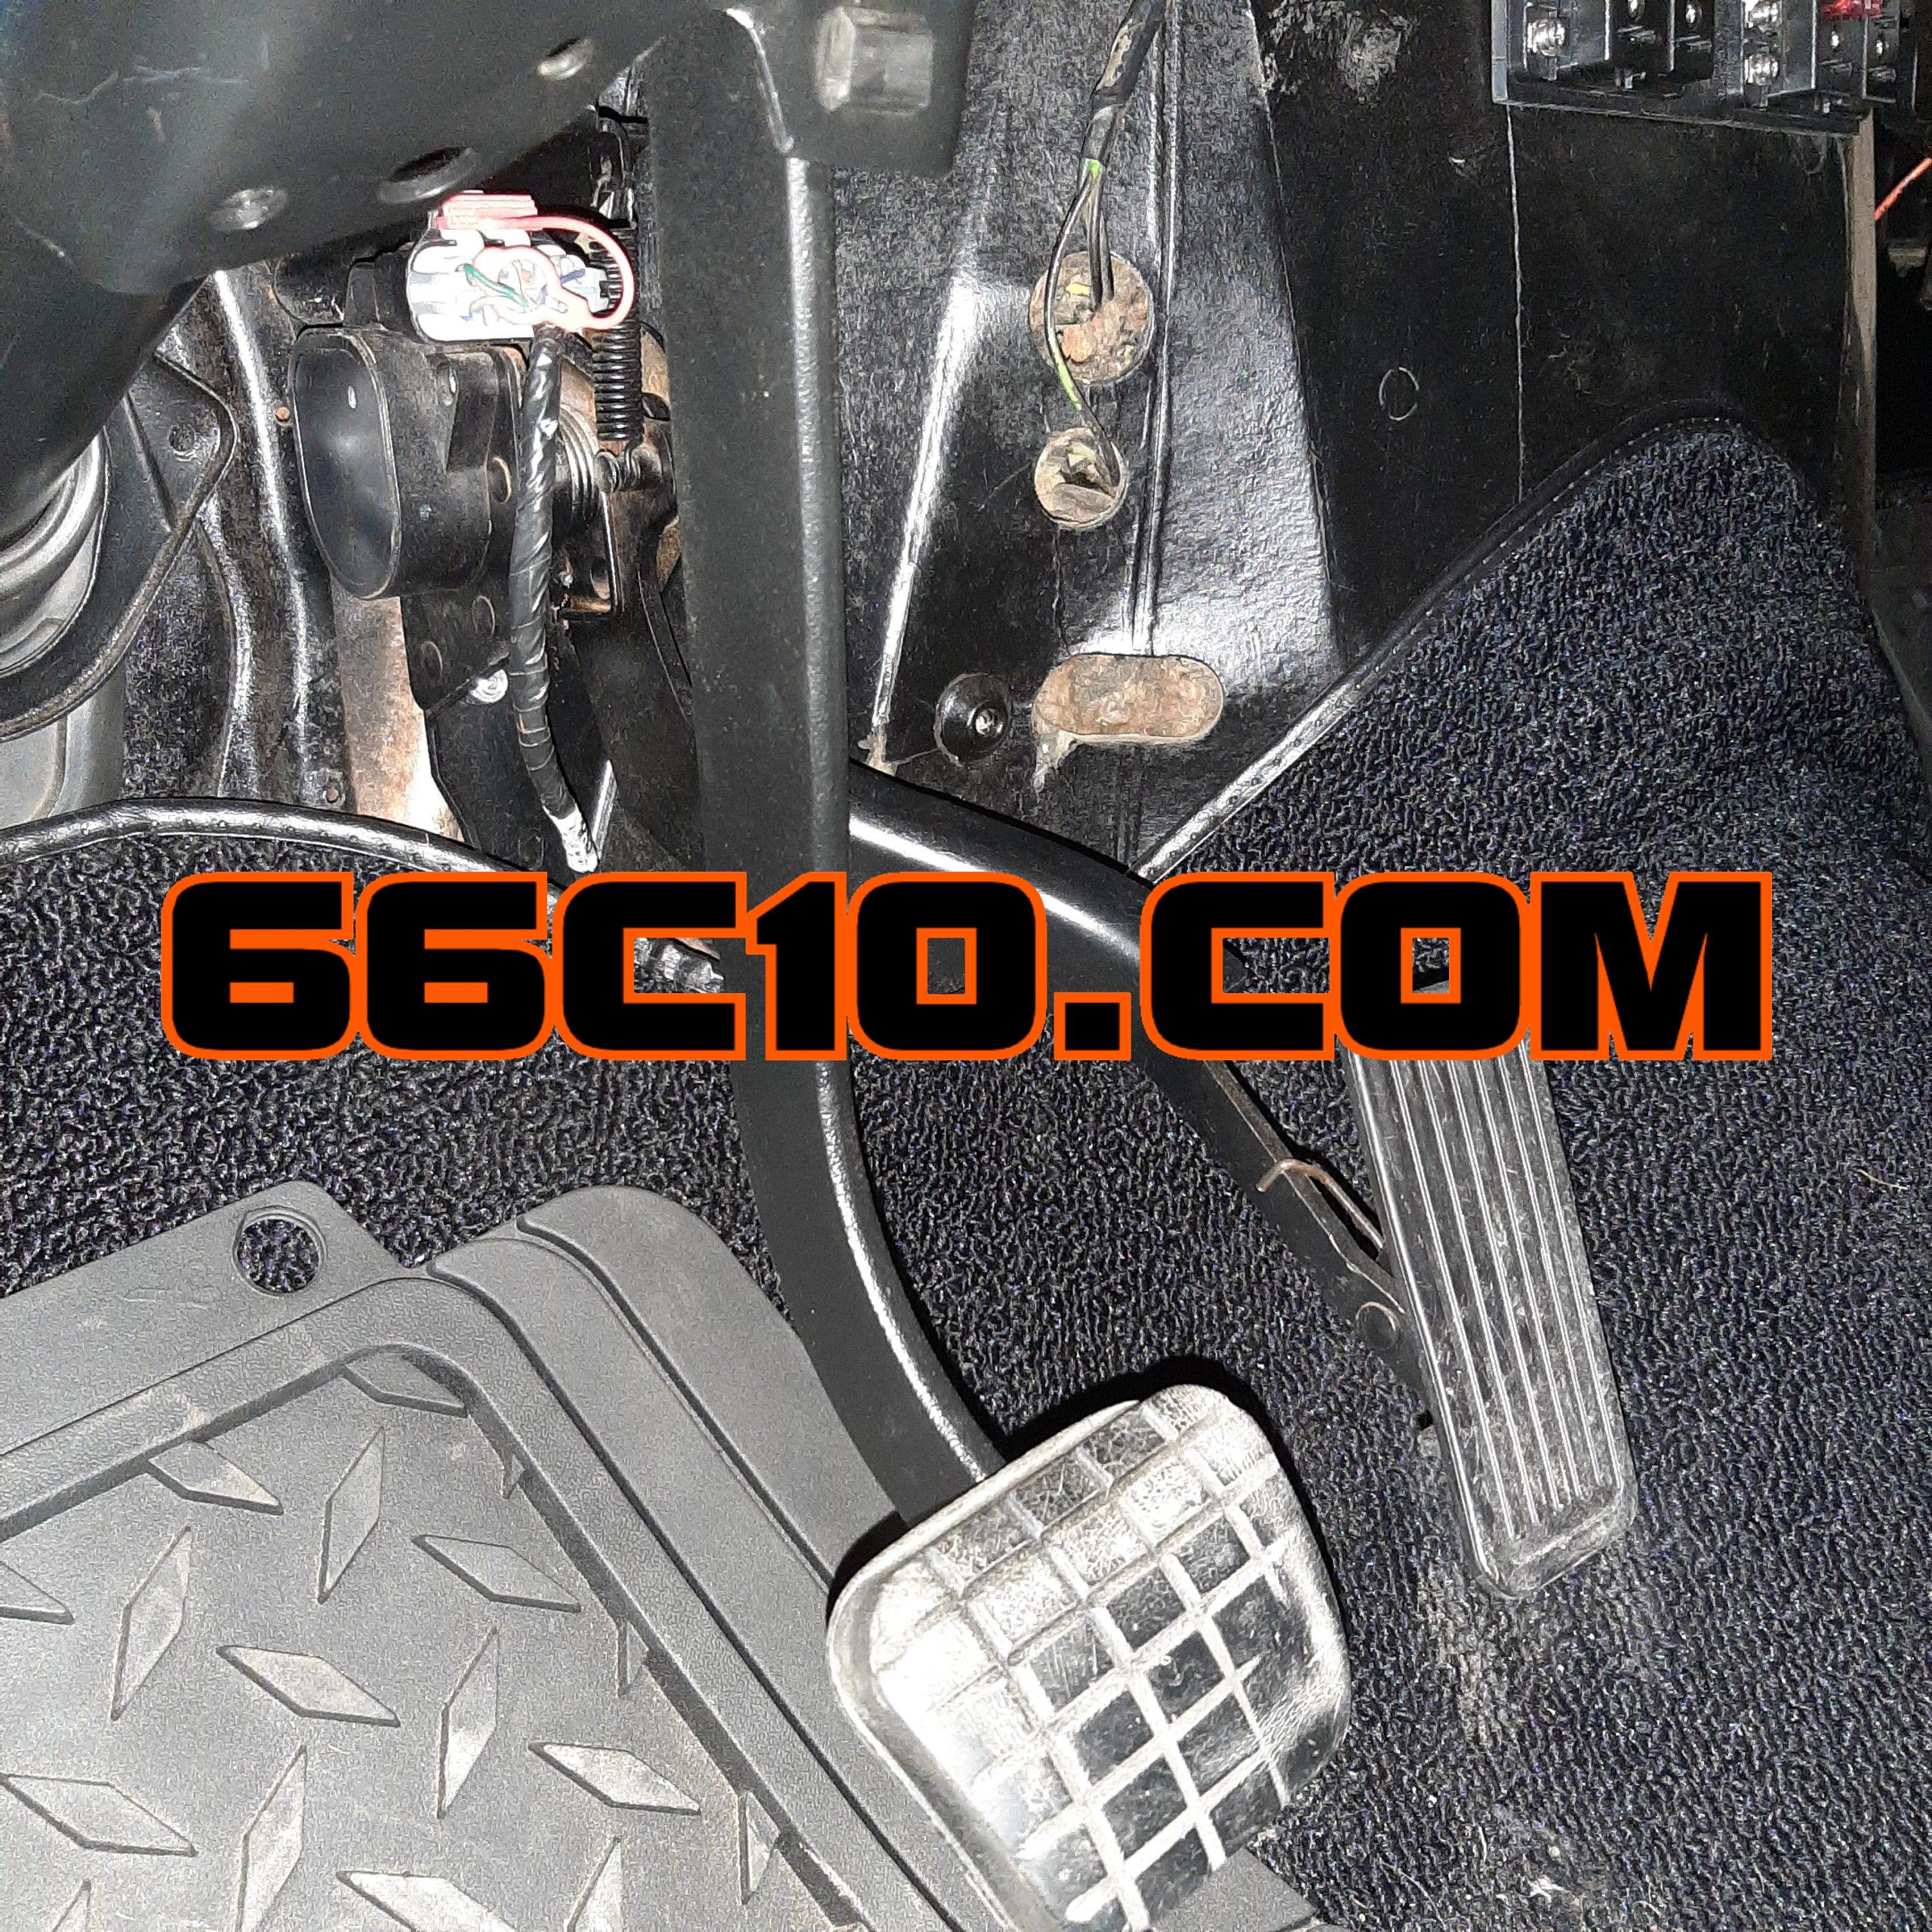
During the drive, I found a few small things that needed work. One major issue was the accelerator pedal. I made no adjustments to the fitment of the pedal when installing and just installed the untouched OEM electronic pedal. This was unacceptable because the accelerator pedal was at the same height or level as the brake pedal. It was very dangerous to press the brake pedal because if not extremely careful, you would also touch the accelerator as the brakes were applied.

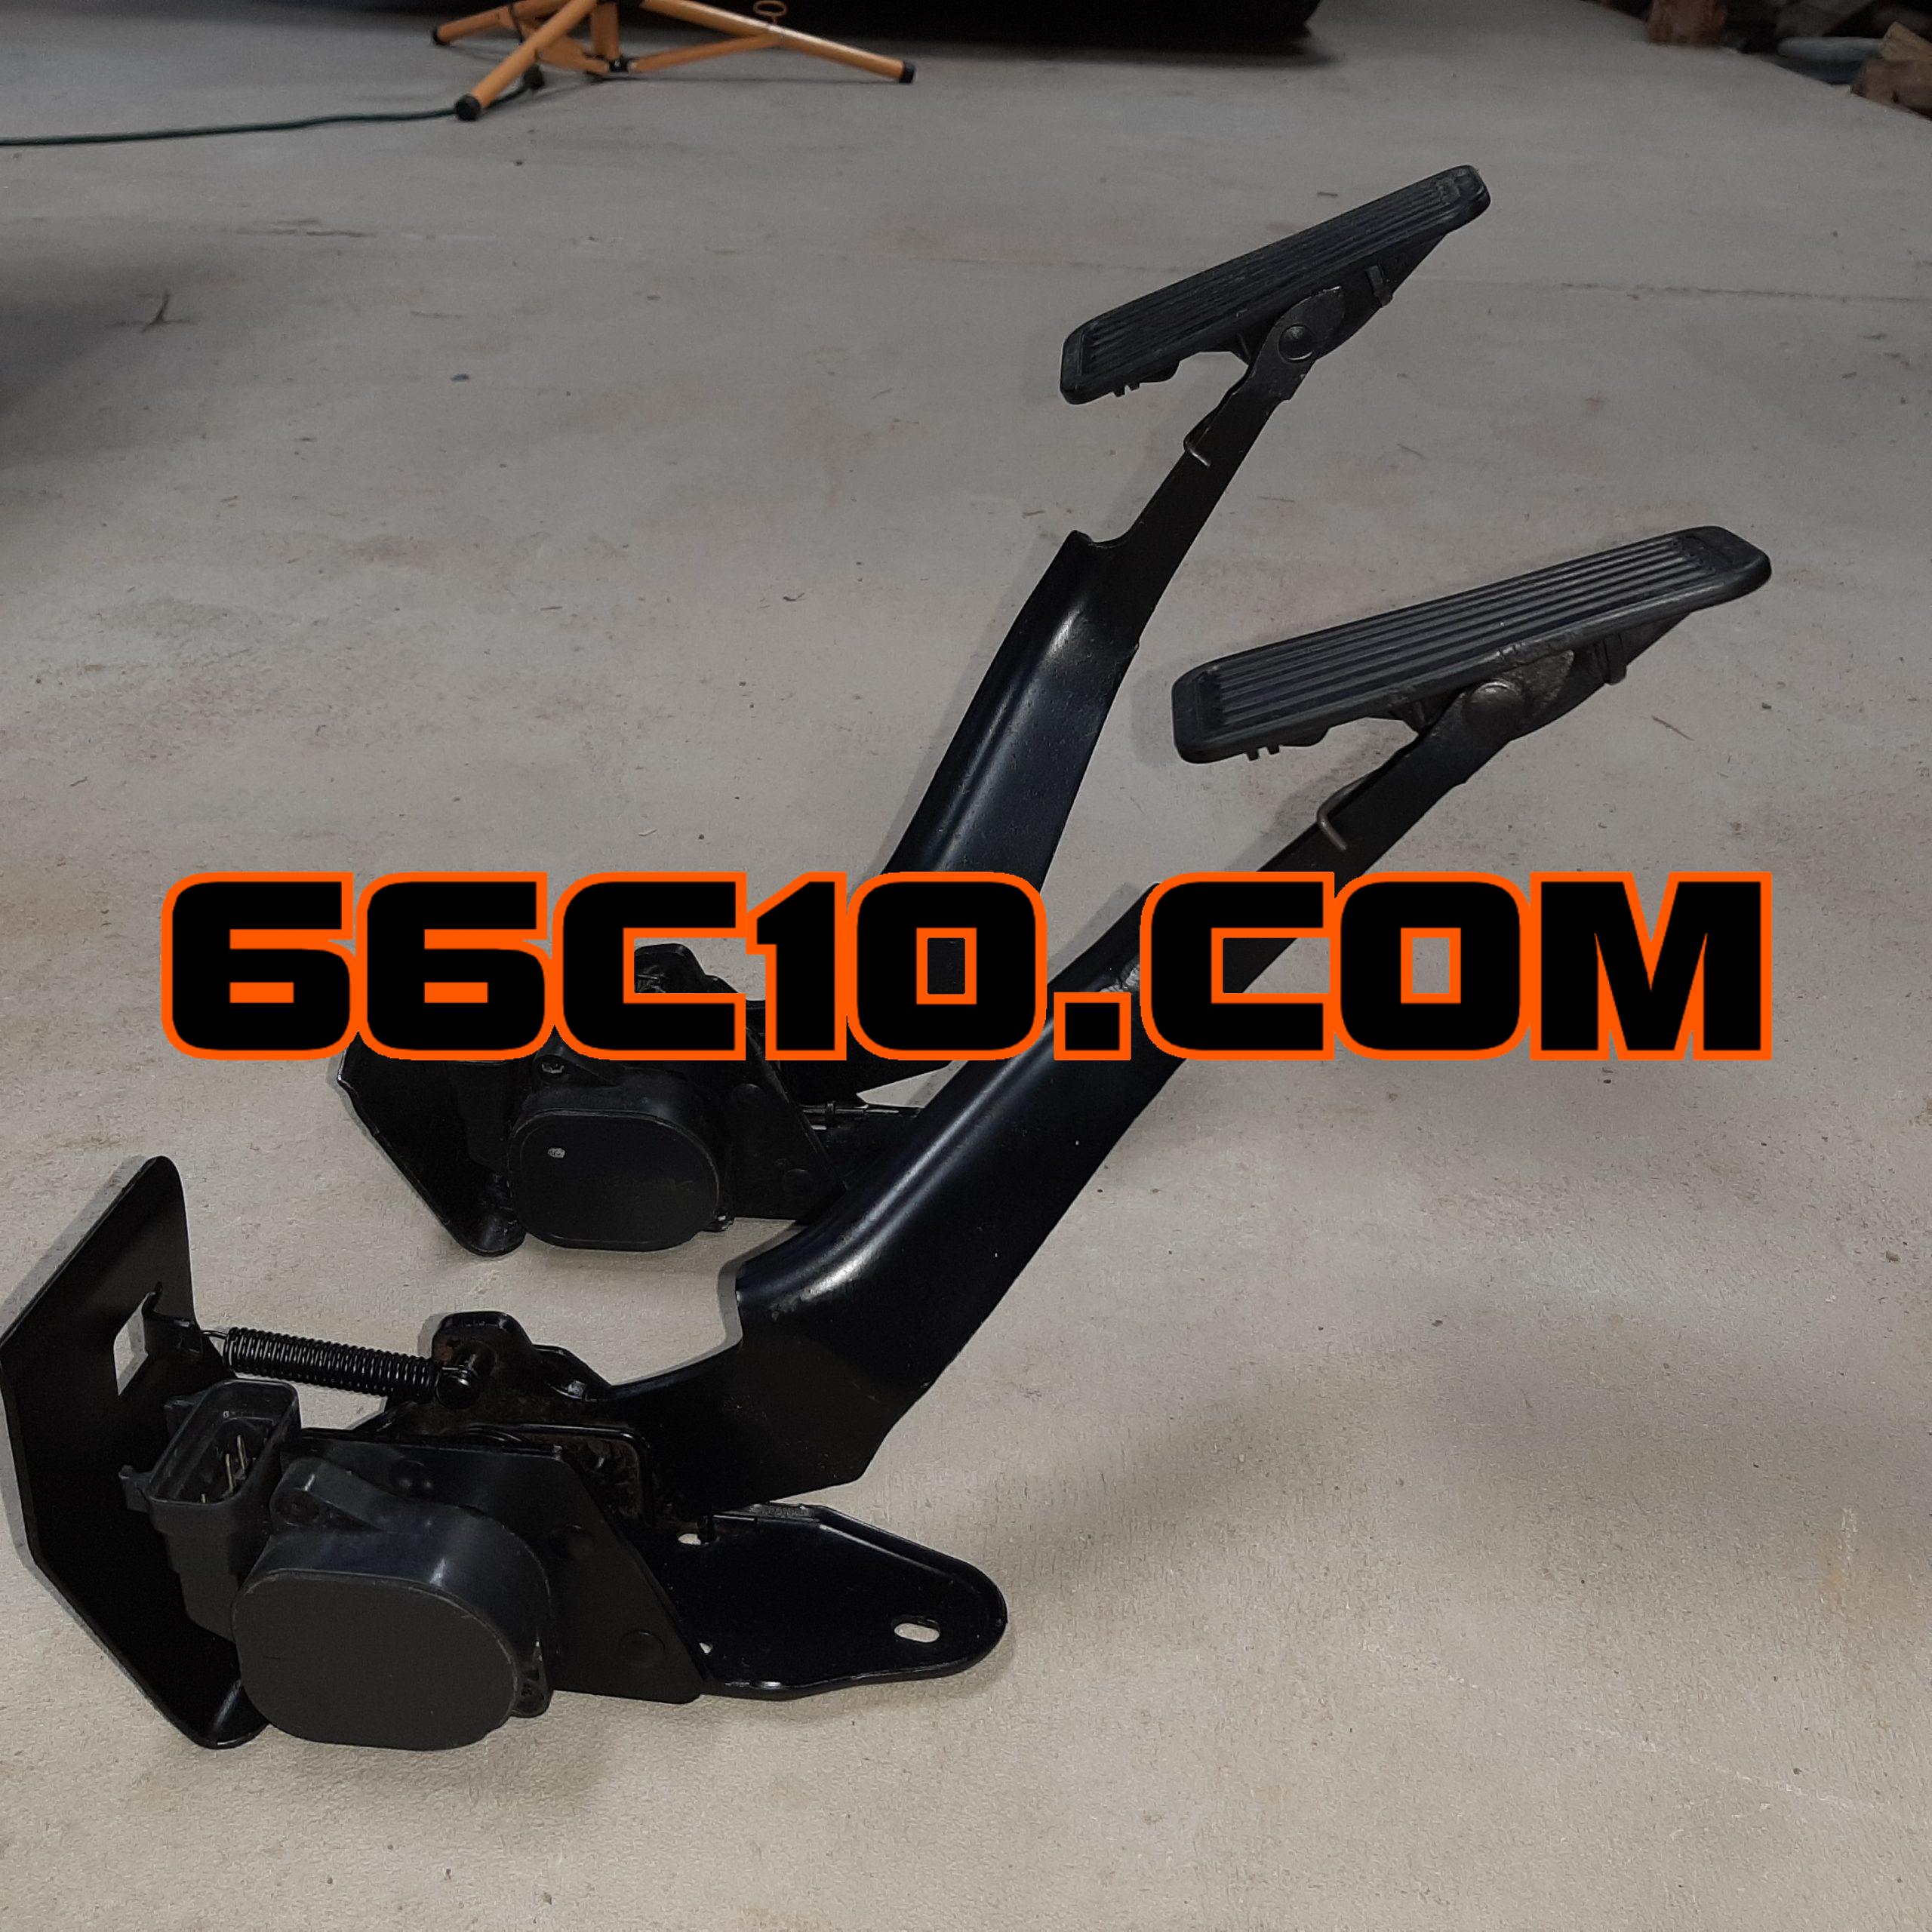
I obtained another accelerator pedal from the yard so as to not destroy the one I had already working in case it all went bad. Pedal, TAC and wiring was only $5 ! After careful measuring of the physical travel as well as the electronic “travel” (Throttle Position movement) I determined that I could adjust the pedal lower by approximately 2″. I carefully cut and bent the foot pedal “arm” to the desired position and welded it in place. After some tidying up of the weld and some satin rattle can paint, it was like new again, only better. I reinstalled the pedal and the feel and location was much like original. Success.

Next came Speedometer calibration. That went excellent and quick once I found a one mile stretch to do so. It just happened from my garage, up and around the back neighborhood Cul de sac and back into my garage was one mile exactly. Done.

Next was the none-working Tachometer. I assumed this issue was the usual LS tach problem where the PCM doesn’t supply enough voltage signal to the tach so that is does not allow it to operate. This is resolved by adding a resistor between the signal and 12v+ ACC. Further research supplied info from Marshall (my gauge manufacturer) that this was likely the case and they suggested a 640 Ohm to 1K Ohm resistor to resolve the problem. I just happened to have some 1K Ohm resistors in my kit and they seemed to work perfectly.
Next gauge fix will be the issue of a 30 Ohm sending unit supplying a 0-90 Ohm gauge. I have two options; a new 0-90 Ohm sending unit or Programmable Fuel Level Gauge Interface Module from Marshall that allows you to use your stock fuel sender with any gauge. The fuel sender is much cheaper, but also much more work to install.