


I had not thought of it before now that I didn’t have a stabilizer sway bar on the front of the ’66. Or the rear for that matter. The handling wasn’t bad, but it was noticeable that there was a slight lack of handling. I wasn’t going to rally-cross it, but thought a little help couldn’t be bad.

I priced a few aftermarket sway bars and during the research, I realized that along with many other OEM parts, the 73-87 square body offered many interchangeable parts, including the front sway bar. A little more research allowed me to find a local pull-a-part with at least one square body available. Even better, the ’79 I found was just inside the gate and had only been there a few days, so it had not been stripped bare yet.

These sway bars are different in the fact that instead of having end links, it uses bushings at the end connected to the bottom control arm the same as the bushings that connect it to the frame.
Although I have what I believe to be a 73-87 front suspension, it wasn’t an exact fit. The existing bolt holes on the A-arm are about 1″ outboard of where the sway bar actually fits. The attachment to the frame was a little off from where I expected also.
Some will argue that the way I installed this is incorrect and dangerous. So my disclaimer here is to not do it my way. This is only for reference. That being said, I know that the way I installed this is not dangerous and there is plenty of clearance, no interference or binding now or potential for any in the future of this setup.
These trucks normally have drop down brackets that attach to the frame for the center bushings to connect to. They make shorter (less tall) brackets for lowered trucks for more ground clearance.
I originally installed this sway bar without these brackets and fastened directly to the frame without any troubles or consequences. When I did the drop spindle and spring upgrade, I added them. There was slight enough change in the suspension that I was uncertain of interferences so I added the drop down brackets.

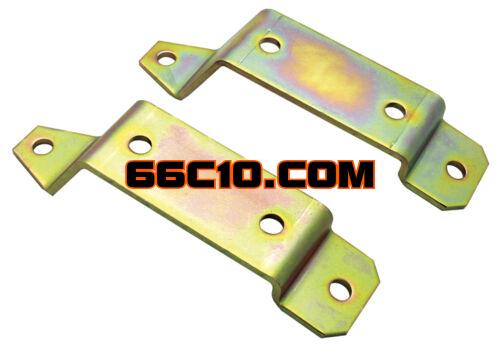
Since the end-links are bushings and they do not attach to the factory location on the A-arm, I fabricated brackets for that. I needed to extend the mounting point approximately 1″ inward and 1″ forward.
After attempting to take measurements, I created a template from carboard for test fit. When I thought that was about right, I made a light gauge metal template. I adjusted a bit more, drew things up in CAD so I could print out a paper template with some exact dimensions.
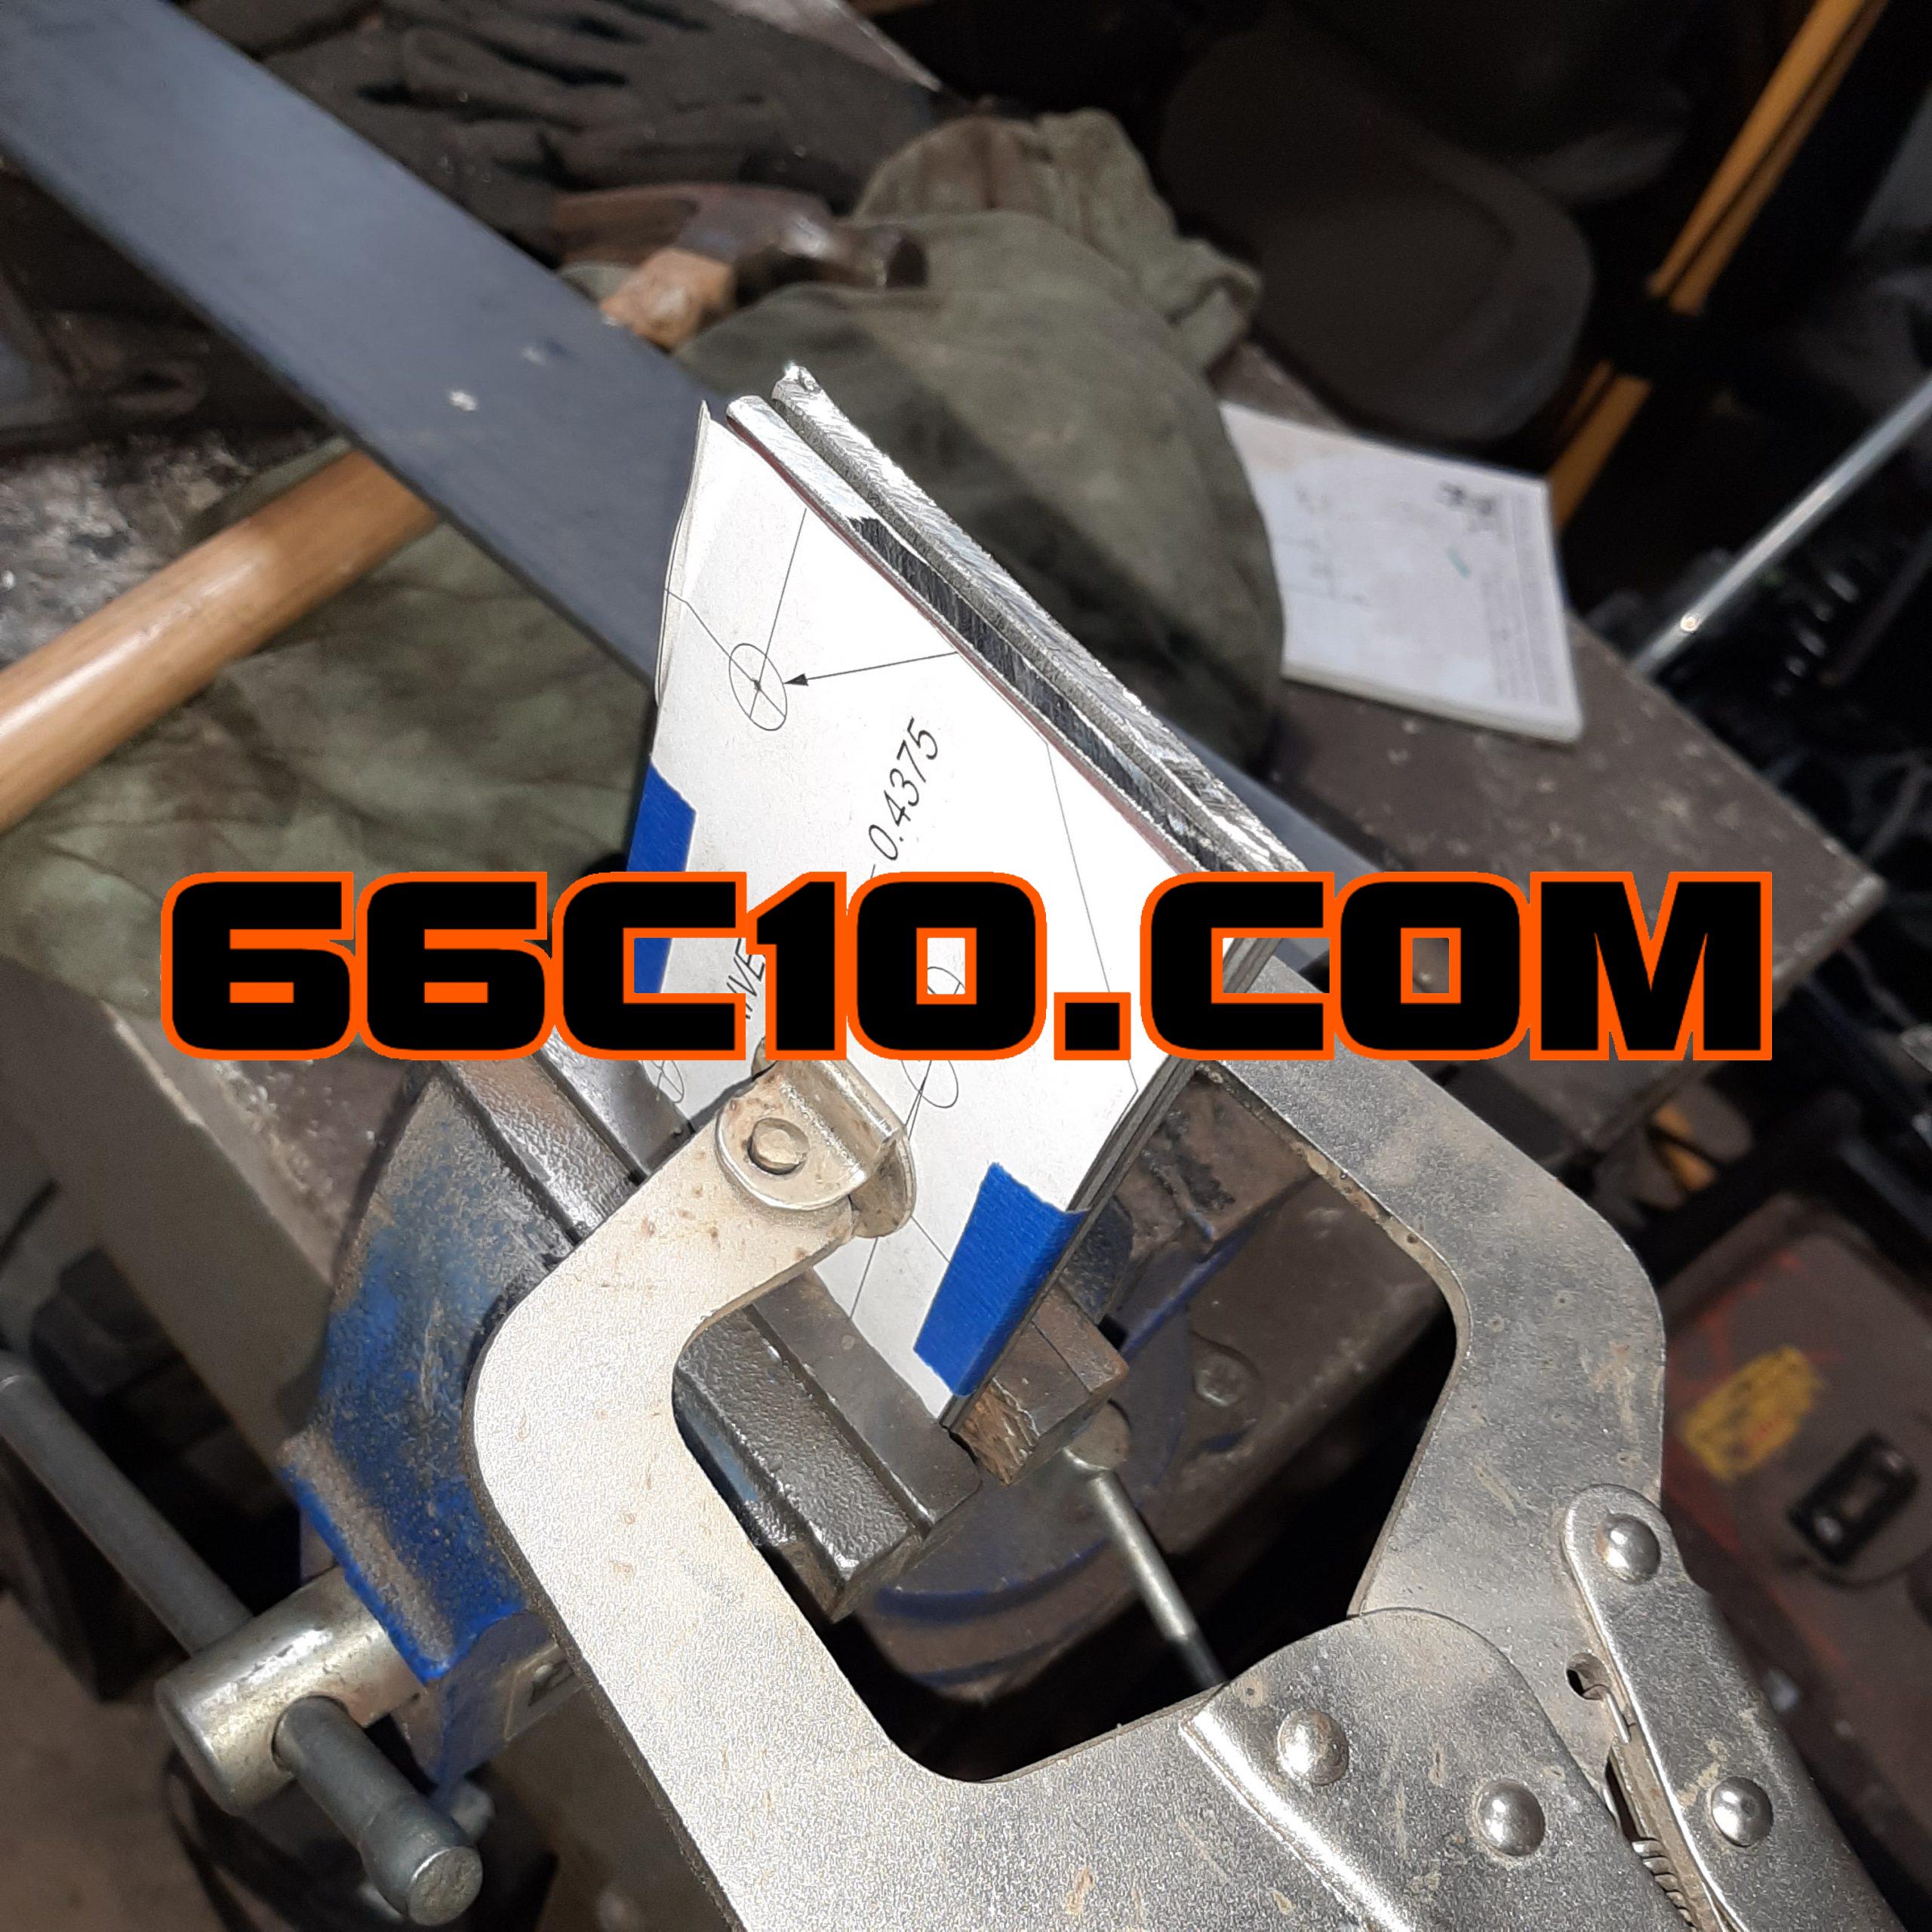
I used 3/16″ x 3″ steel flat stock to fabricate each bracket. Cutting two pieces to length, I attached the paper template. Held tight with vice grips and a vice, I placed the pieces back to back to allow for exact mirrored brackets.

I began to drill the 3/8″ holes in their correct location. Once I got a hole drilled, I inserted a bolt and nut and tightened to assist with the vice grips in keeping the brackets from slippage. After Each drilled hole, I added another to keep things straight as possible as I went.
After the holes were completed, I took the resulting brackets together to the bench grinder to even up any edges that did not match.

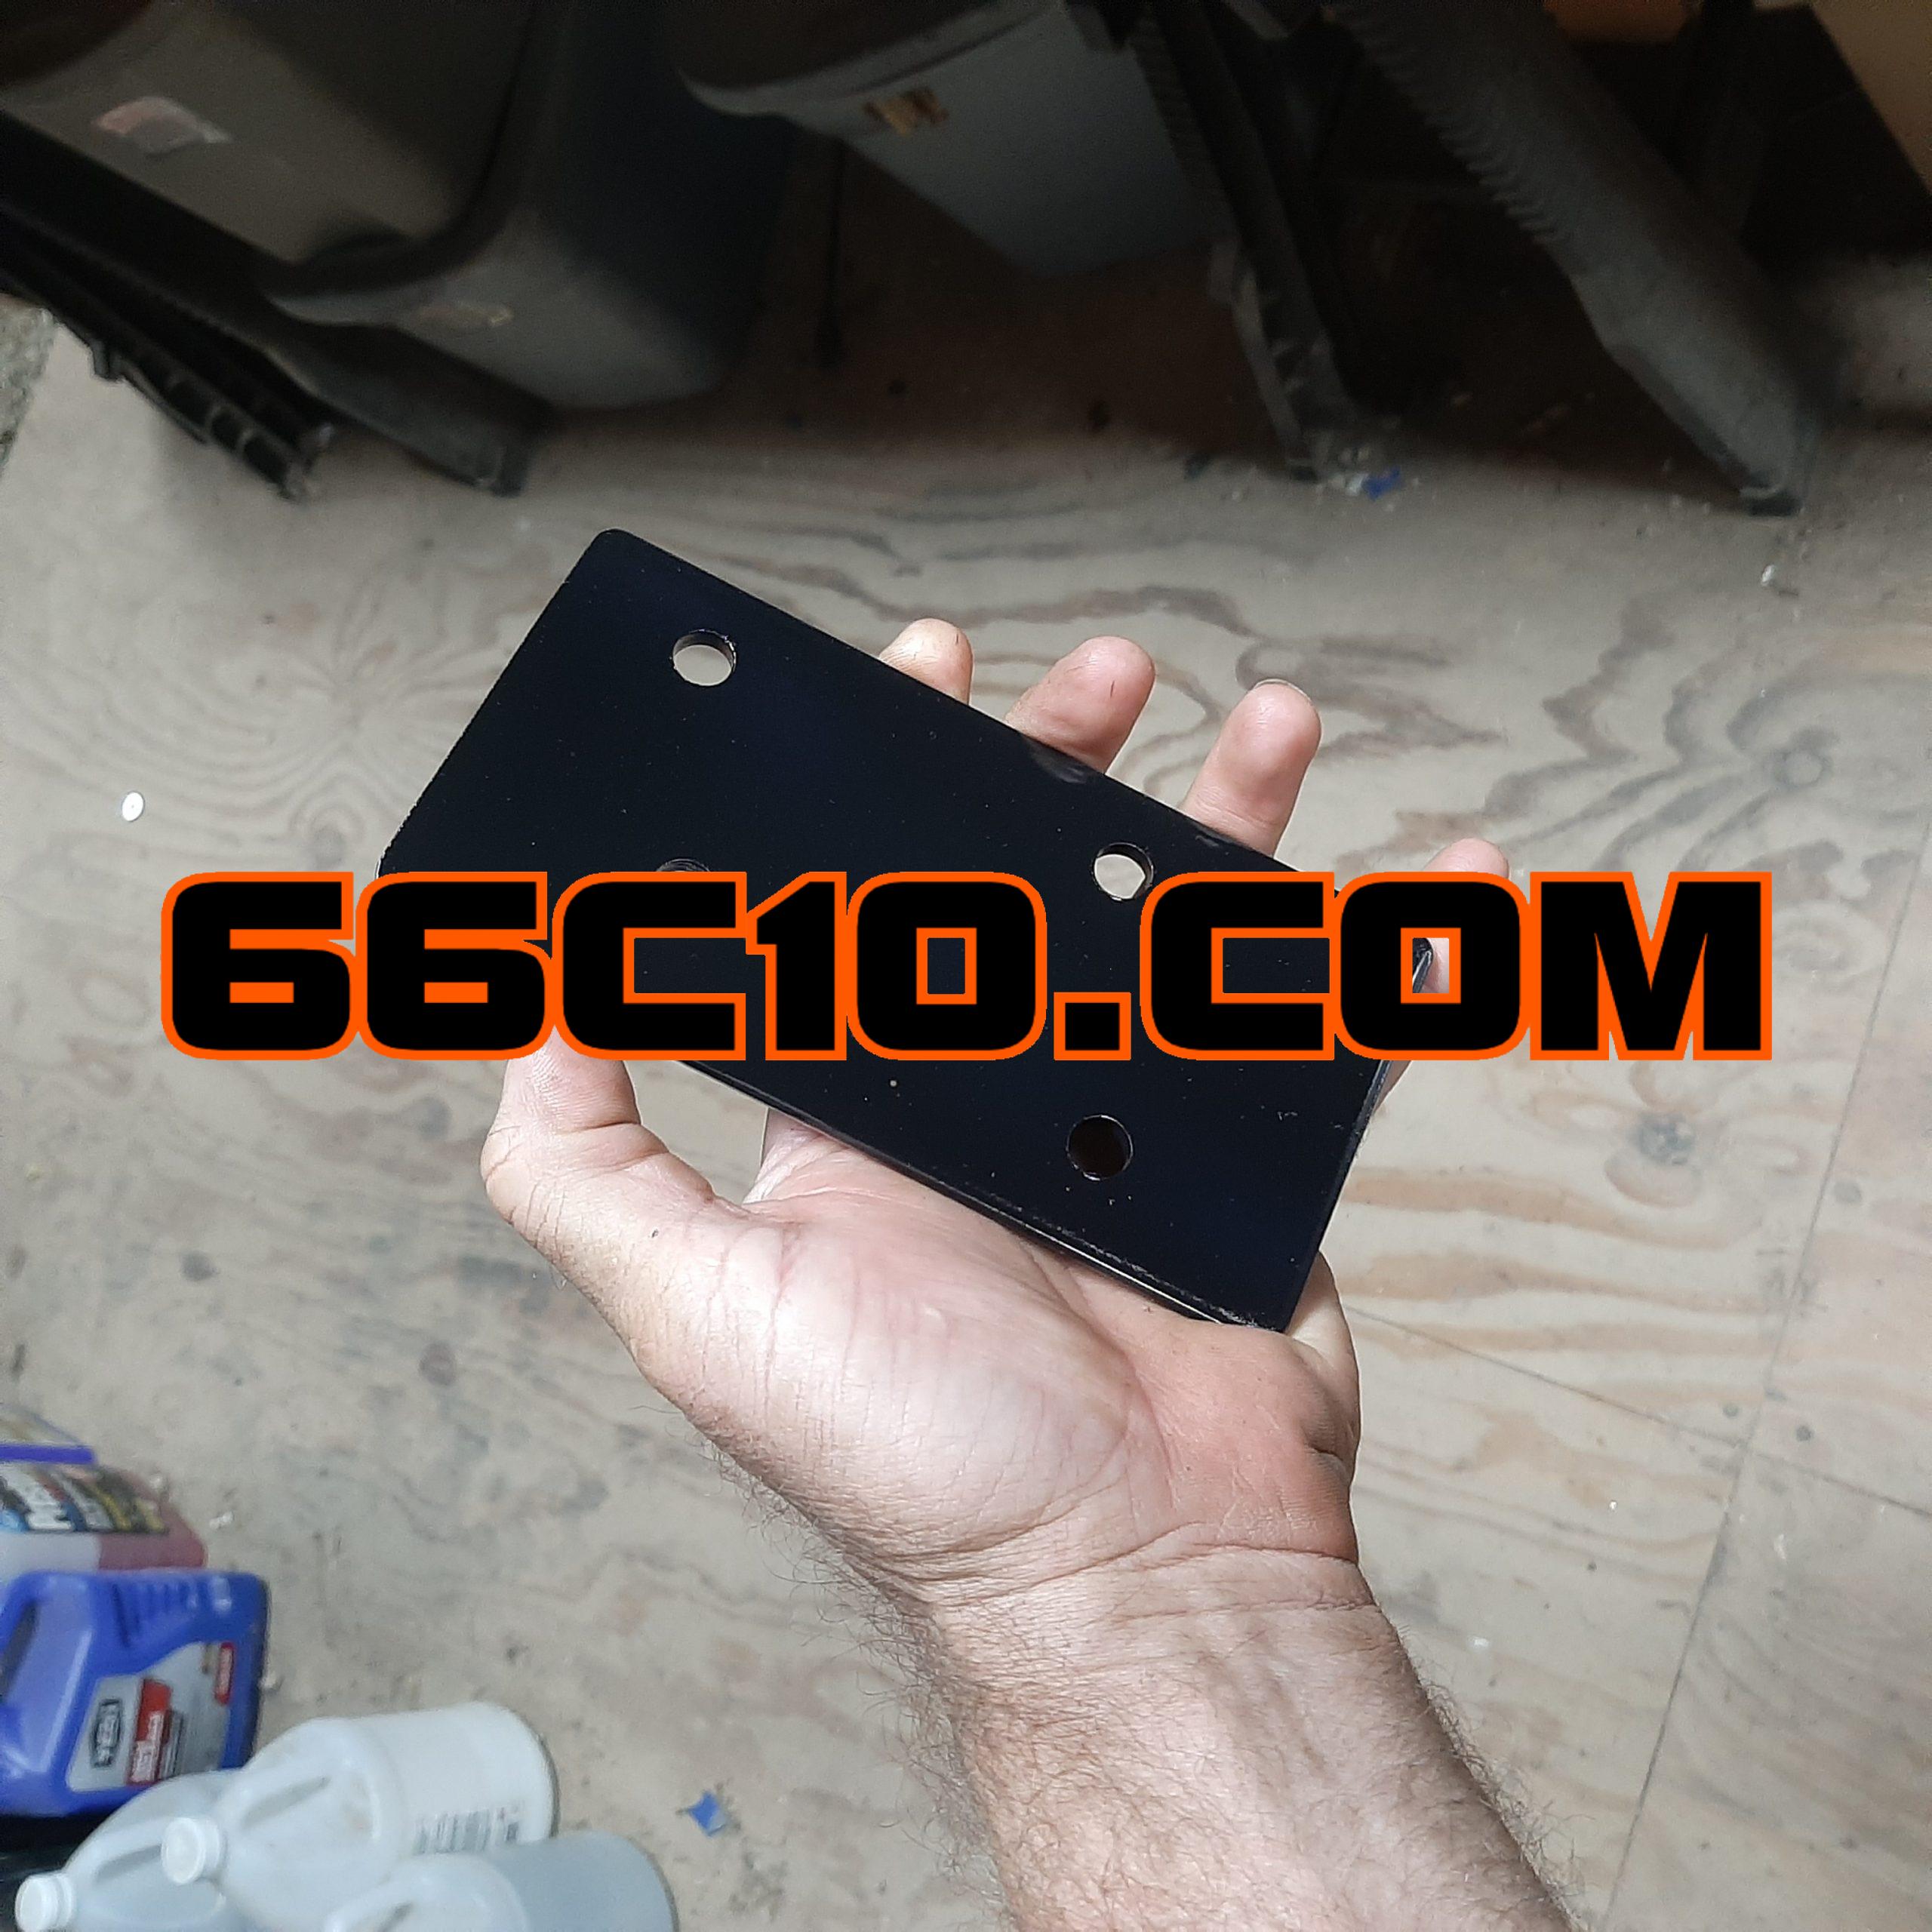
Ideally powder coating would be the next step. but since I don’t have access to powder coating and it’s not really necessary, I primered and painted them the old fashioned rattle can way.
Now we install.
I cleaned and painted both the sway bar and brackets and drilled the appropriate holes in the frame.
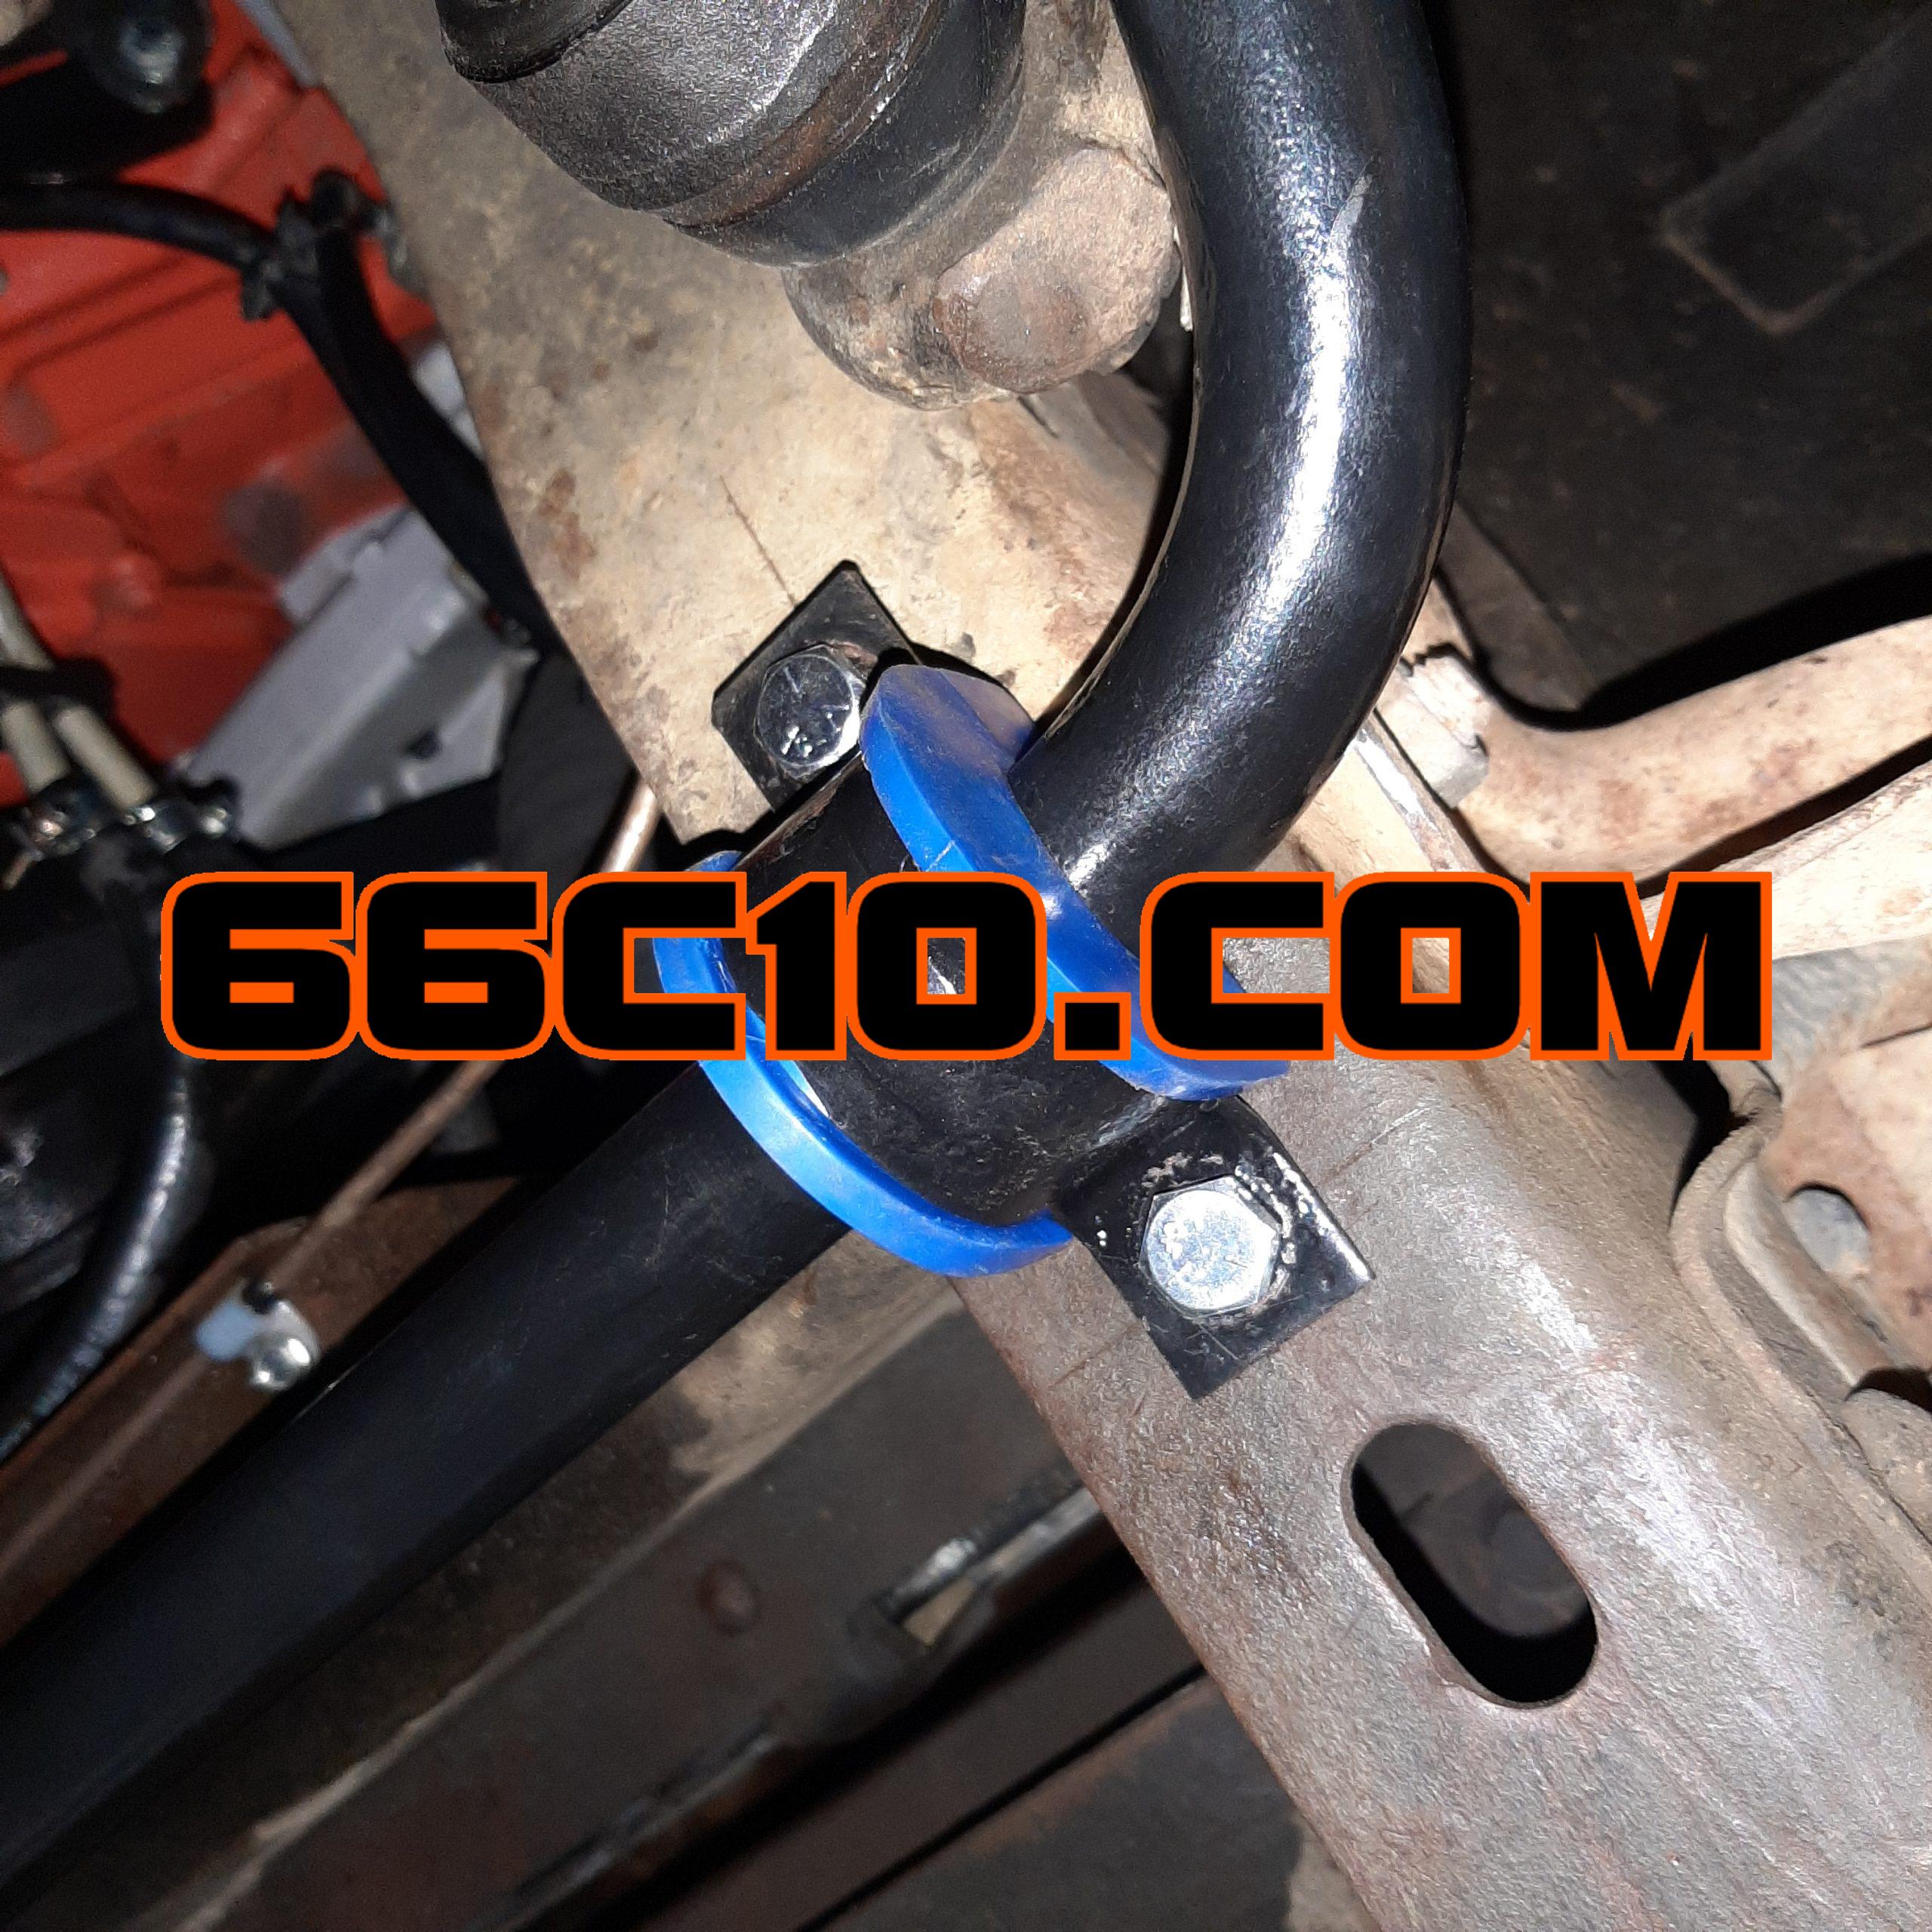
Advance Auto provided the replacement bushings. I used Driveworks DW-K6169B bushing at a fraction of the cost of the equivalent name brand bushings.

New Grade 5 bolts and nuts fastened everything up quickly.
