

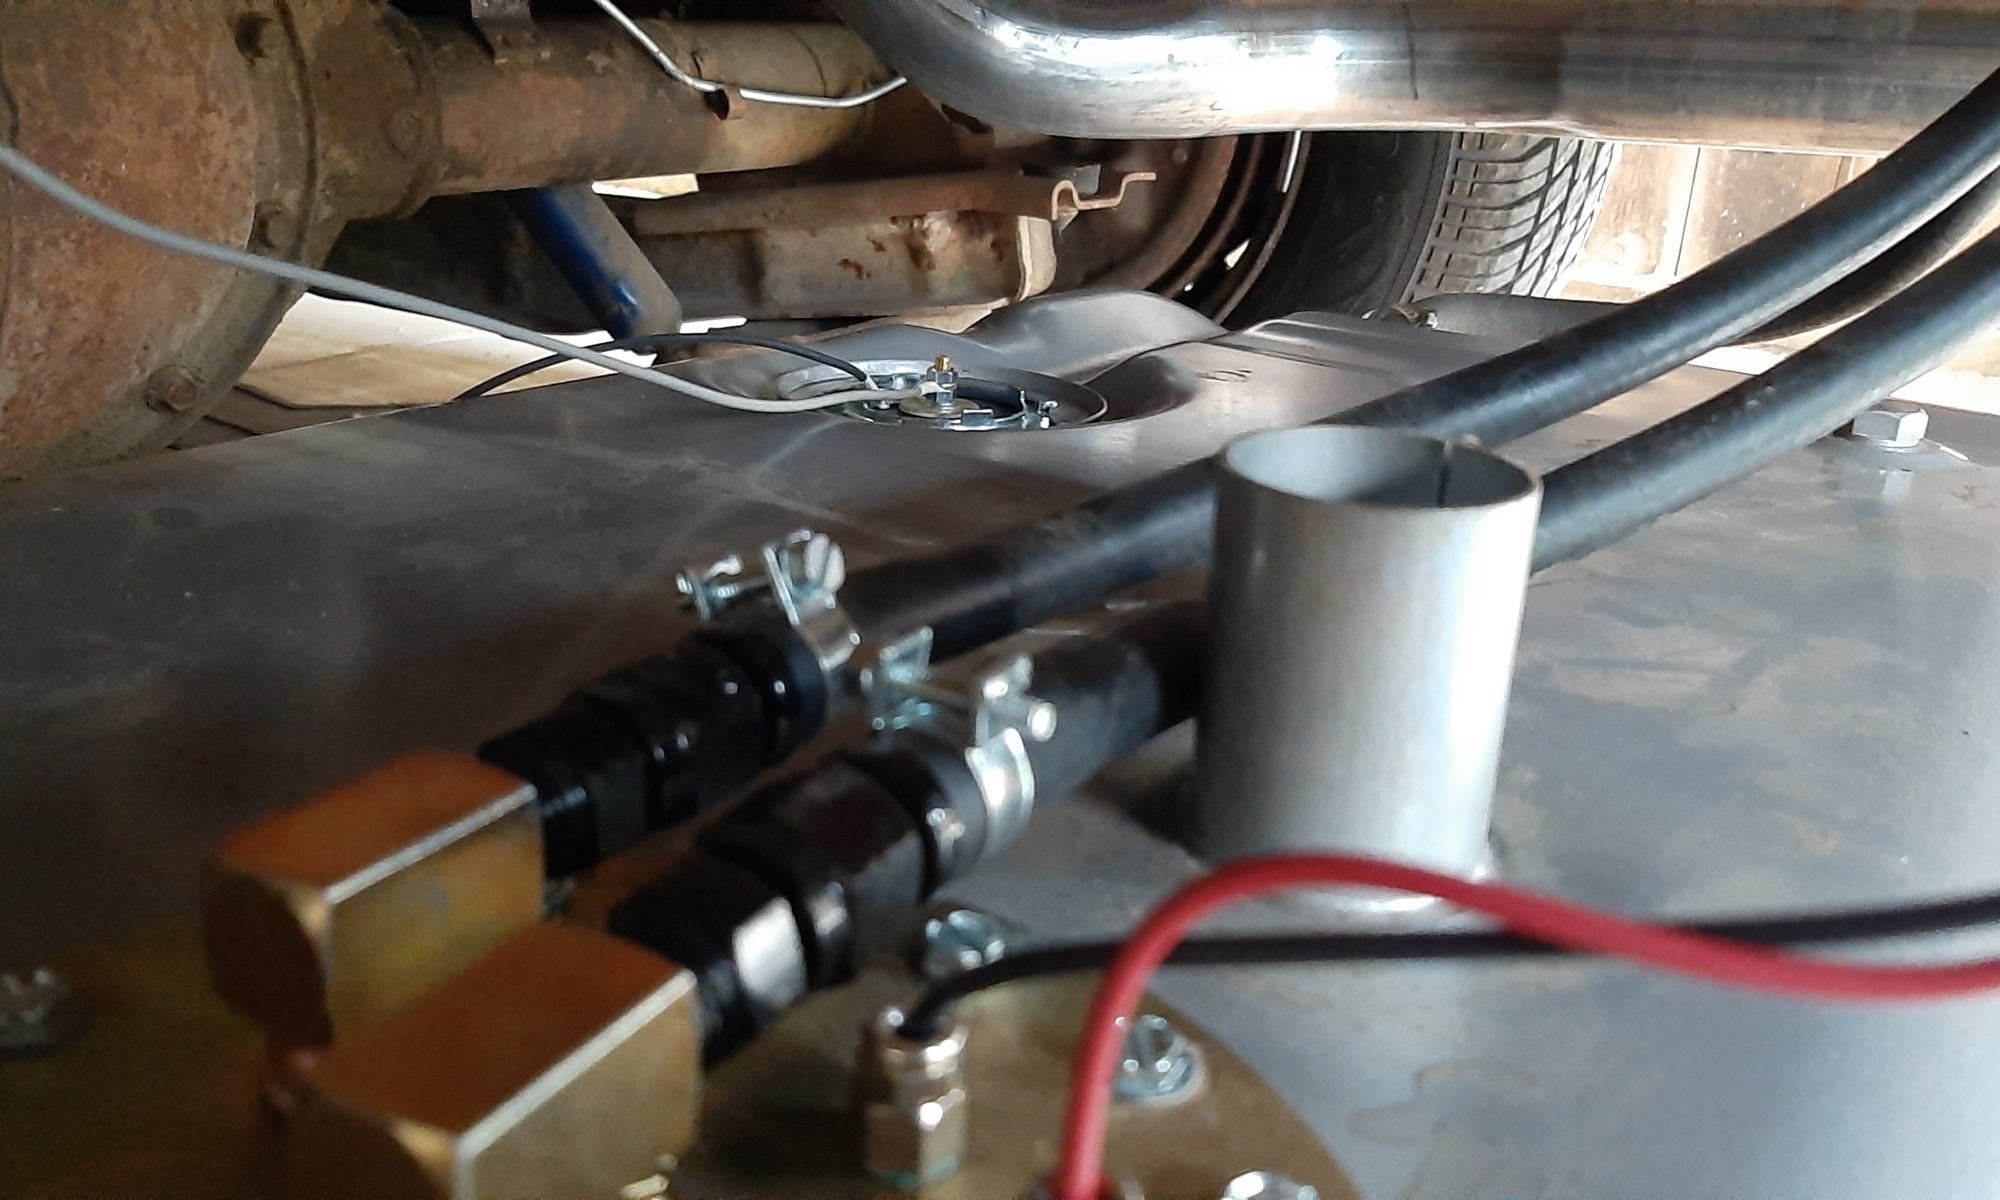
The final gauge is now working.
When I first installed the relocation tank, I used the sending unit made for the tank and to work with original 30 ohm fuel gauge. When I installed the new gauges, the fuel sender no longer transmitted the correct info because the new gauge is a modern standard 90 ohm gauge.
I had an option of purchasing a digital device that would calibrate any fuel sender to any gauge, or simply, and much less costly, changing the sending unit to a 90 ohm unit.

Ebay provided. I purchased a universal 90 ohm sending unit for about $20 total shipped. This unit was adjustable to fit most tanks and used a simple installation by cutting a small diameter hole in the tank.
I found that with very slight modification, the unit would fit into the existing fuel sending unit opening and utilize the original o-ring and locking ring.

I disassembled the new universal sending unit so I could easily make the necessary modifications. This included notching the top plate and welding the mounting holes closed. I also had to make the plate diameter very slightly smaller (less than one millimeter) by using the bench grinder. By the time I got done with this, there was no galvanizing left on the plate, so I shot a layer of primer on it just to slow down the inevitable rusting before reassembly.
Adjusting the length and float arm to the correct length was very easily done by following the included instruction sheet measurements for the specific depth of my tank. 10 1/2″ in this case.

Carefully installing the unit with the original o-ring in place.
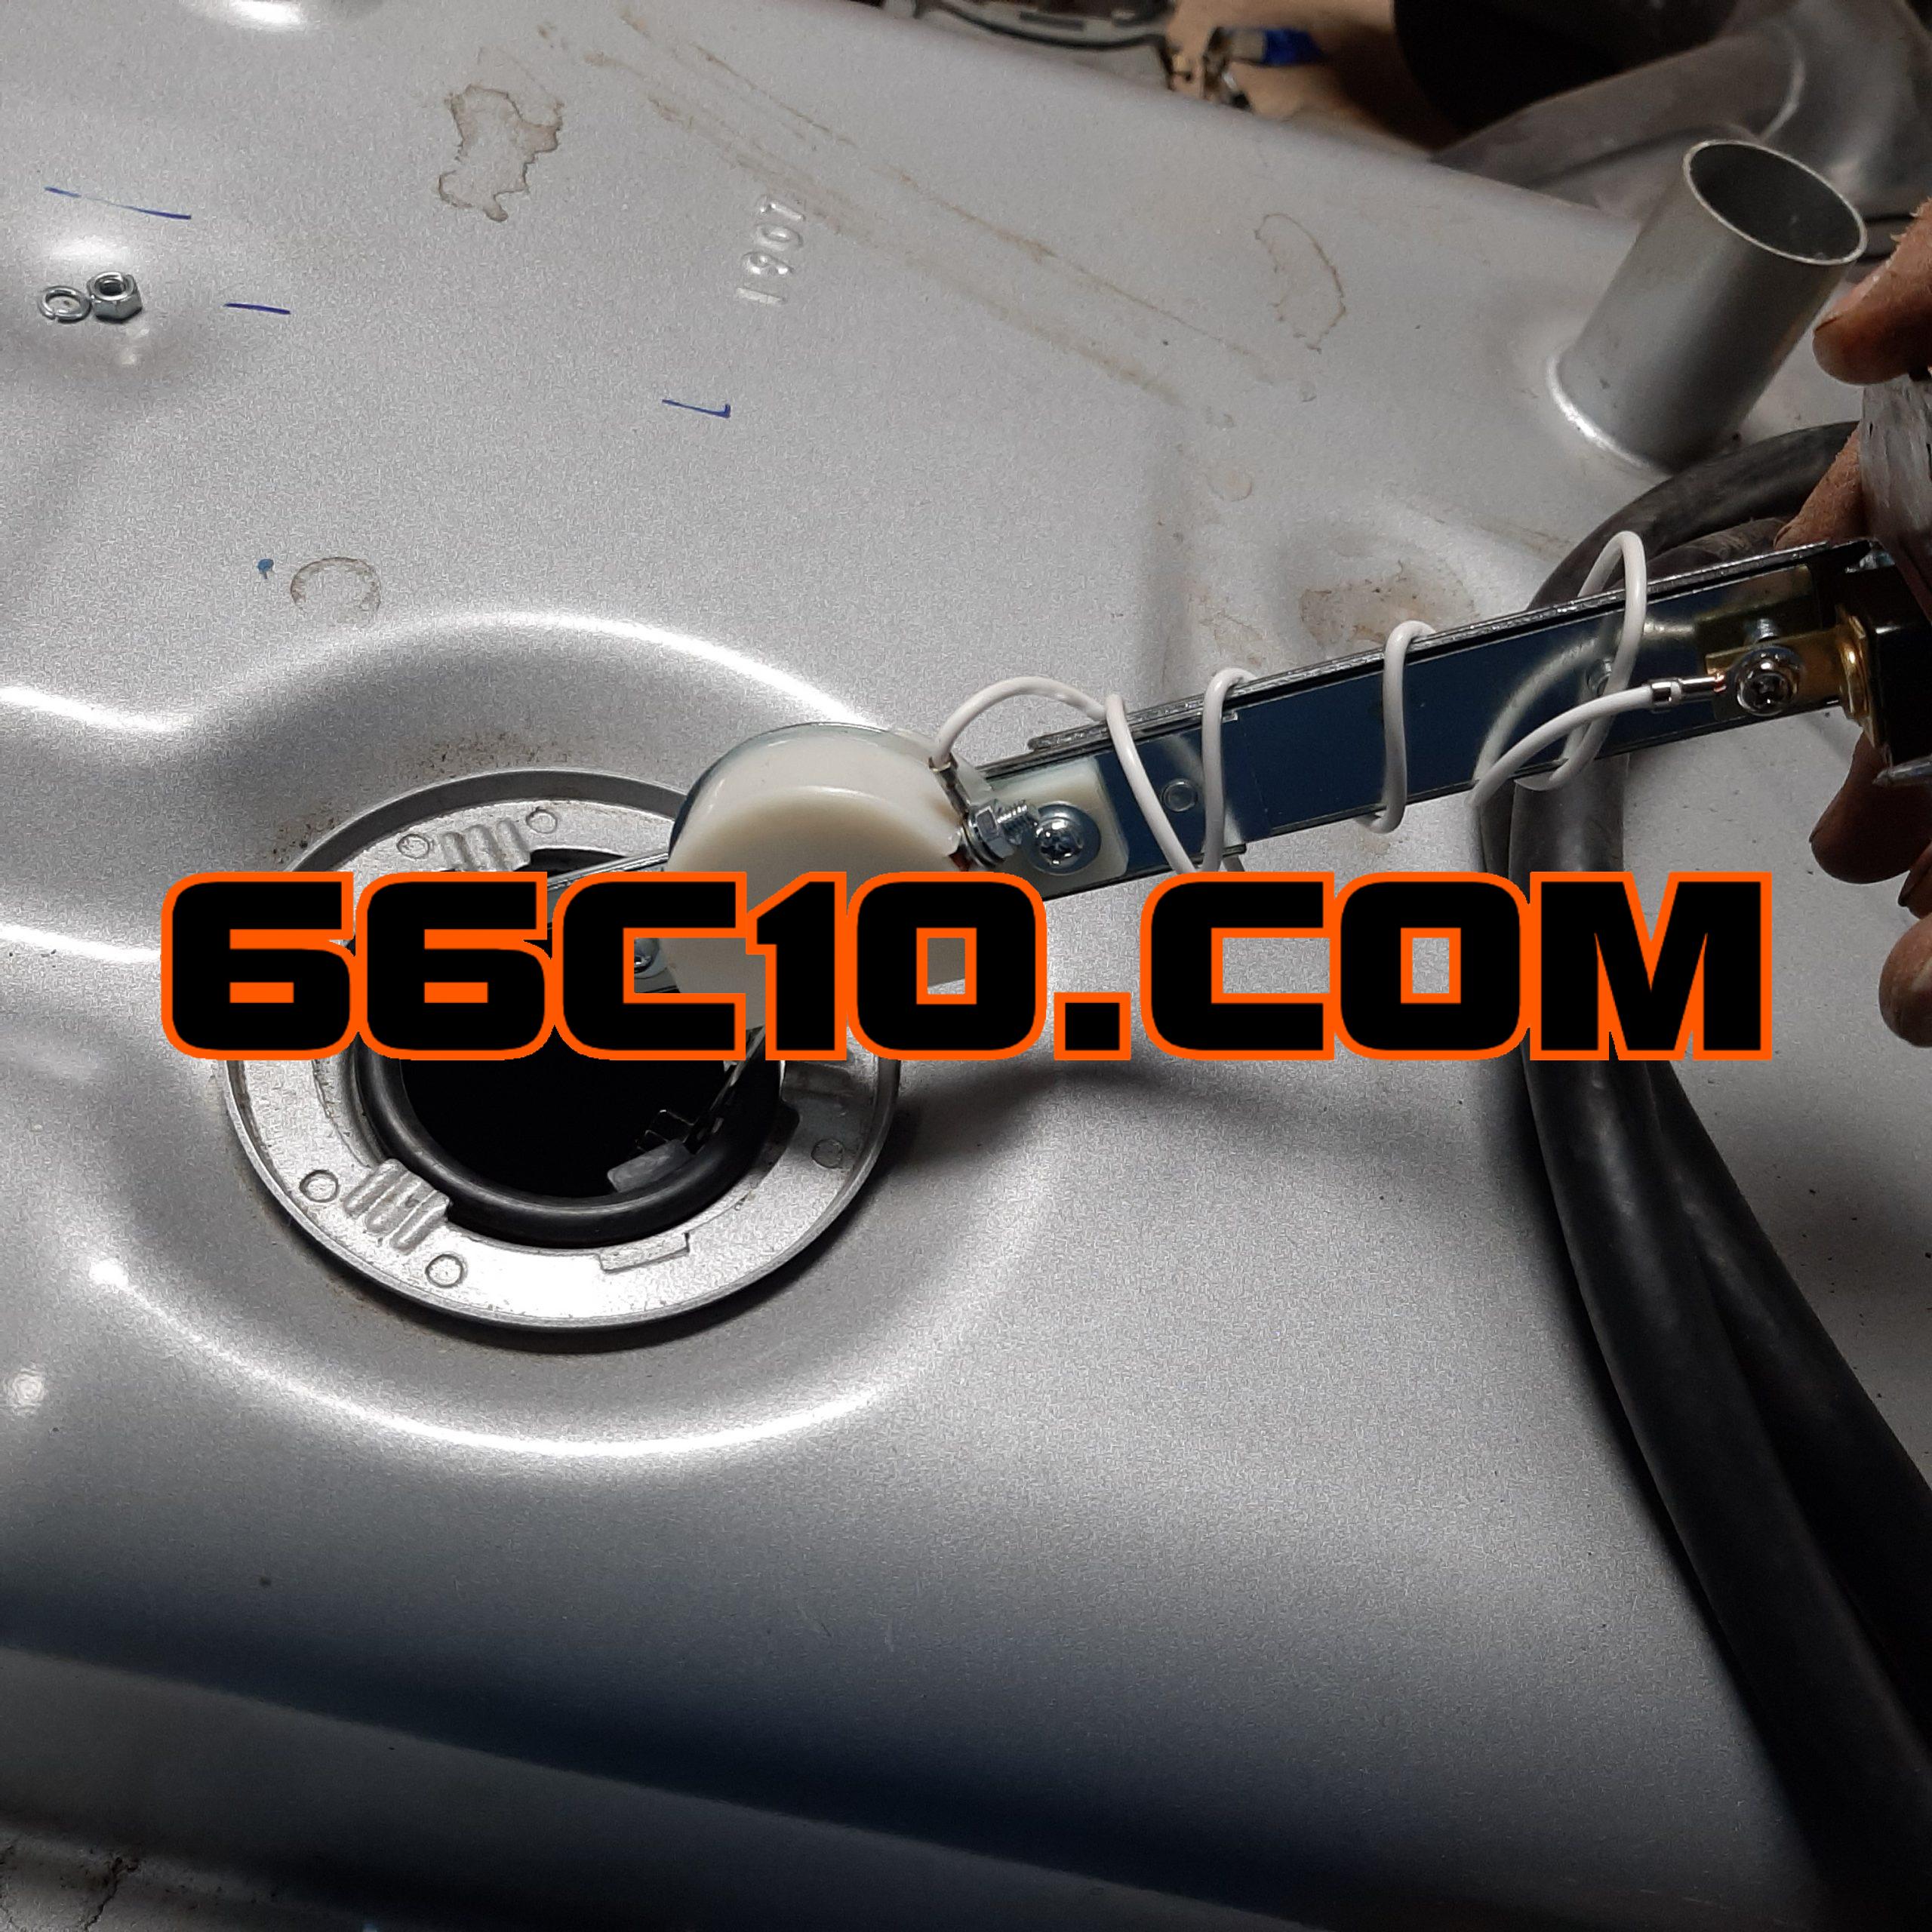
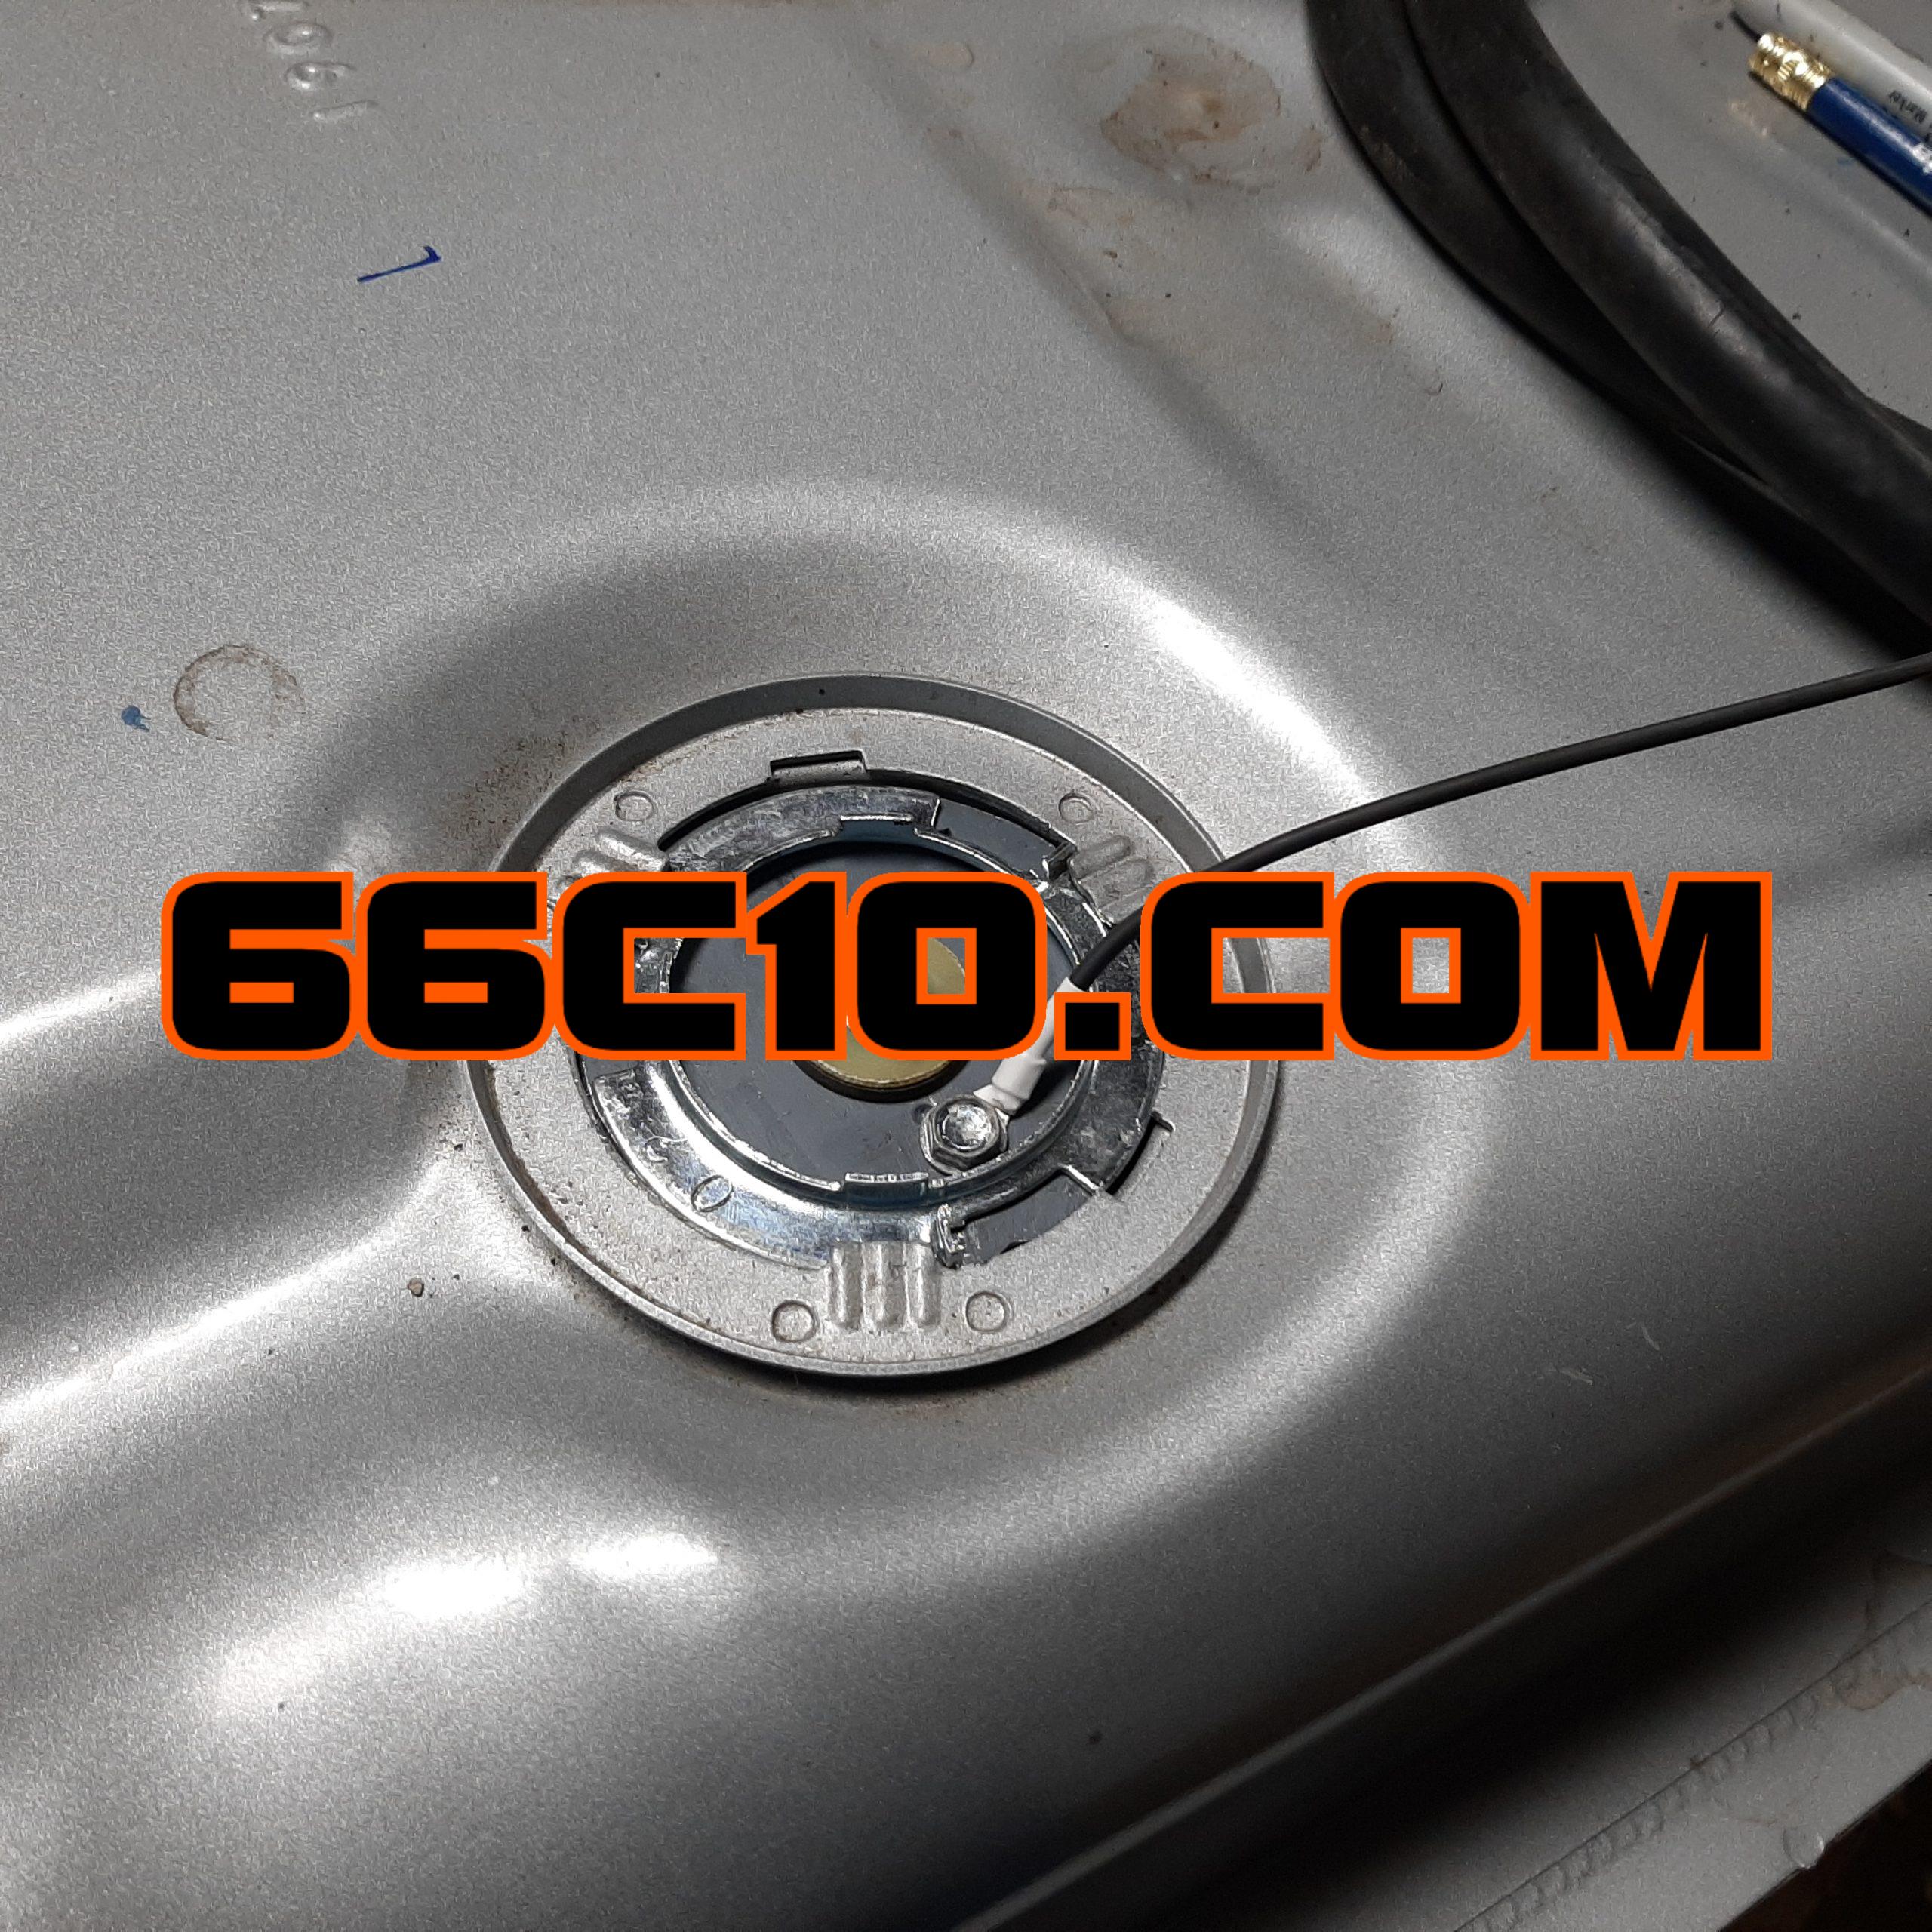
The original lock ring slipped right back in place successfully sealing the new sending unit in place. Although the install instructions didn’t say it was necessary, I added a ground wire as the original sending unit had.
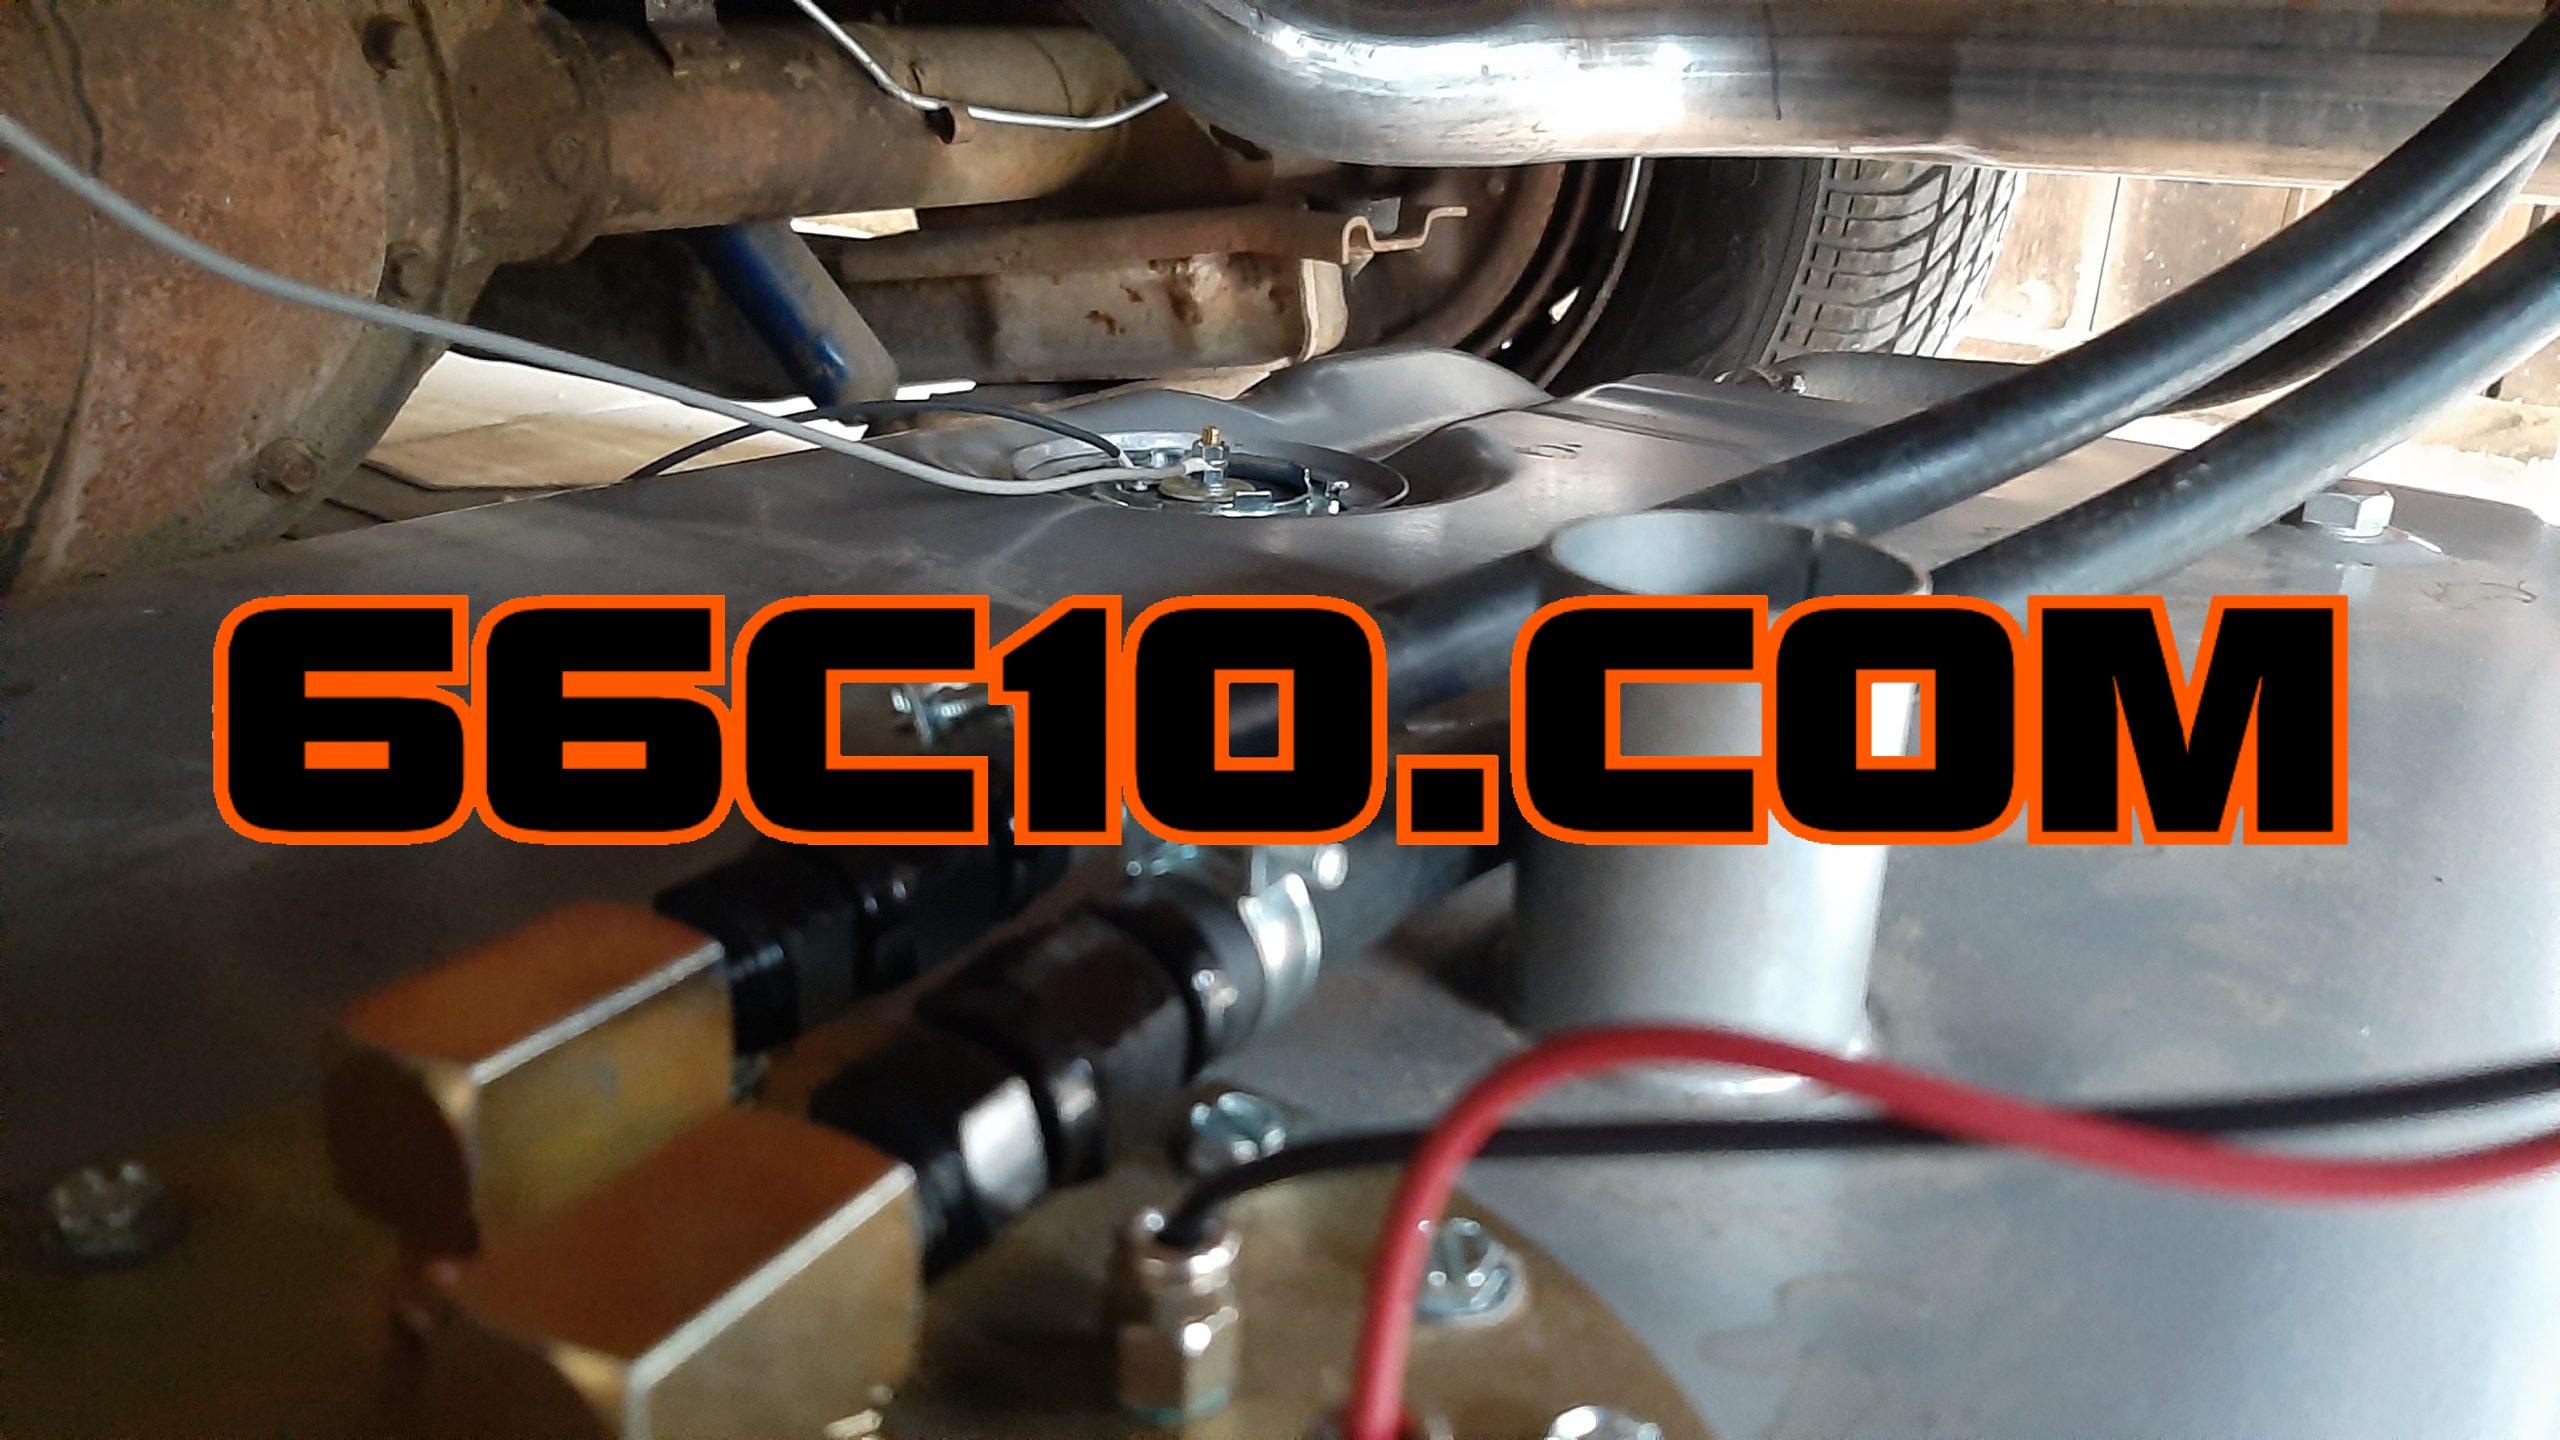
Everything checked and tested. It’s time to put the tank back into place.
A successful installation. The new Marshall gauge is working as it should.