


Starting with manual brakes and swapping in a power booster for front disc, rear drums.


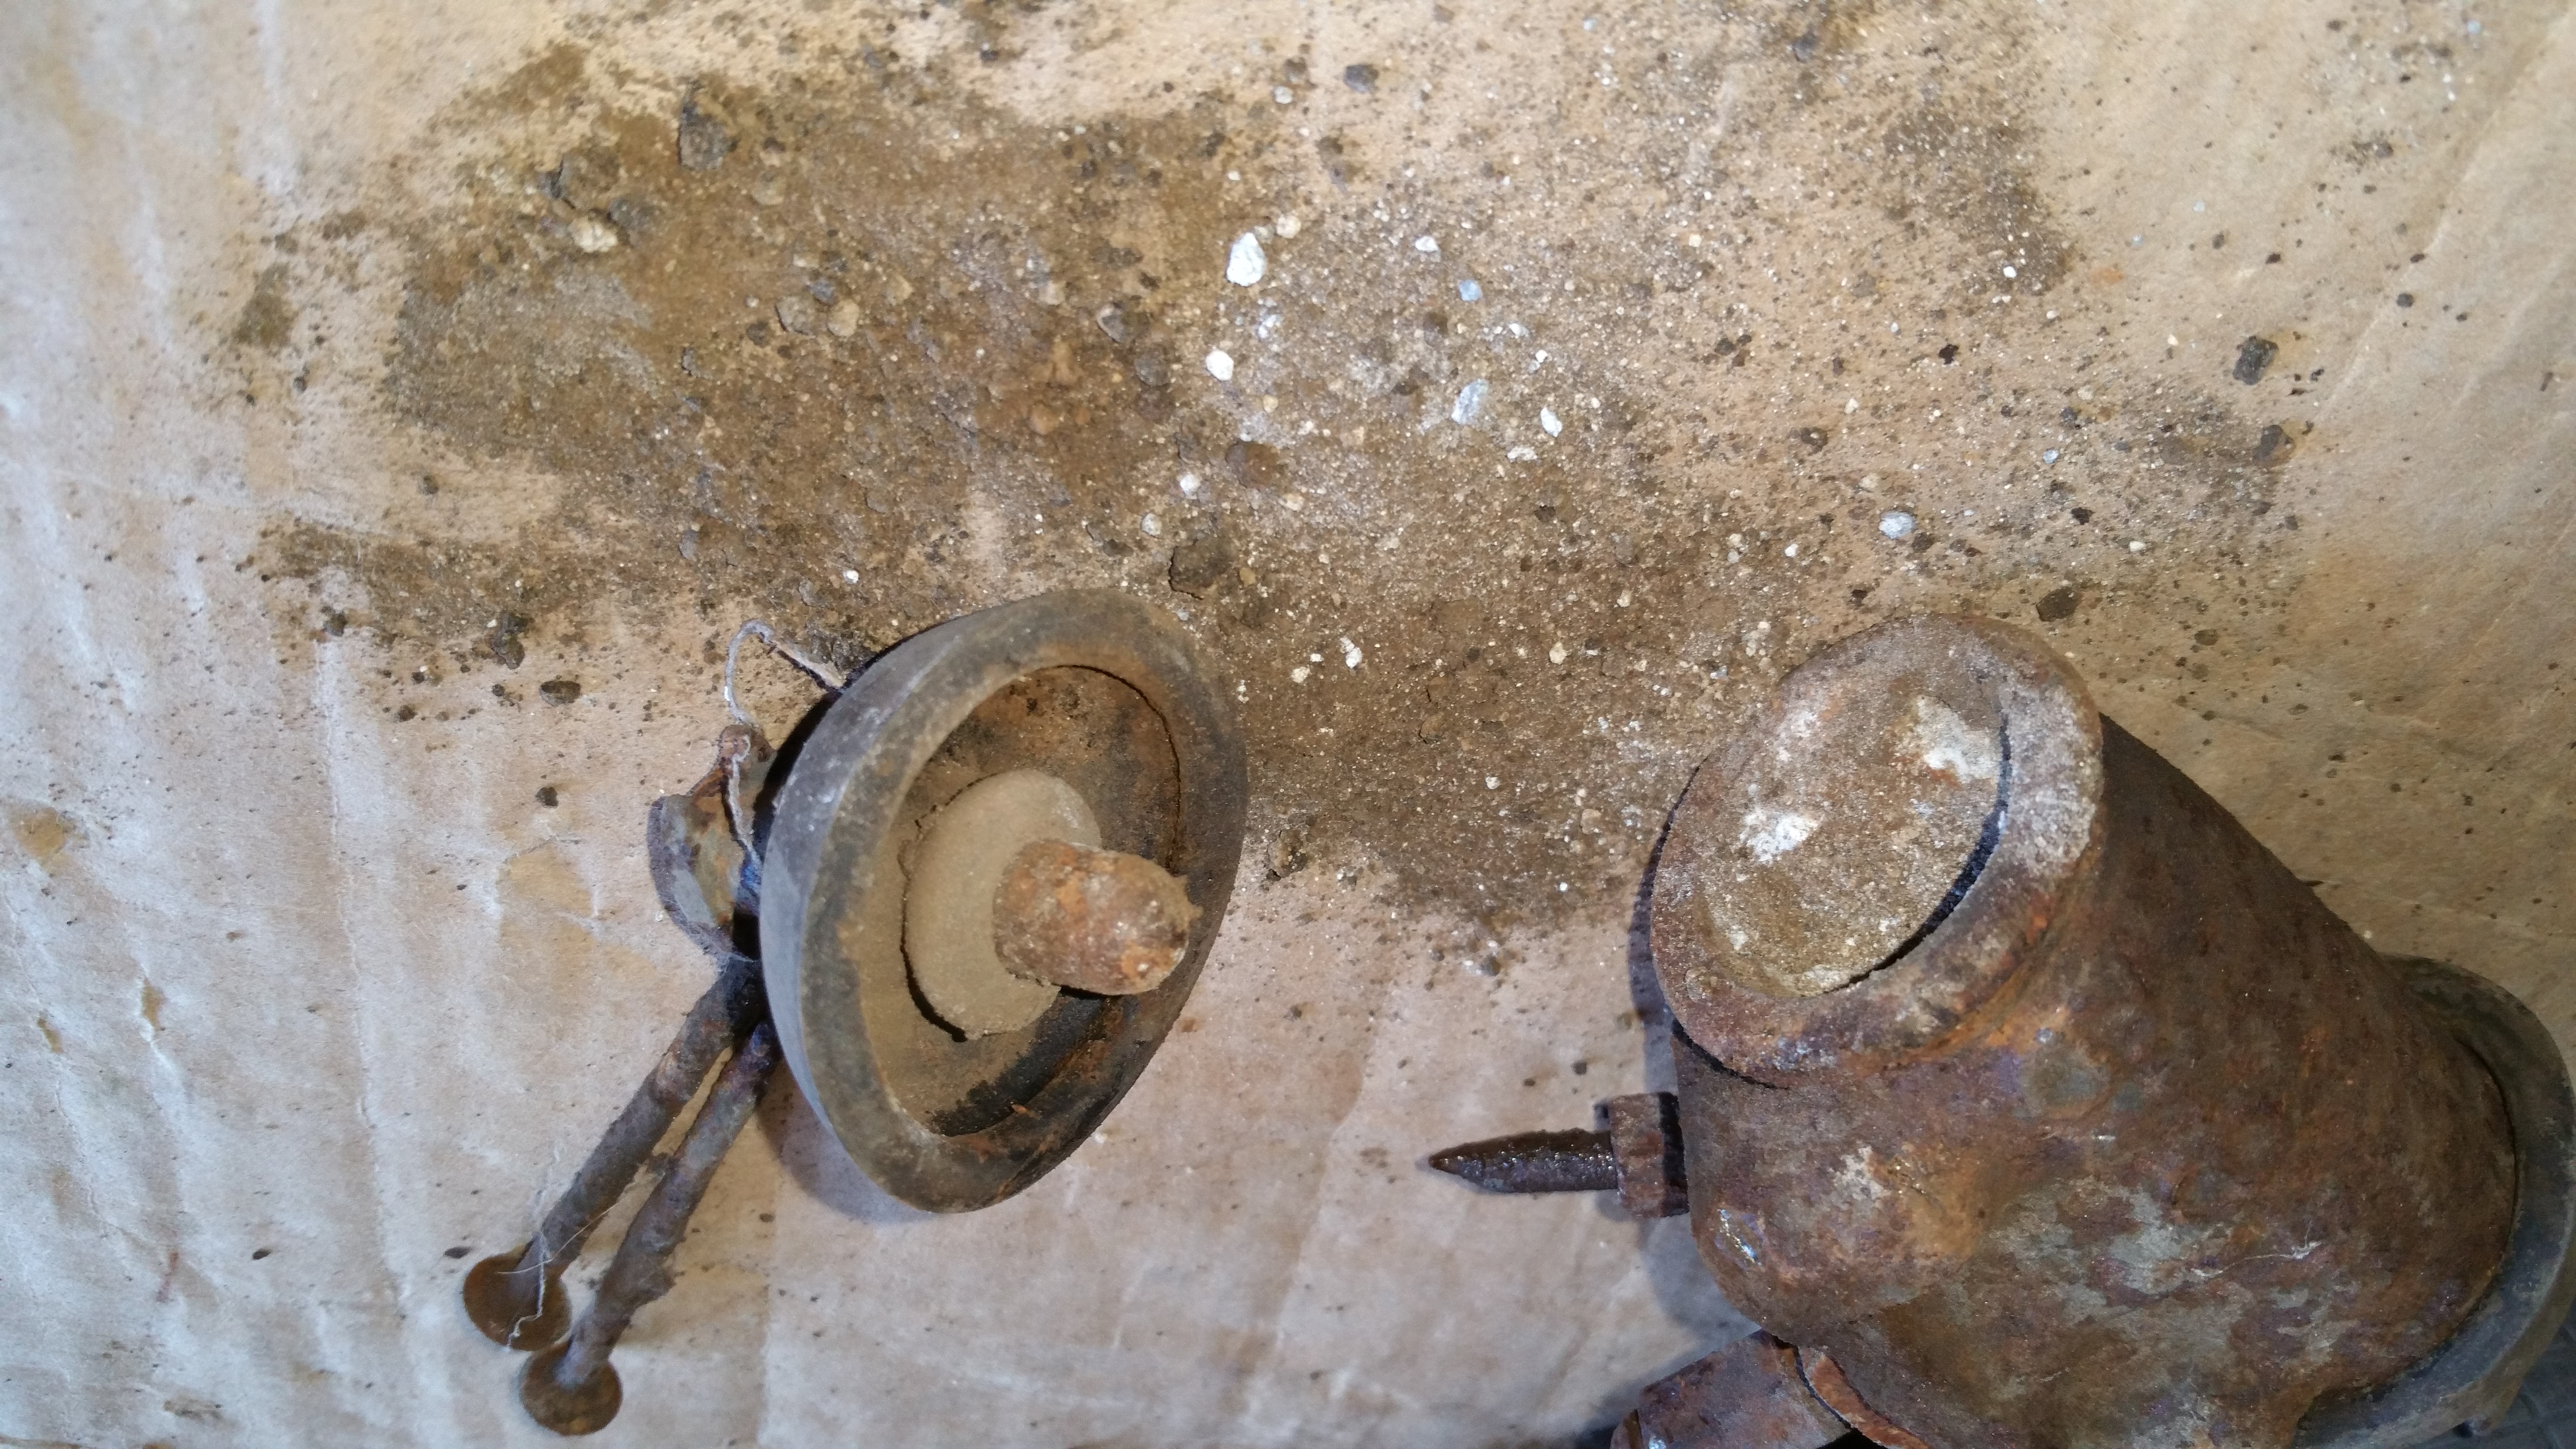
While all the brakes seem to somehow work, the rear drum brake shoes had not been replaced in quite some time. With the incorrect rear axles installed (3/4″ too long each), the drum does not slip over the entire brake shoe, so very much uneven wear was present. The wheel cylinders were an amazing mess, with dirt and debris falling out of them.
The front brakes were replaced with a disc setup by a previous owner. They seem to be early-mid 70s setup. The pads and calipers check out to be in good condition, so I will not need to repair or replace anything there right away.
A new booster, cylinder and proportioning valve was chosen and purchased from Auto City Classics (60668PV). This is the same kit, or very similar, that is sold by several vendors. I simply chose to purchase from them as they had the best price plus shipping at the time.

The booster was an easy install as it included an adapter to mount to firewall without the need to drill new mounting holes. I did have a bit of an issue with the mount fitting correctly at first, but I enlarged the mounting holes slightly to allow the plate to slip onto the supplied studs a little easier.
I bench bled the new master cylinder and installed. The proportioning valve was installed with the supplied bracket and I was ready to make the new brake lines.
I was going to simply purchase pre-bent brake lines, but could not determine which available lines to purchase for my setup. No one seemed to have what I needed exactly. So, while inquiring in a Facebook group, I was talked into making the line myself.

Using Nickel-Copper kits (3/16″ for front and 1/4″ for rear tubing and fittings) I purchased on eBay from 4lifetimelines.com, I started with the front lines. Bending the lines to shape was super easy and I made sure to route the lines in a way they would be safe but still easy to install and remove. I did purchase a kit from another supplier, but the tubing looked more like copper tube than nickel-copper, so I did not use it.

Next the rear line was made fairly easily by routing down along driver-side frame rail to the rear crossover behind the cab, up and over to the passenger side frame-rail, then back to the flexible rear brake hose. I used two union connections in the rear brake lines to make for ease of installation/future repair. The one line you see with the “artistic” squiggles was made that way because I needed extra length for multiple flare attempts. So I just shortened the length on that line by doing this. No other reason. It looks stupid, but it’s hidden anyway.

Shaping the lines was easy. My problems occurred when I tried to flare the lines. I knew this would be an issue for me, but I gave it a shot anyway. Much frustration came from this part of the project. I believe my main issue was with the cheap Autozone Double Flaring rent-a-tool. After many, many tries, I had all the flares completed, but was greatly concerned about approximately half of them. I took the lines to my local mechanic and had him re-flare the ones he though were poorly made.
The axle brake lines also got replaced along with all other brake lines on the truck. However, I found and purchased pre-bent steel lines for this. A much better idea than having to fumble with more flares.

I have never had any problems bleeding a system with a proportioning valve before, but have heard others having a problem if they didn’t use the special bleeding tool for these valves. Since I knew what could occur at the valve and had a completely dry system, I took no chances and used a proportioning valve bleeder tool. I pumped the system a bit to get the fluid moving, fixed any leaks and allowed the rear to gravity bleed for each wheel. Continuing on to the front, gravity was all it took to get each side successfully bled there also.
Front and rear hoses were also replaced.
For the pedal linkage, I took the original pedal rod and modified it by cutting it to length and cutting and welding on a threaded union that came with the booster mounting hardware.

