All current reference photos with descriptions. I will break down in section also as the build goes along.
…arranged newest to oldest…
Please note that you can click on the pics for a larger view, but must use your browser “Back” button to return to the page to continue.


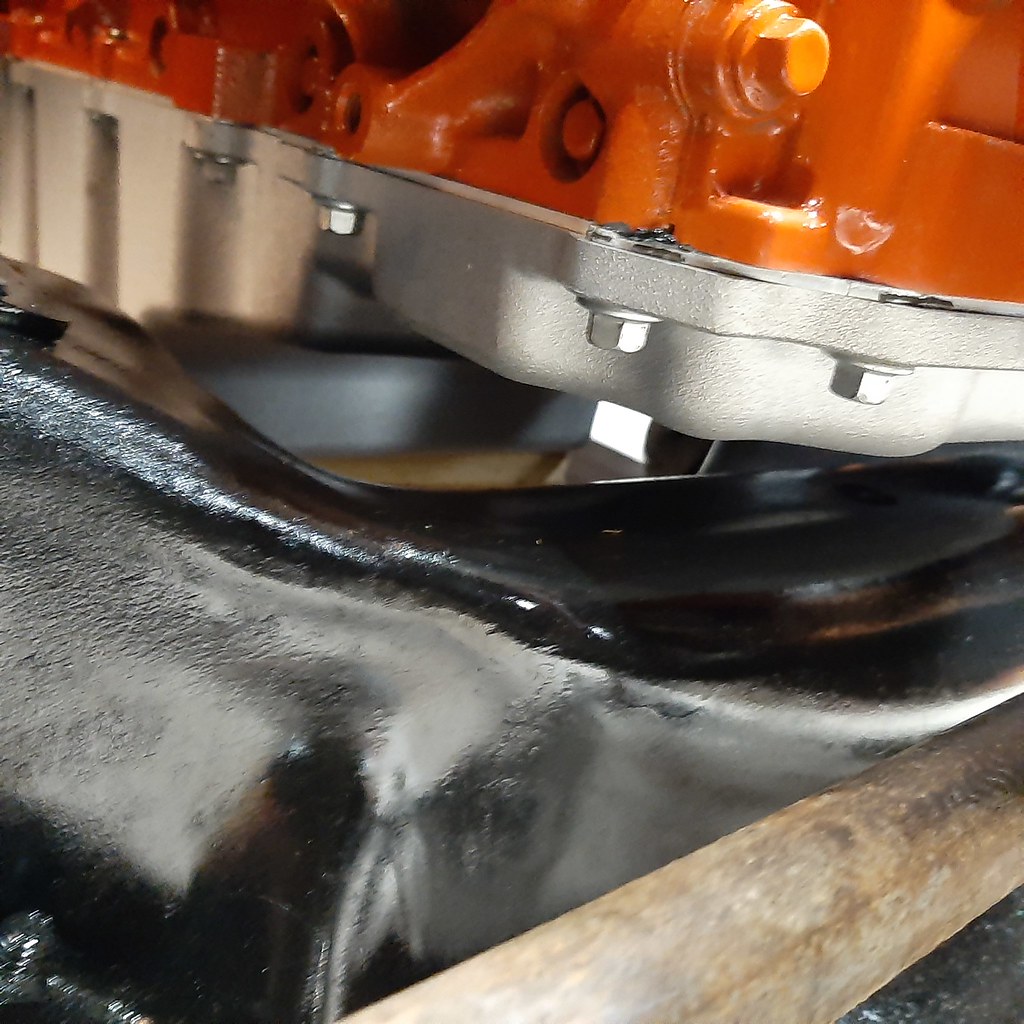
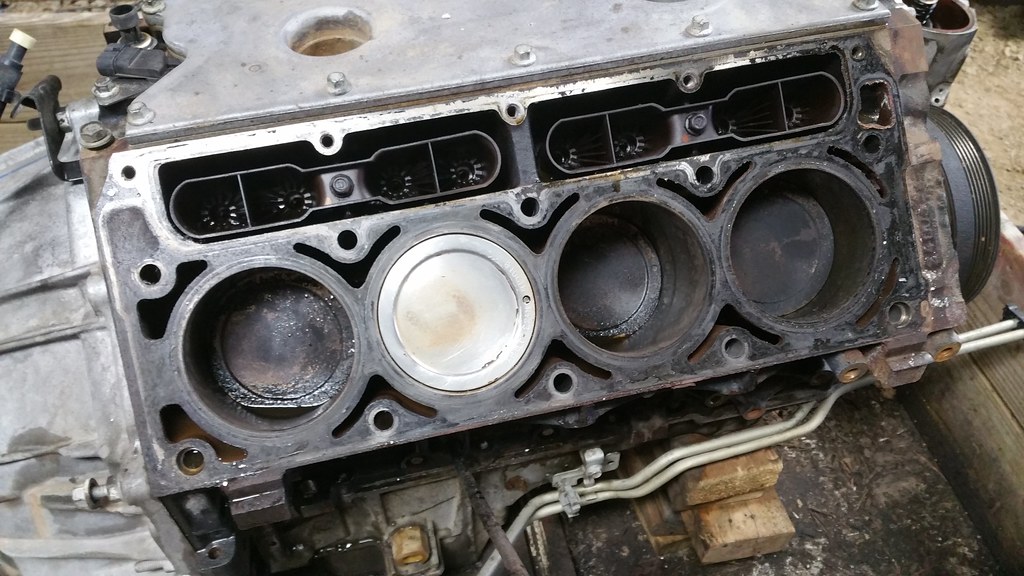
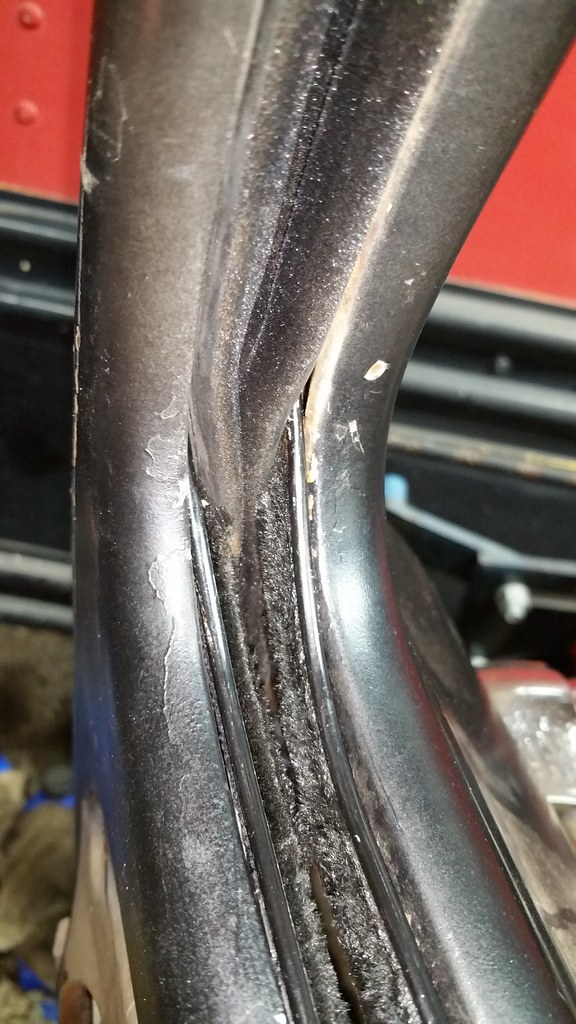
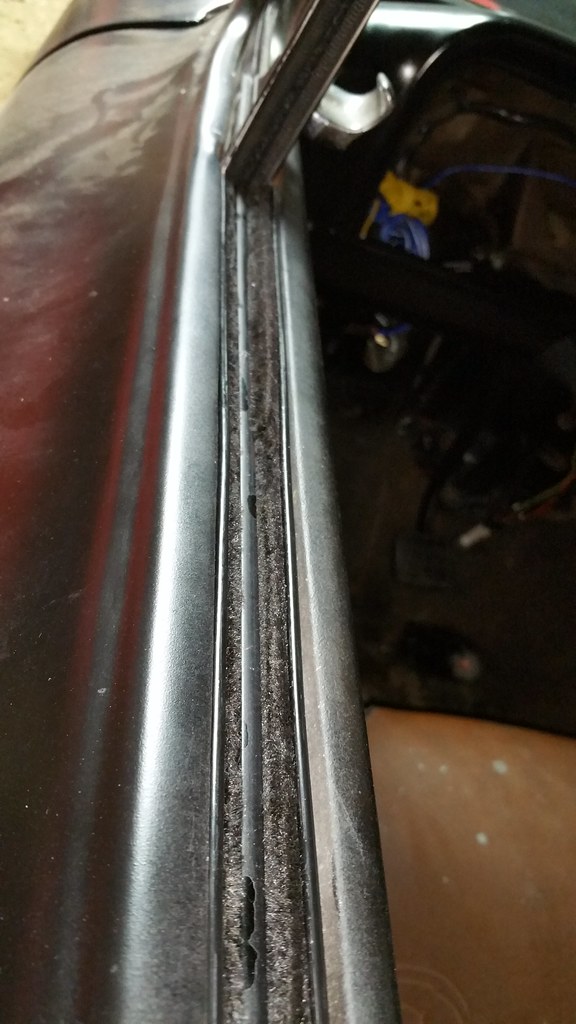
Clean, Clean, Clean...

Broken exhaust stud. Couldn't seem to get a weld to stick , so I drilled, tapped and put in a helicoil

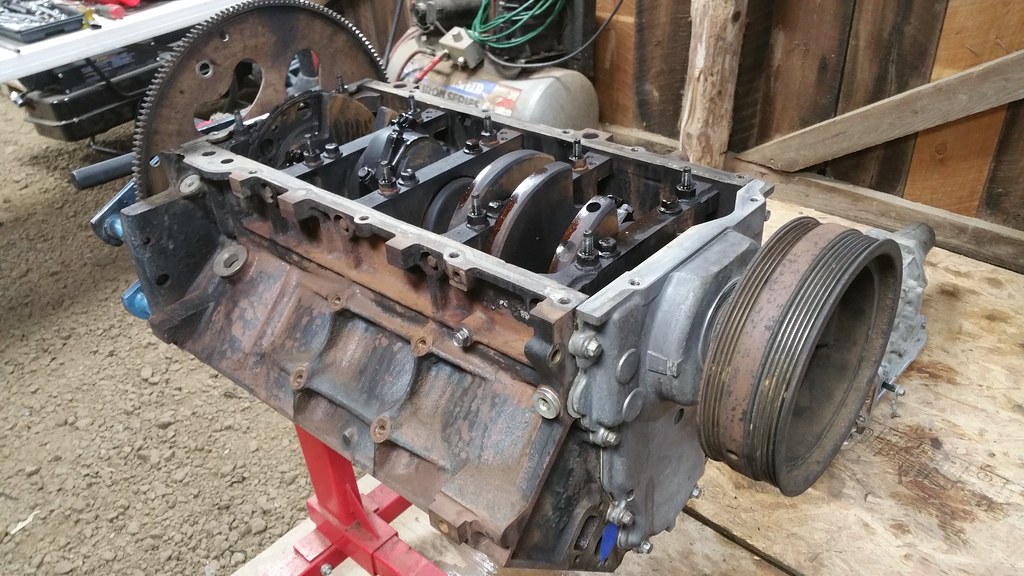
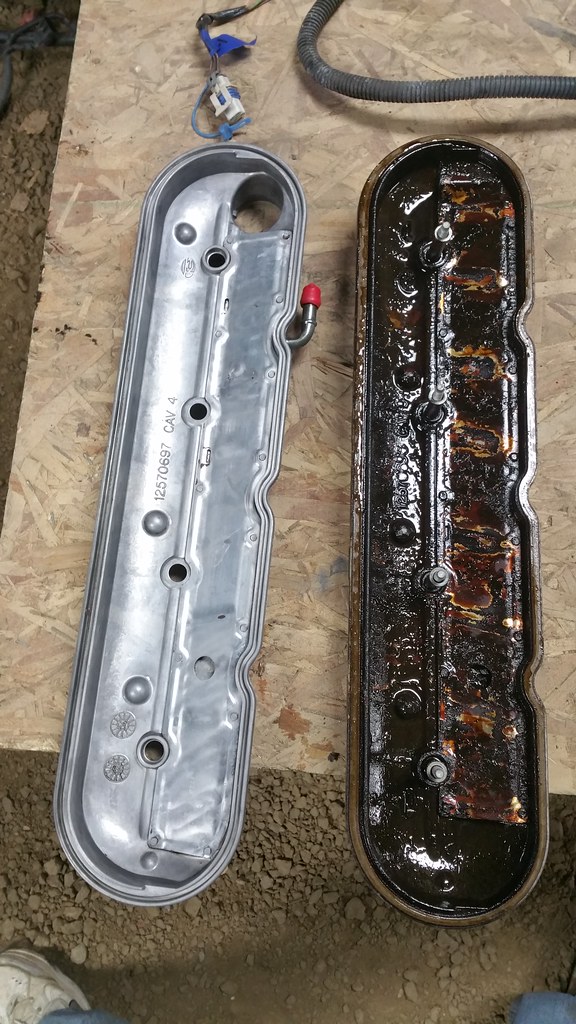
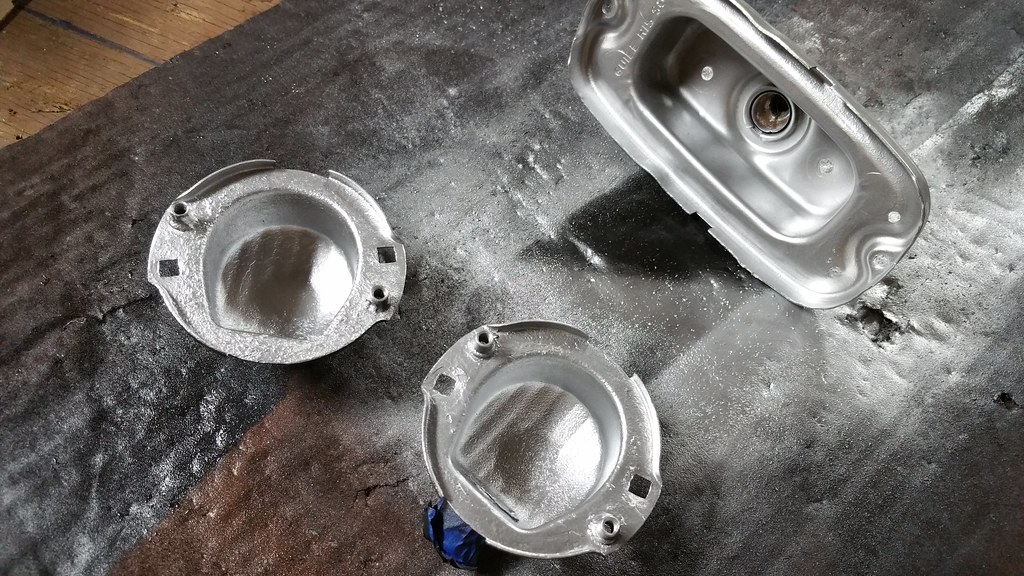
After a good soaking and power wash.

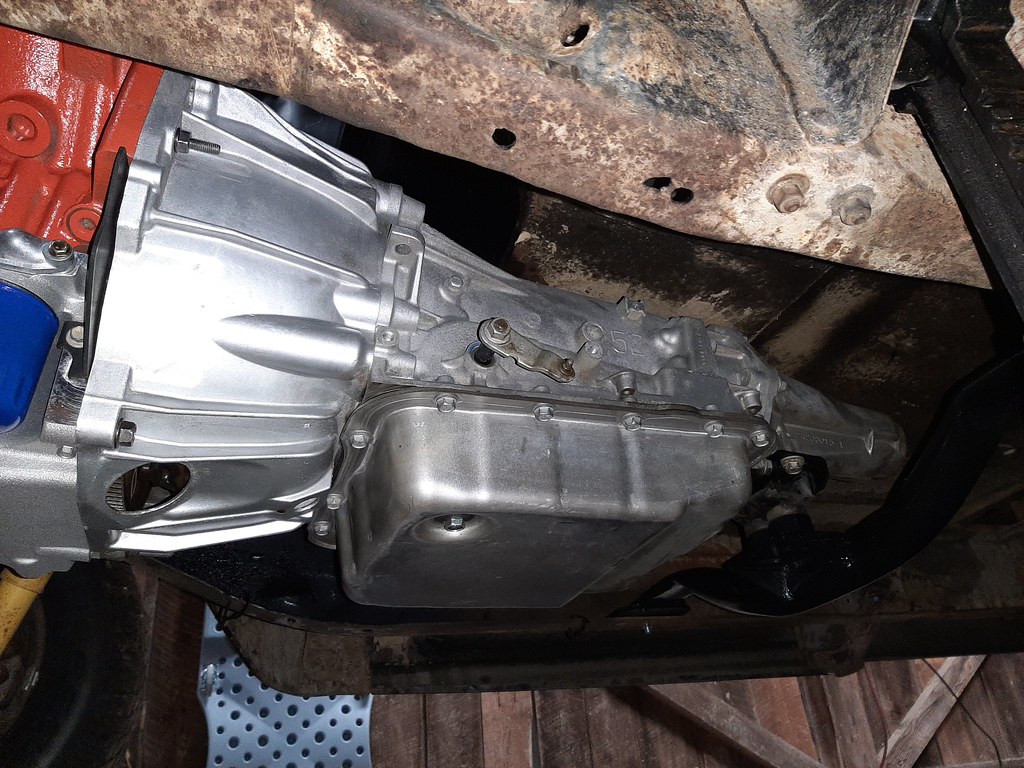
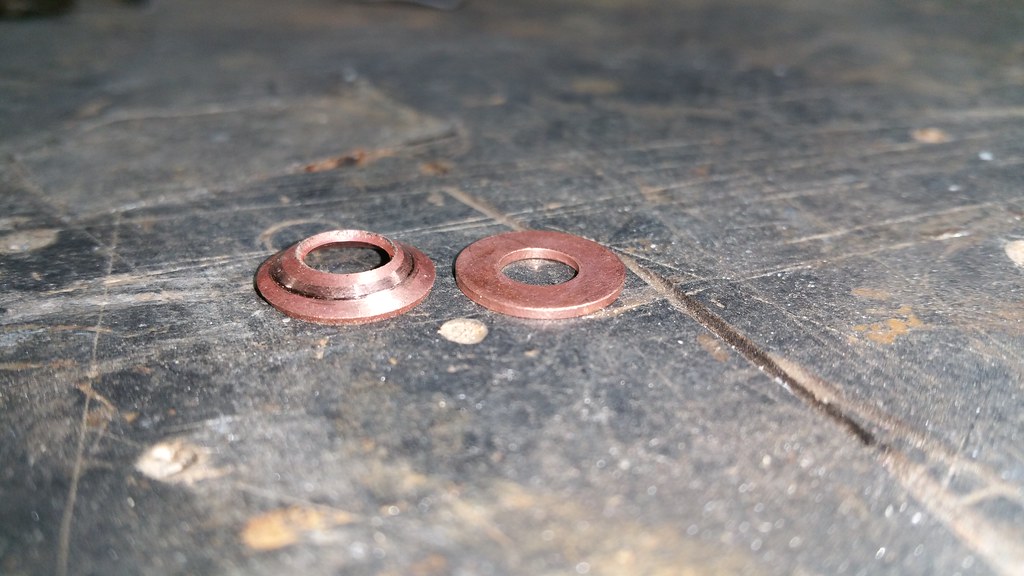
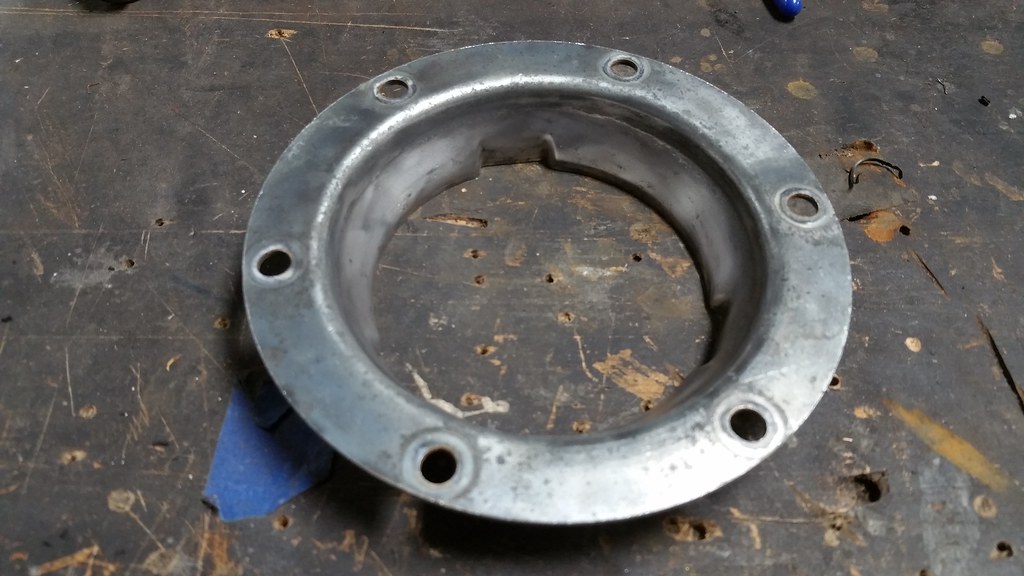
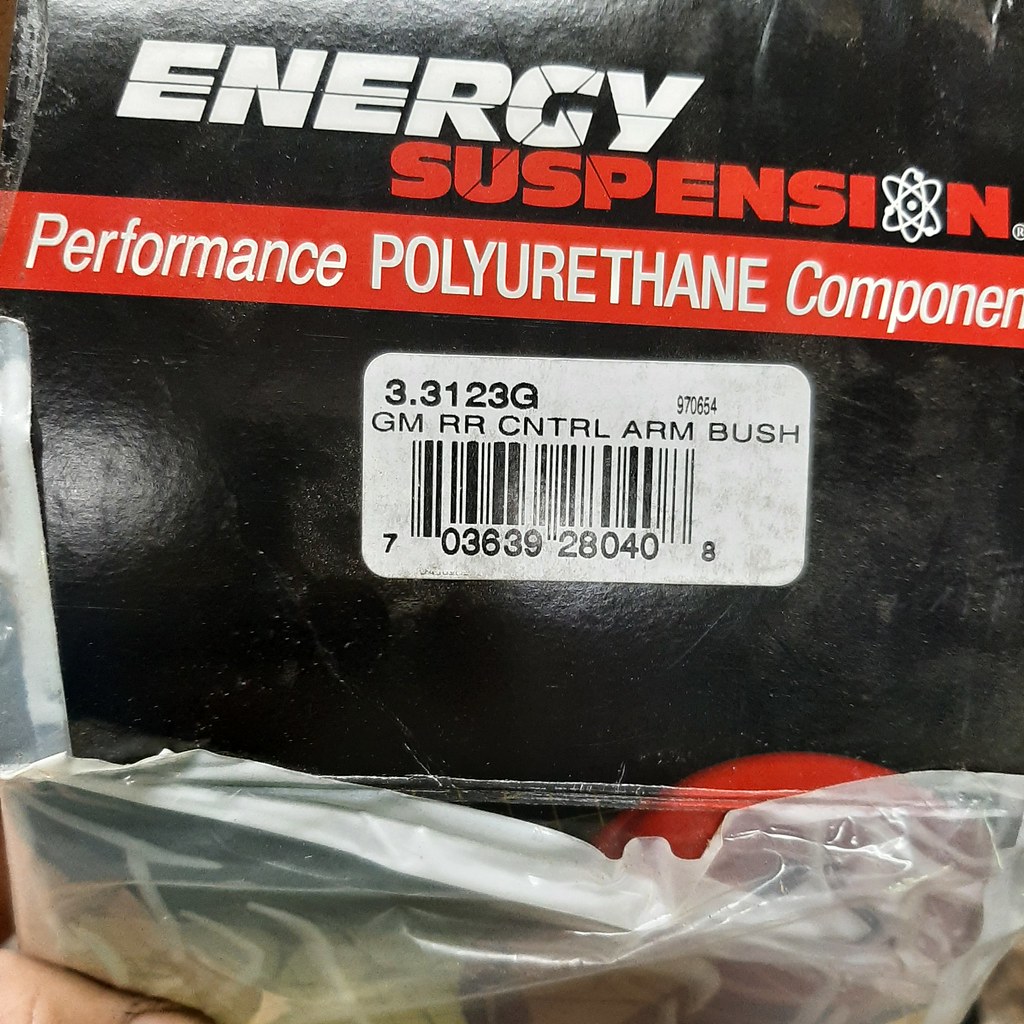
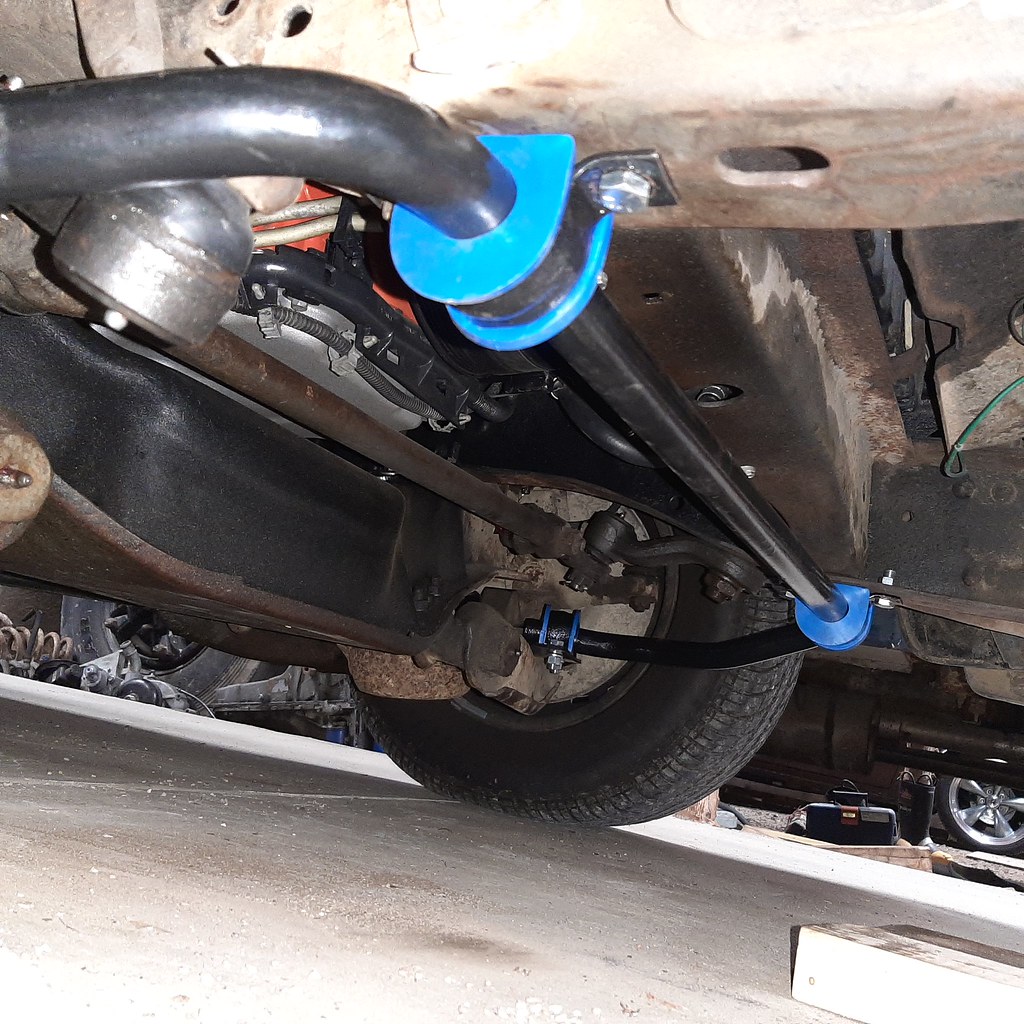
This looks like a good replacement.

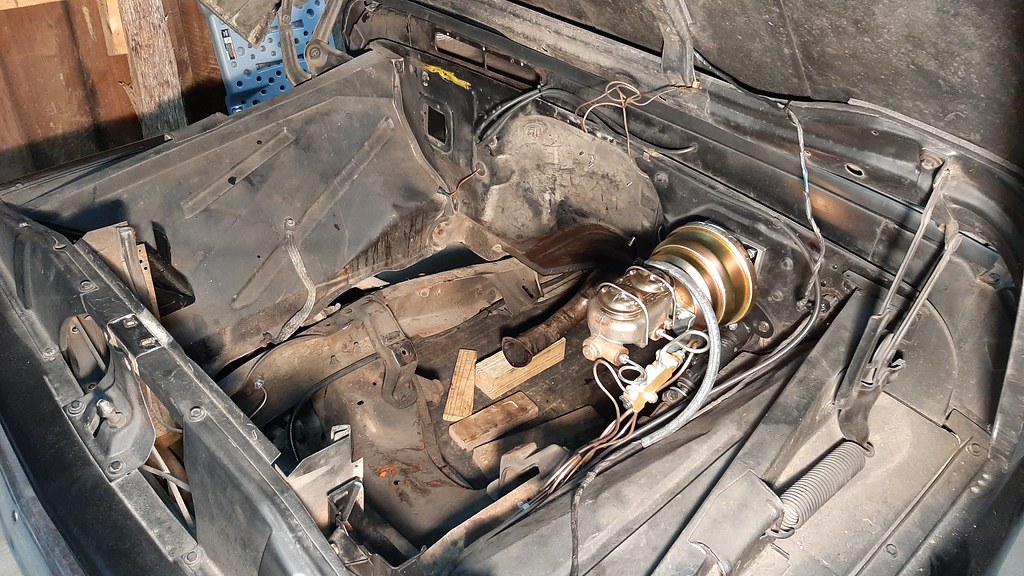
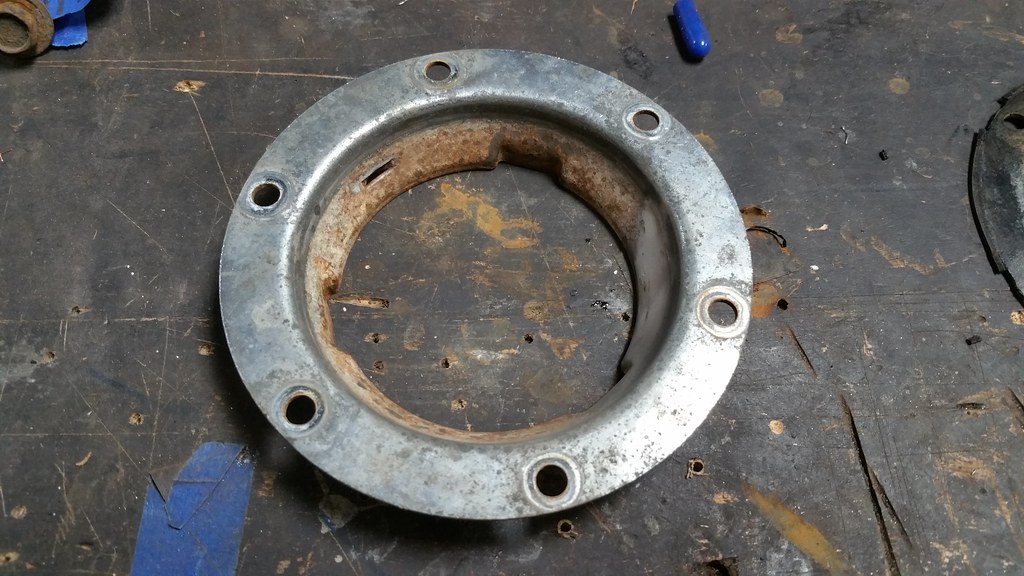
Some Purple Power and a power wash should do wonders...

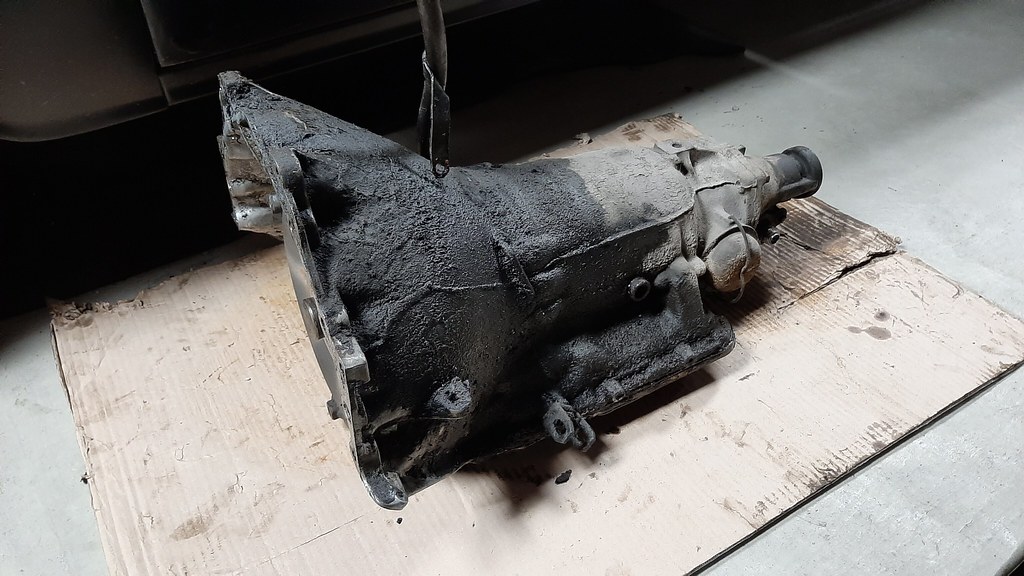
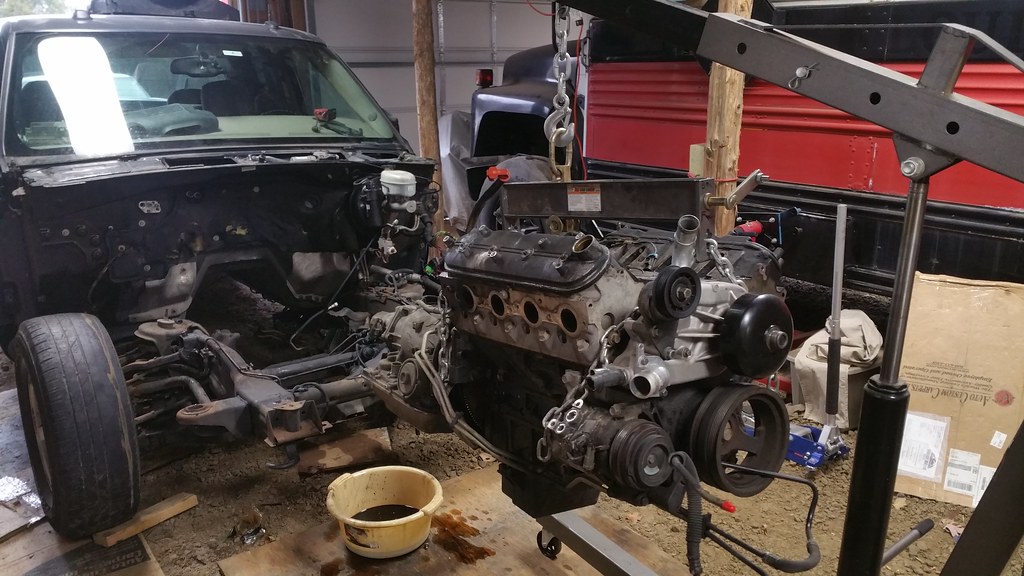
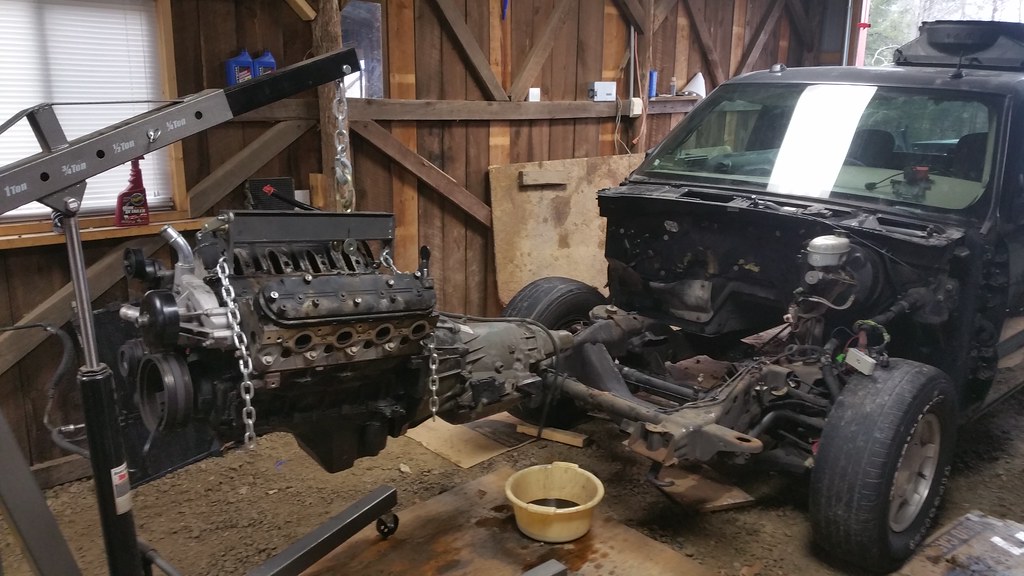
Fresh outta the yard...

What's that noise? Not good.

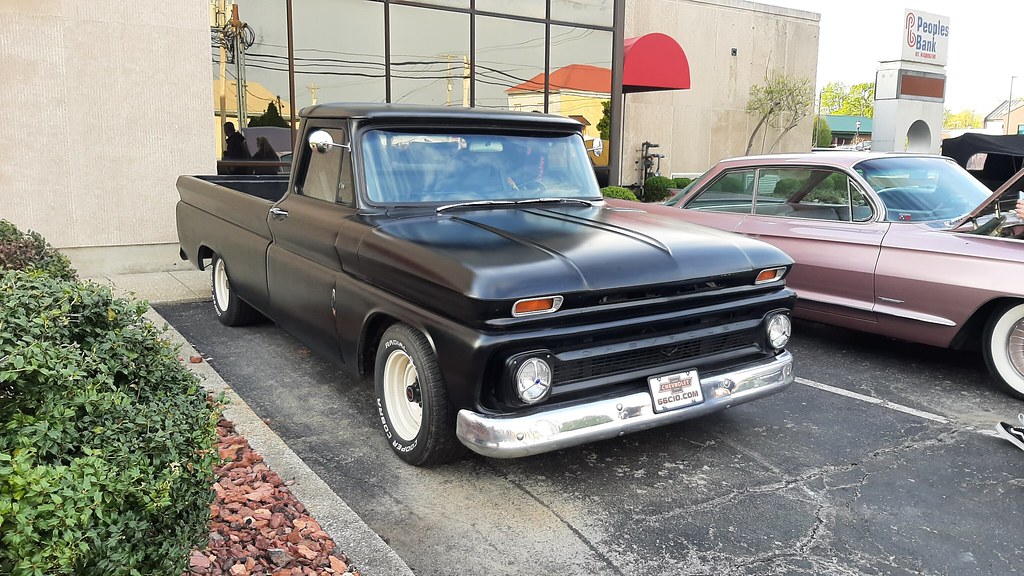
Central Garage cruise.

Sonic Drive-in Cruise-in

Sonic Drive-in Cruise-in

Sonic Drive-in Cruise-in

Sonic Drive-in Cruise-in

New custom decal for a little more engine bling.

New custom decal for a little more engine bling.

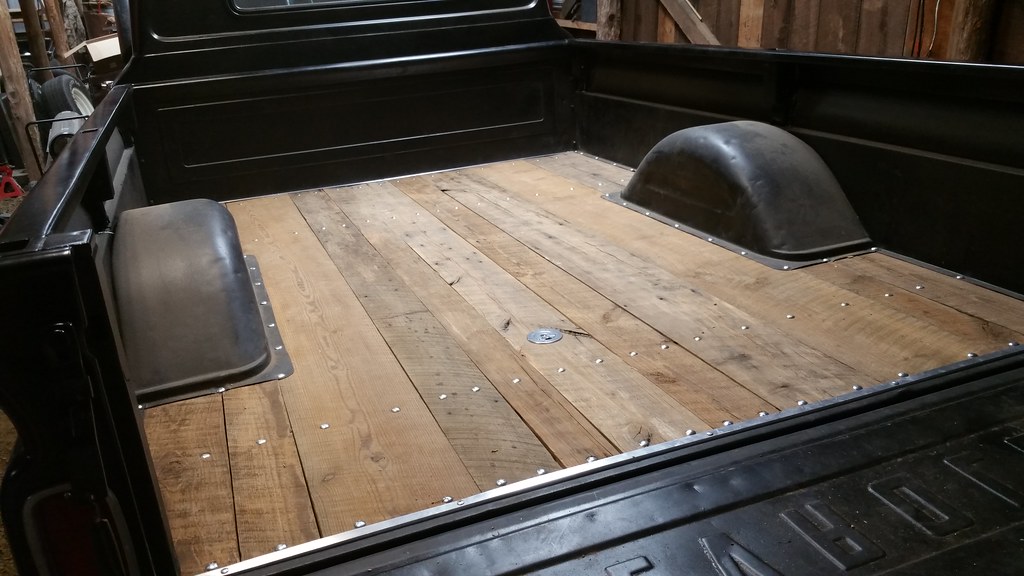
Fill 'er up

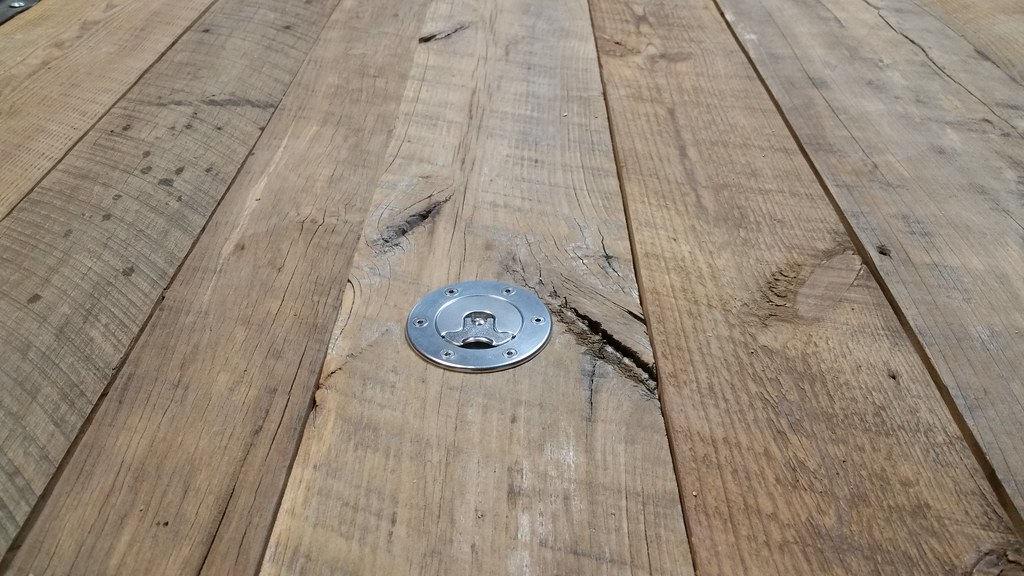
Tank vent


Subtlety...

New under hood light installed.

New under hood light installed.

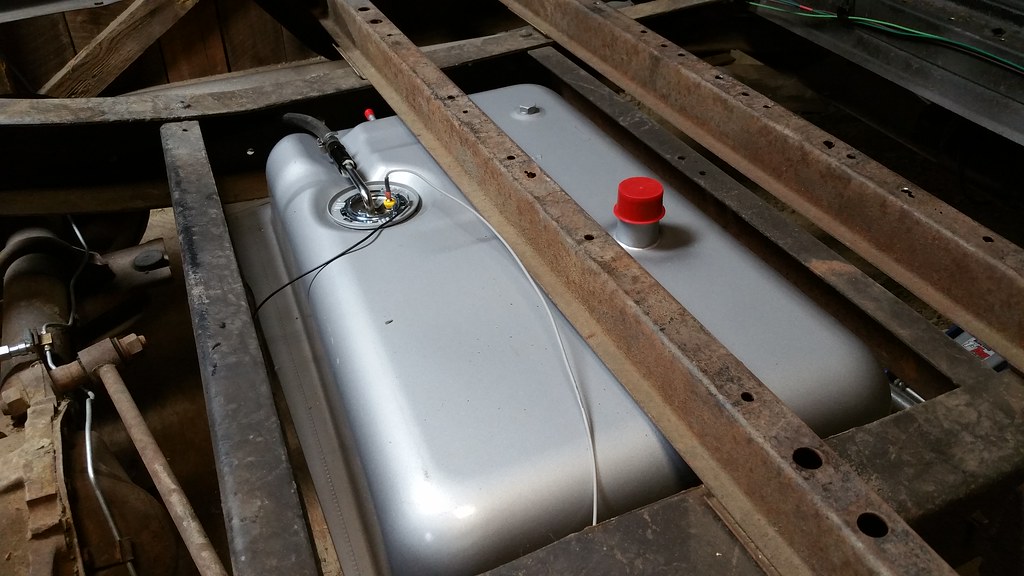
Tank going back in.

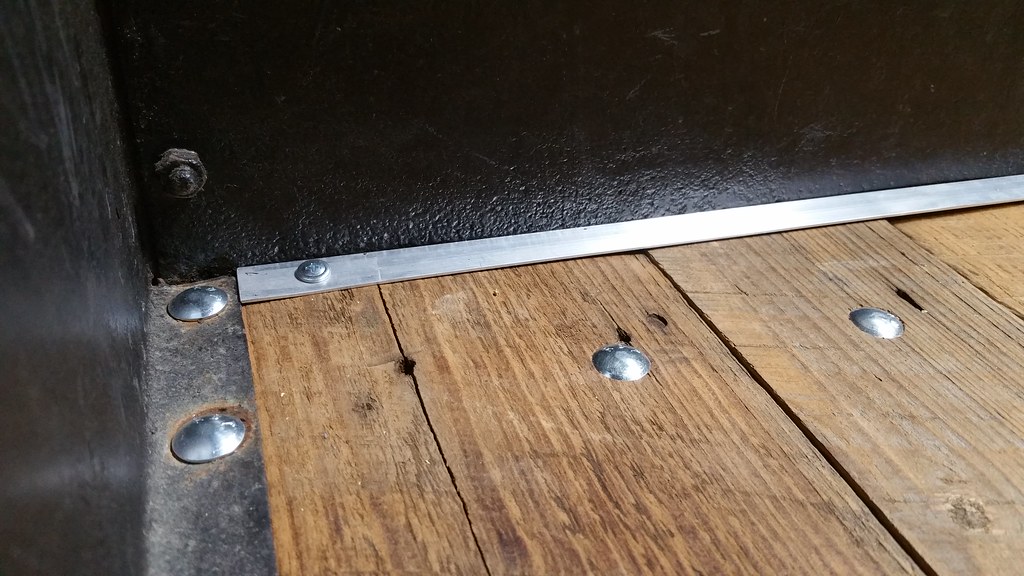
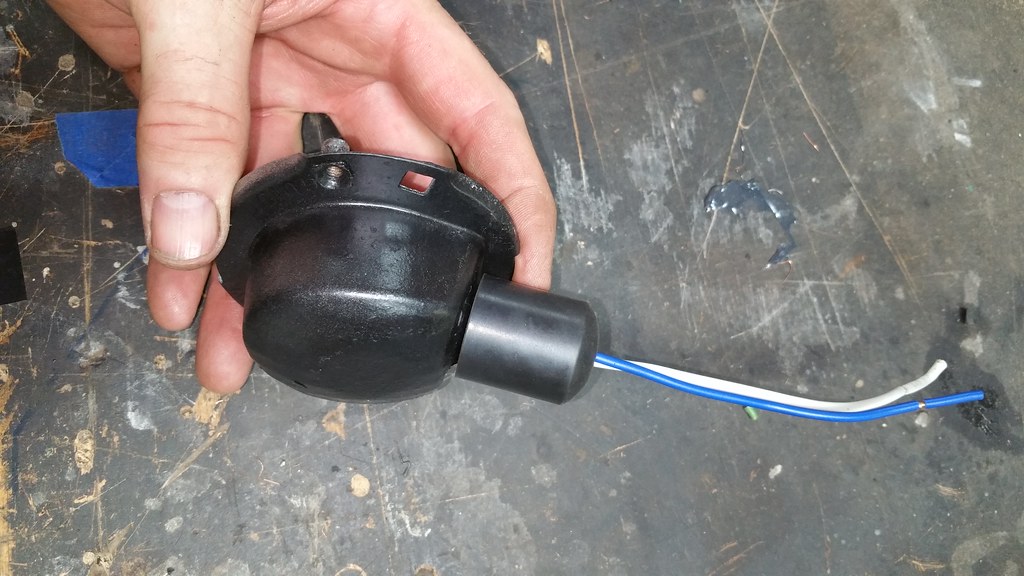
Modified ending unit installed.

A little trimming of the bracket allows the unit to carefully slide in.

Universal 90 ohm sending unit adjusted and ready for install.

Plug welding the holes in the universal sending unit mounting plate.

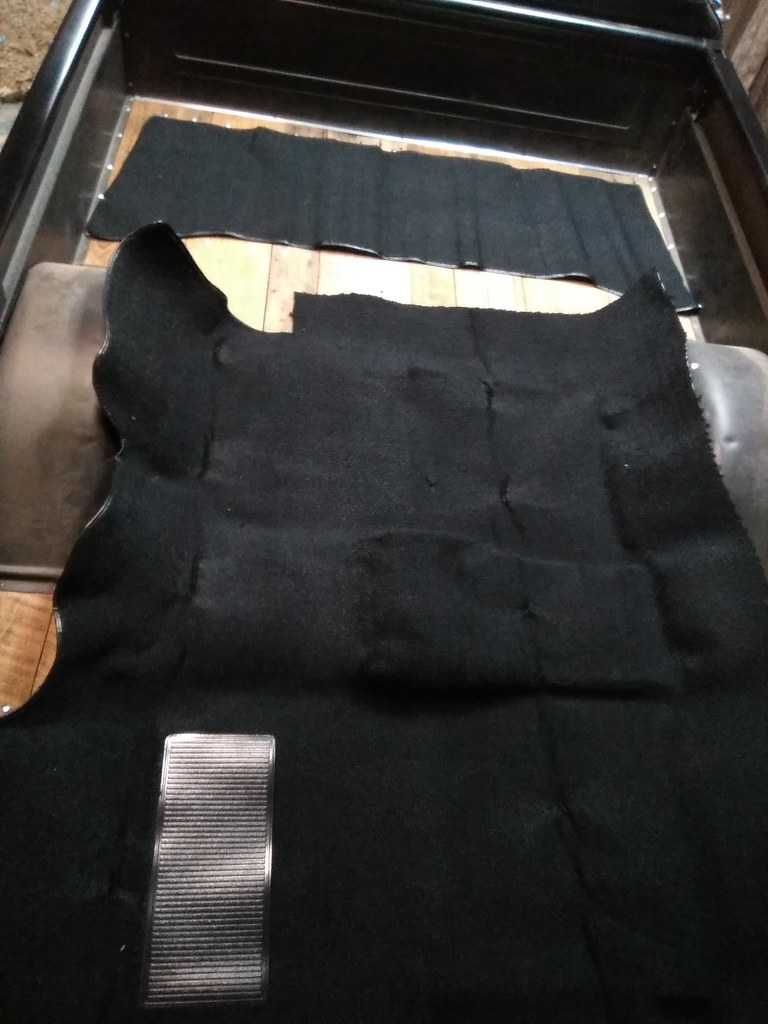
Just another interior shot.

Name plate painted and installed.

Boss NX694 speakers installed in speaker enclosures.

Simple head unit install.

USB 4.2 amp charging outlet installed.

A little subtle badging.

Kenwood BT328U digital media receiver installed.

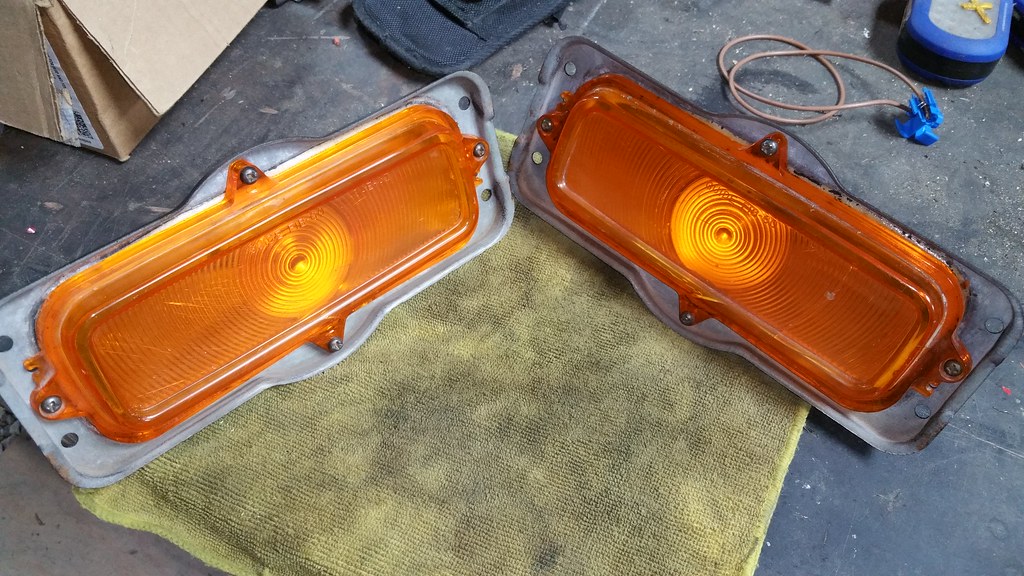
tri-bar blue dots...

Lighted


Uploading tuned file with tow/haul/performance switch enabled

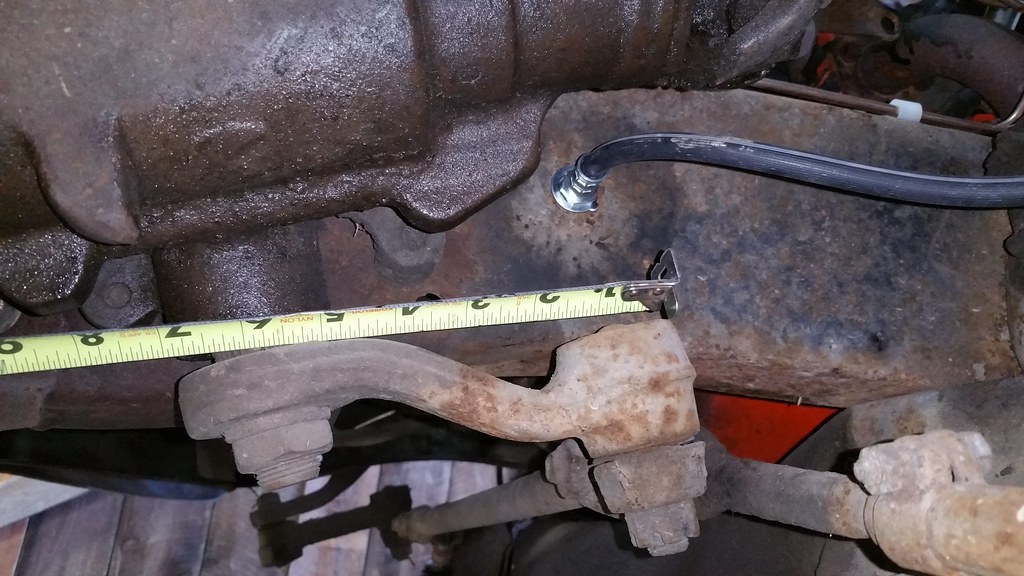
New pedal location

Modified pedal on right

Modified pedal on bottom

Modified pedal welded and ready for paint

Pedal cut and bent

first pedal sits too high

checking Oil pressure

Loading for tow to trans shop

first bath of the season, ever.

first bath of the season, ever.

first bath of the season, ever.

first bath of the season, ever.

first bath of the season, ever.

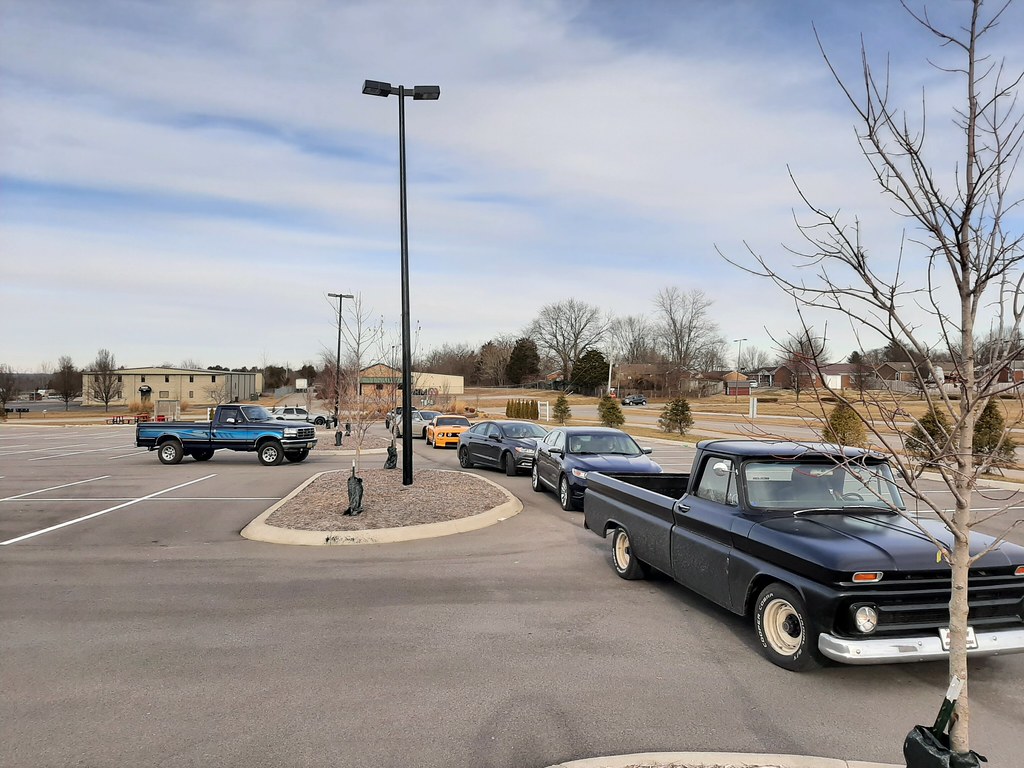
one man non-cruise in

one man non-cruise in

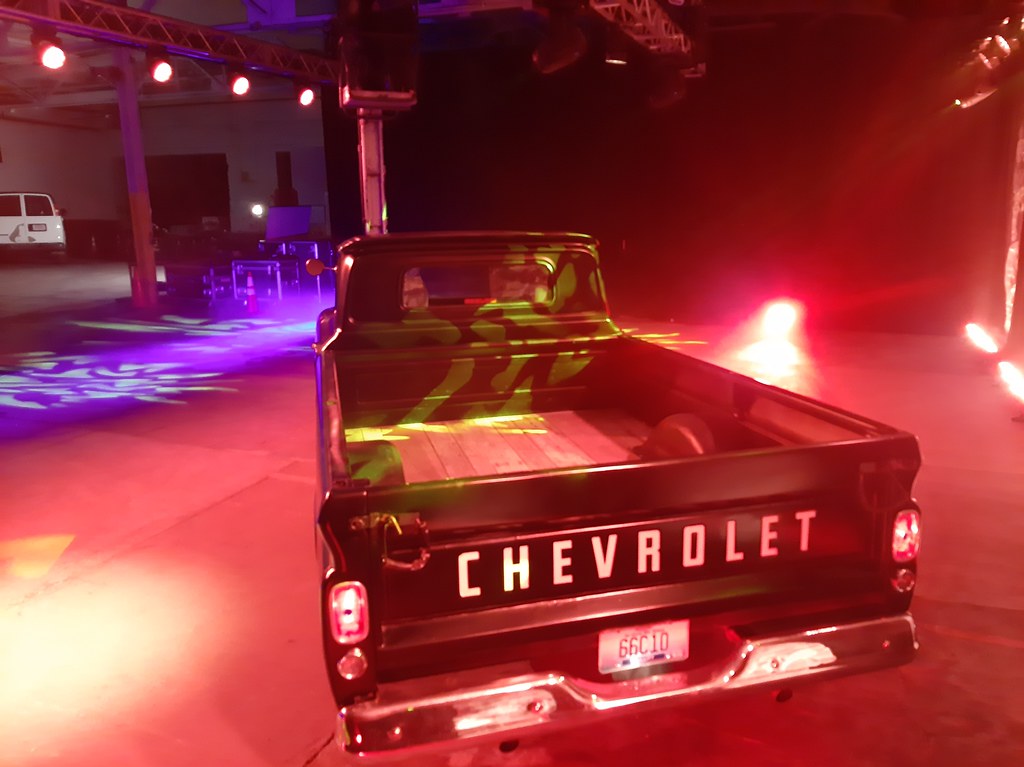
Tailgate lettering finally installed.

ODB2 port location

Marshall gauges

A little bling to finish off the look.

A little bling to finish off the look.

A little bling to finish off the look.

Custom vinyl lettering

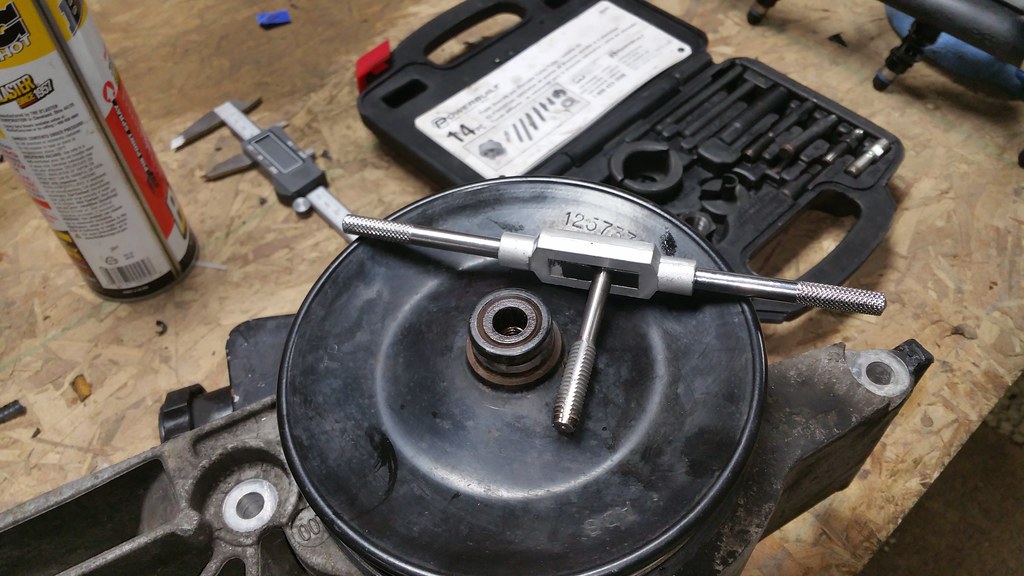
A little setback. Bad Heli-coil install. It backed out and stripped threads.

Can't get the swivel water neck to seal, so I made a gasket.

A little bling to top it off.

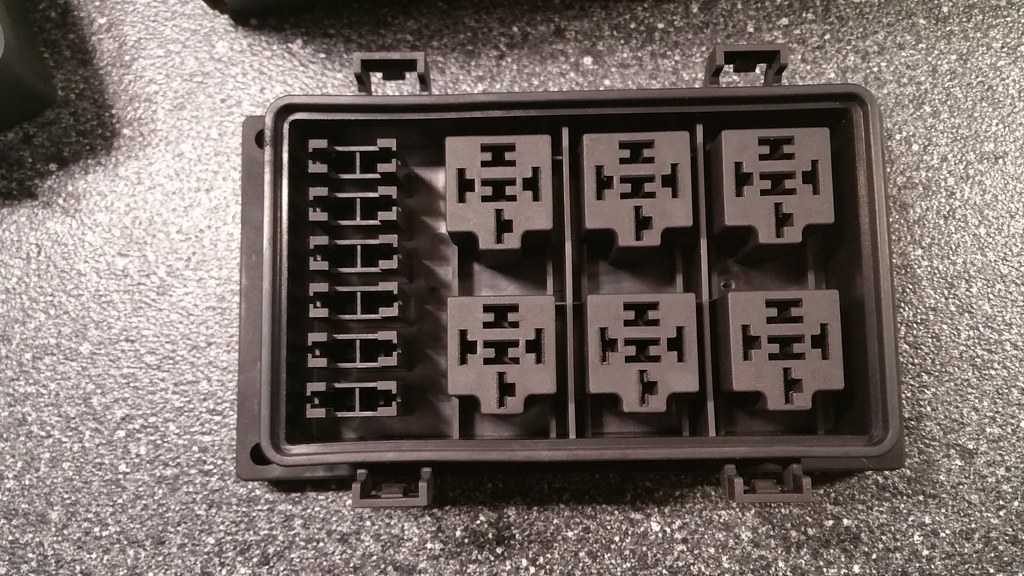
TAC, Fuse/relay block, PCM mounted in driver inner fender

MAF installed

Tight fit.

Ready for a test drive.

Tight fit with air filter, but hopefully this will work. Otherwise, I can angle it down for clearance.

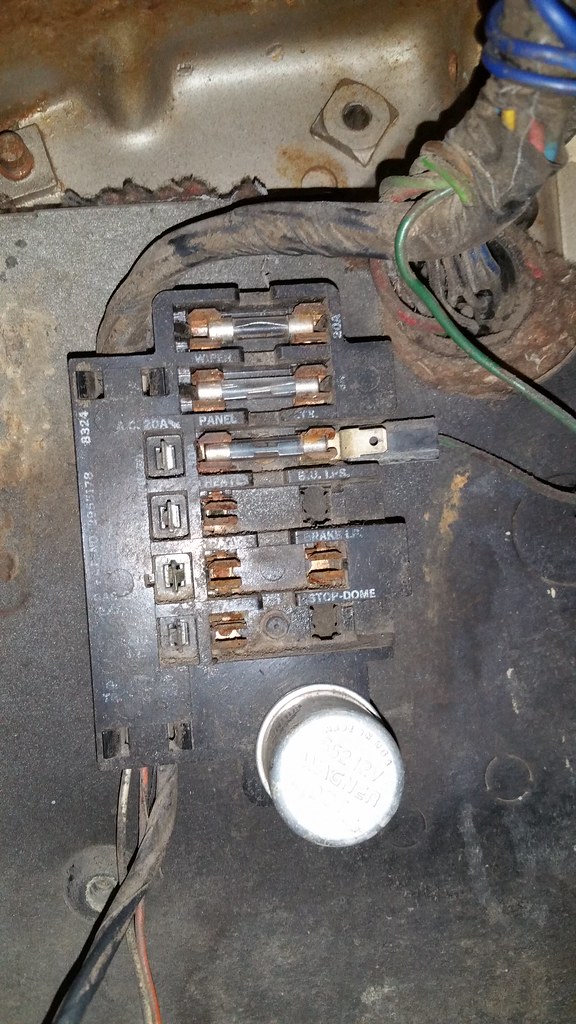
Bottom of Fuse/Relay block. Adding in final fan wiring

Had a replacement throttle body laying around. Clean and paint.

Start and run, but no throttle until I clear the P0120 code. Then it only worked until I shut off. Upon restart, code returns and no throttle. Somehow the throttle body went bad while sitting and waiting to be reinstalled.

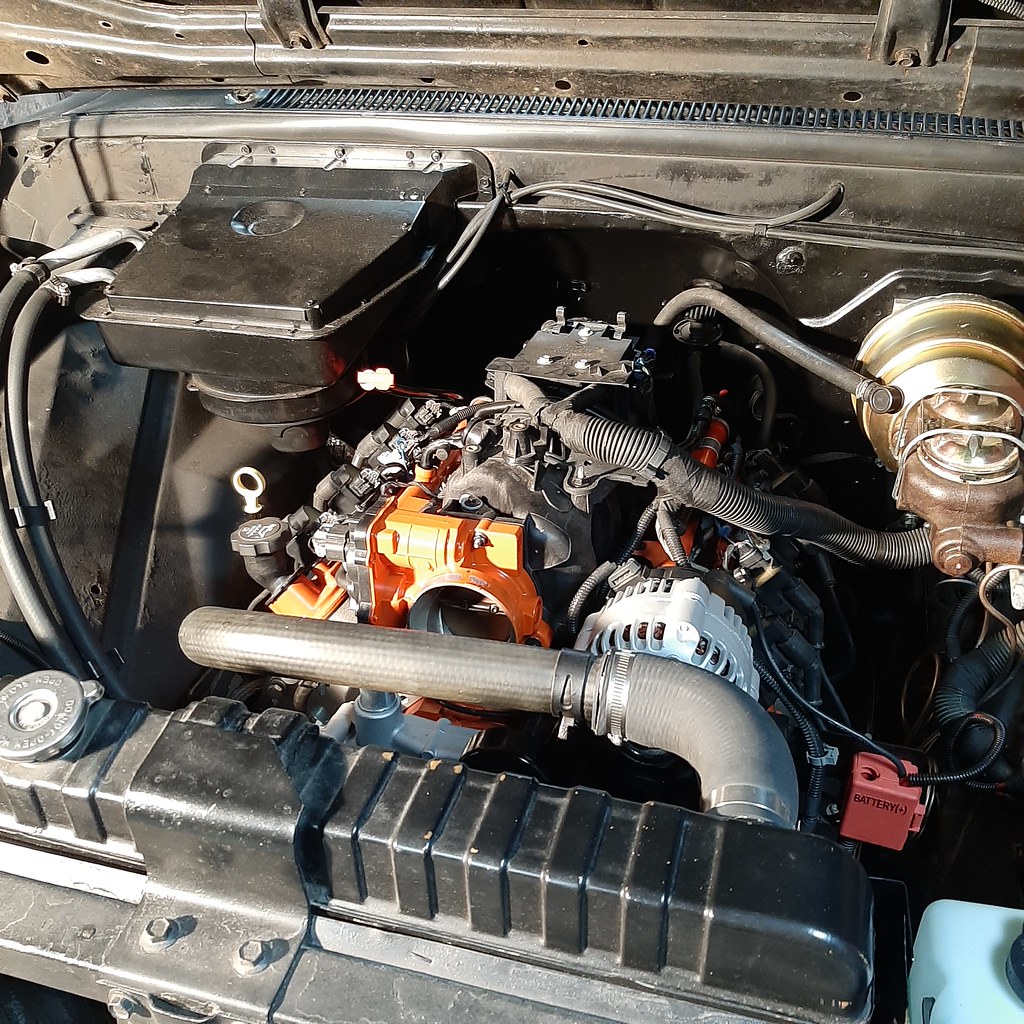
Engine cover done.

Ready for first start.

Installing reworked wiring harness.

Mocking up radiator hoses and air intake.

"Baking" cast iron exhaust to cure ceramic paint.

Summit Cast Iron (SUM-G9080) exhaust is here.

Marshall gauges installed

New cluster with OEM plug installed compared to original.

Gauge wiring connections complete.

Gauges and lights installed

Face plate ready for gauges

Wix 33737 Regulator/filter installed

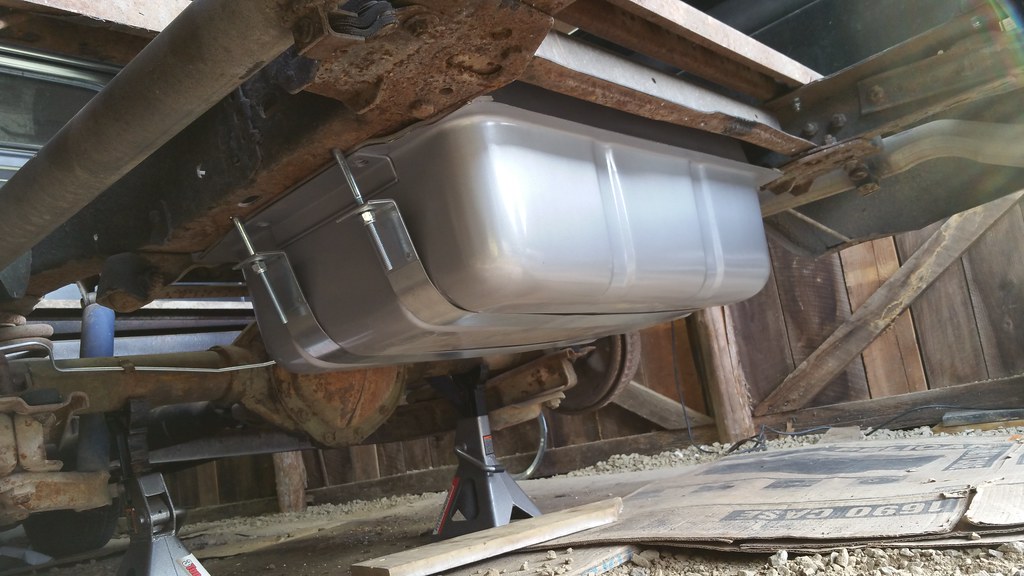
Fuel tank installed and plumbed

Face plate cut and painted

Test fit

Test fit

Test fit

Ready for final test fit before drilling for lights

Holes cut and tested

Ready to cut the holes for gauges

Cutting face plate from stock

I will use the OEM connectors to plug into the factory wiring for Fuel level, signals, brights, dash lights, etc.

Using CAD for the gauge layout

First test of template. A few changes needed.

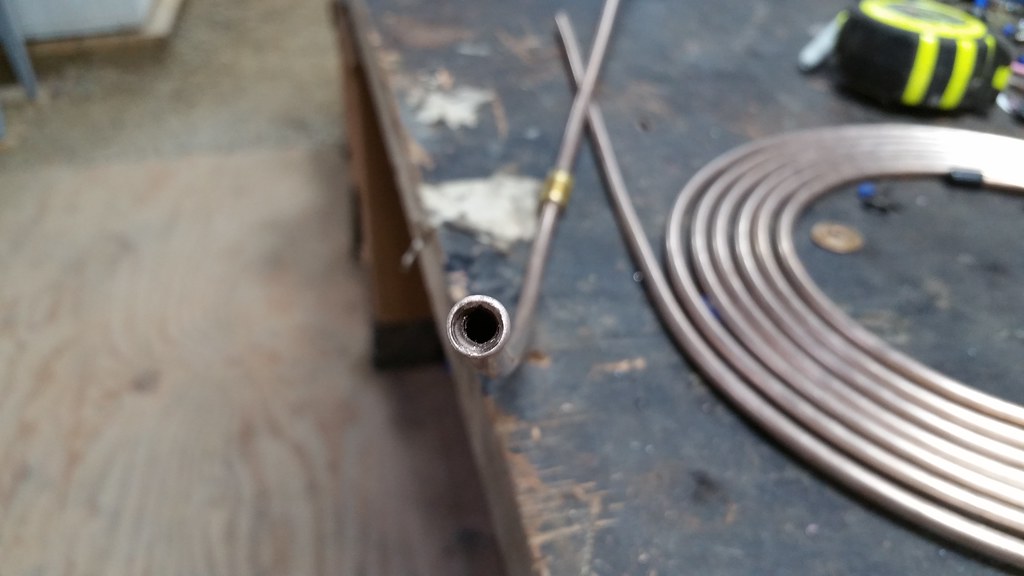
Fuel line kit arrived.

EFI fuel pump installed

Threading rod for shift linkage

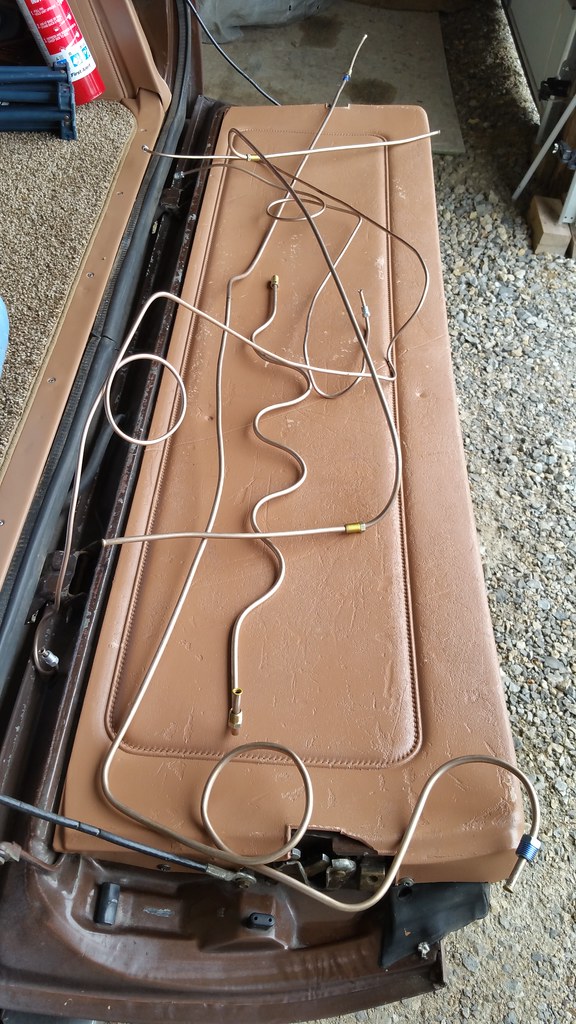
Final trim on trans cooler lines

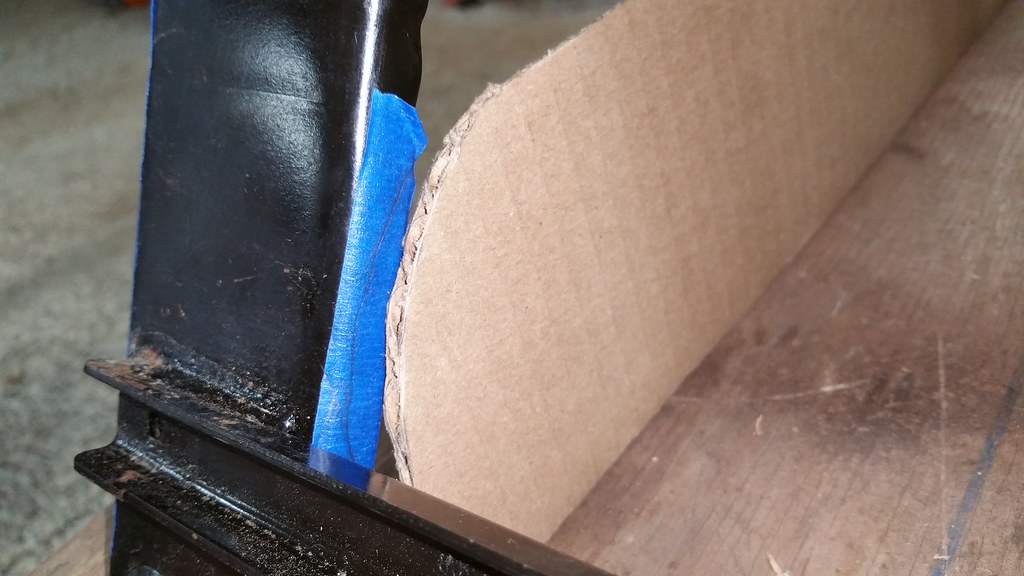
No hole saw for this size, but this drill operated nibbler will work great

Tanks Inc. PA-2 kit ready for install

Trans cooler lines installed