


These two projects depended upon each other for the install, so one post will cover both.
The Tank
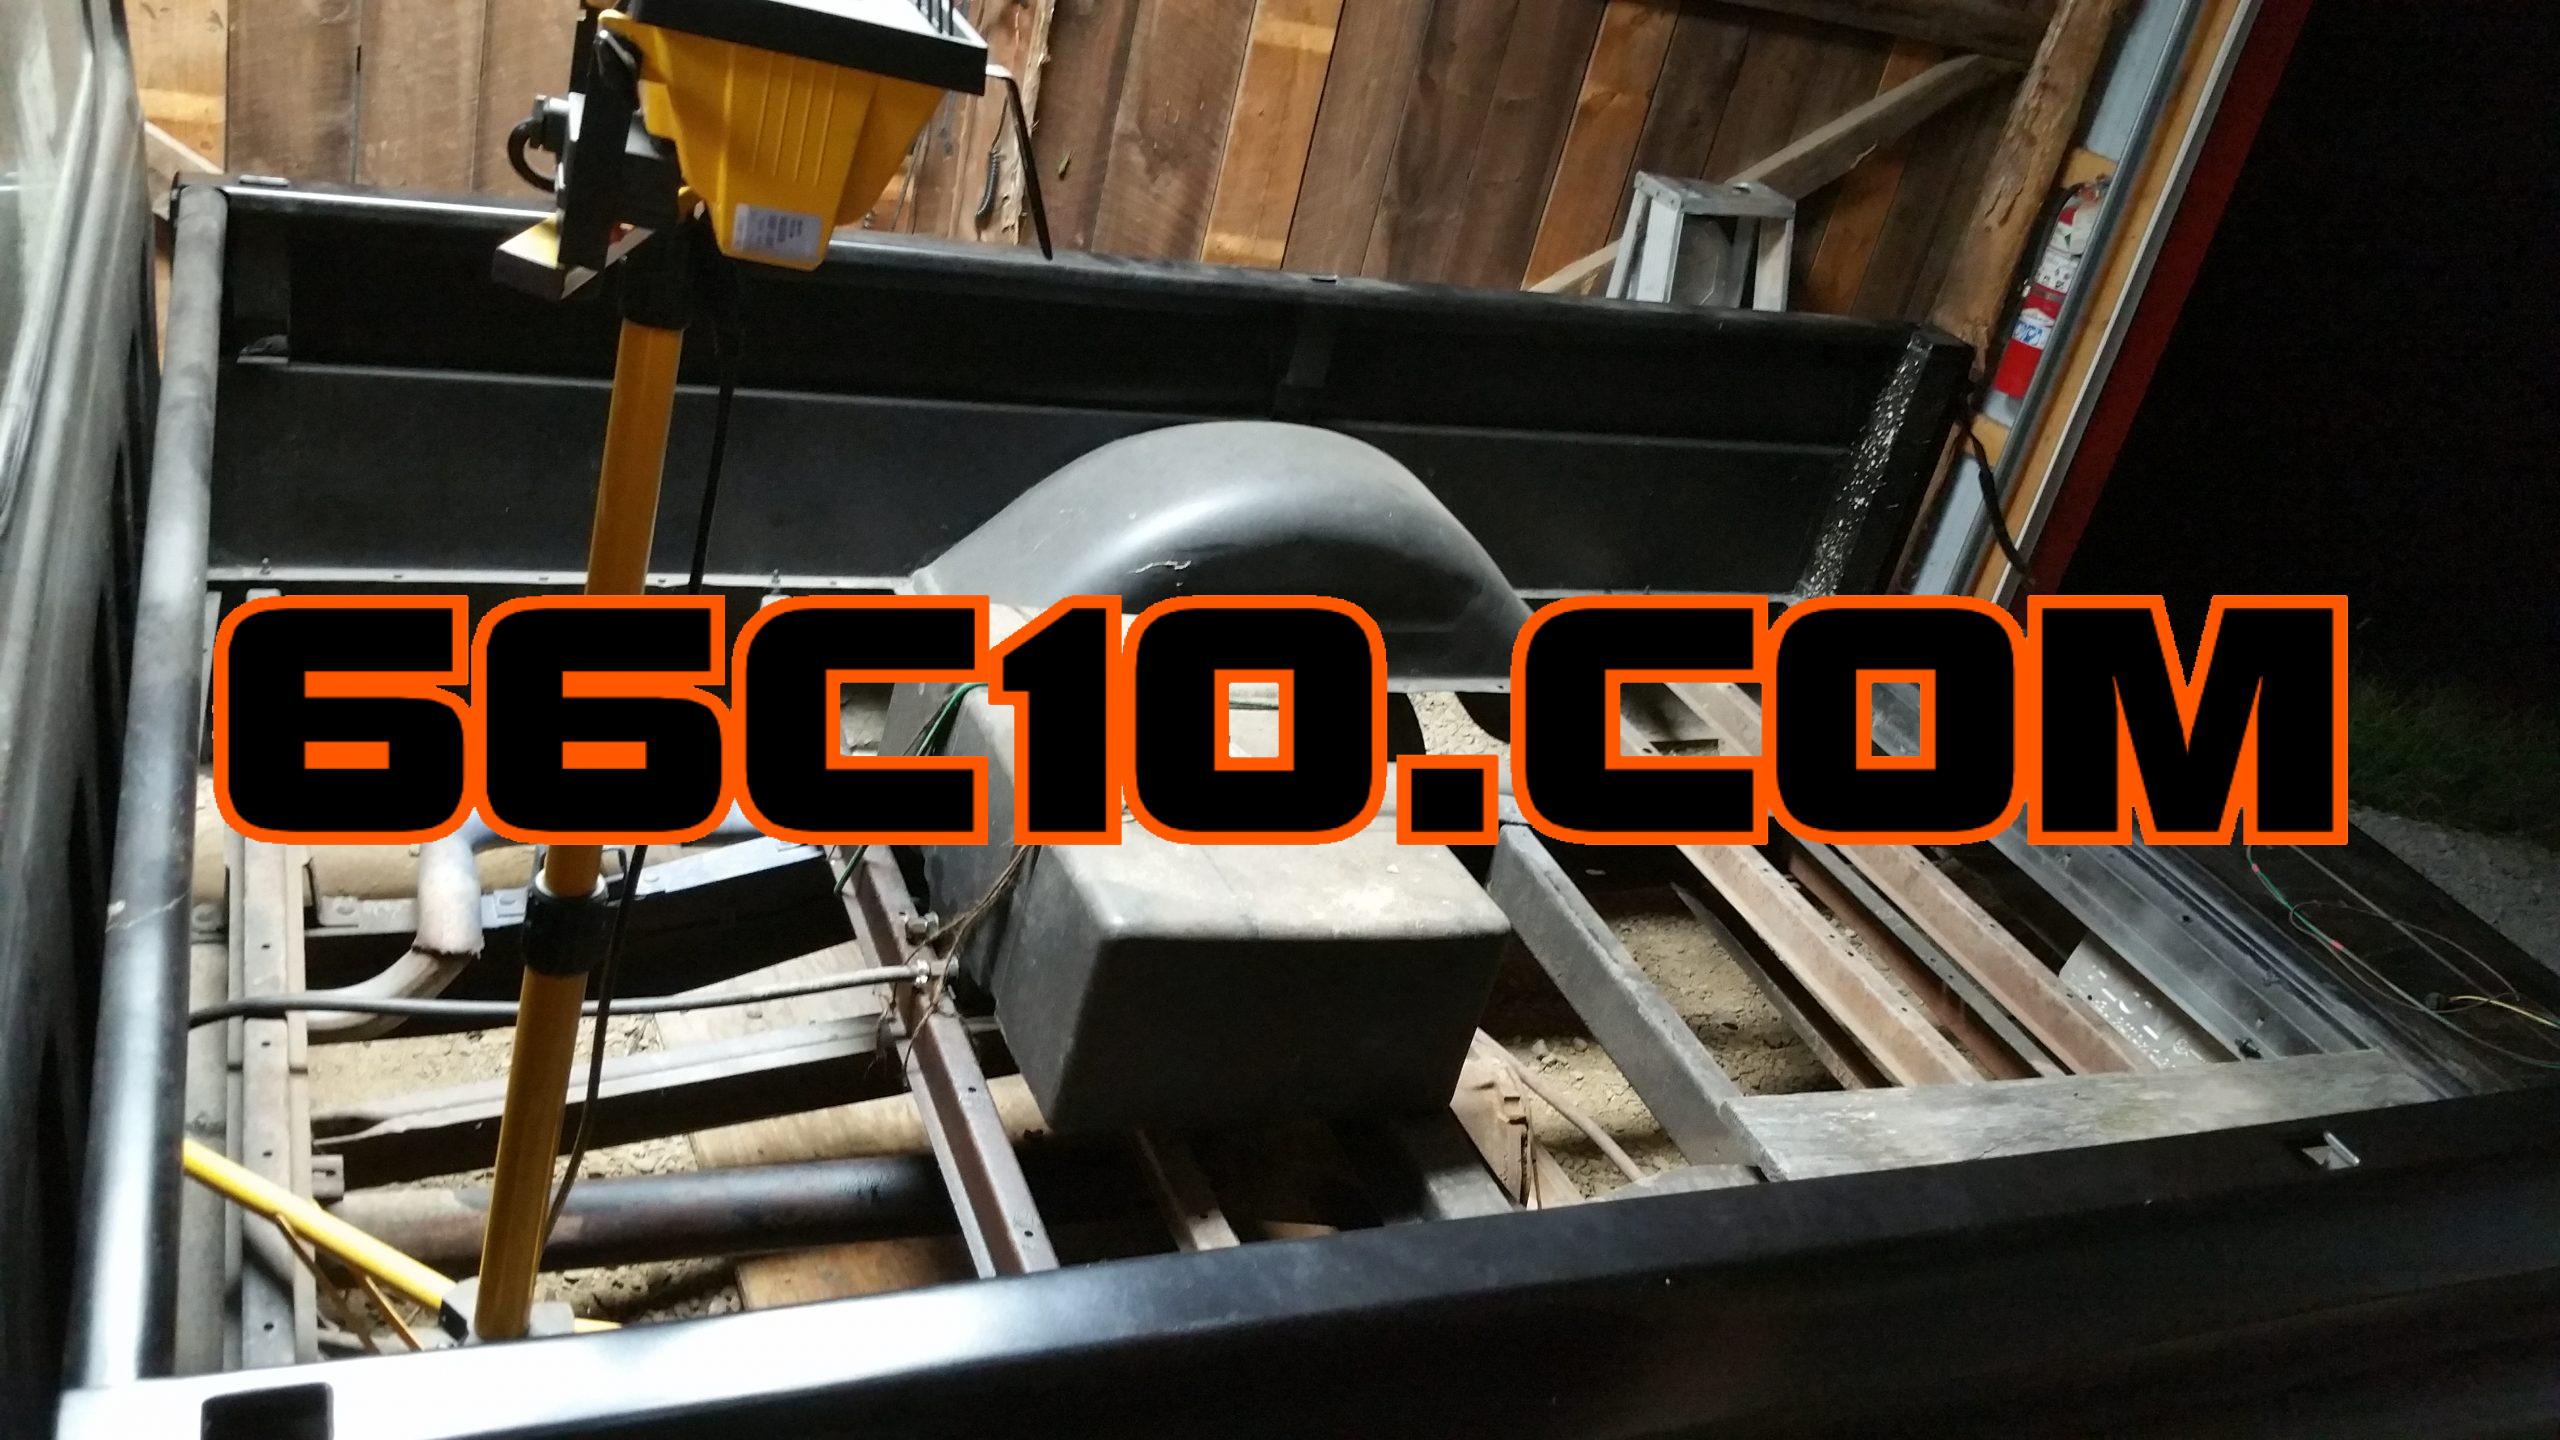
When I purchased this ’66, the gas tank had already been removed from the cab and replaced with a fuel cell in the bed. The fuel cap hole had already been patched and finished.
This fuel cell needed to be updated with proper AN fittings and gaskets and the sender needed work also. I opted to re-place the fuel cell under the bed between the frame, but the cost to update it to usable safe condition was only about $100 less than purchasing a new rear mount metal tank and sender. I figure I may as well do it correctly and spend the money on the new tank.
I priced the tank kit (tank, sender, mounting straps and hardware) at several online suppliers and finally settled on LMC for the purchase. All of the suppliers were nearly the same price at just a very few dollars difference in them all. I went with LMC because their shipping at approximately $73 was the least at the time and they had a couple other items I needed for the build.
LMC sells their sender separate from the tank and opted for the quick connect connection thinking that it may benefit me in the near future when I upgrade to EFI. Probably not, but the price was the same either way.

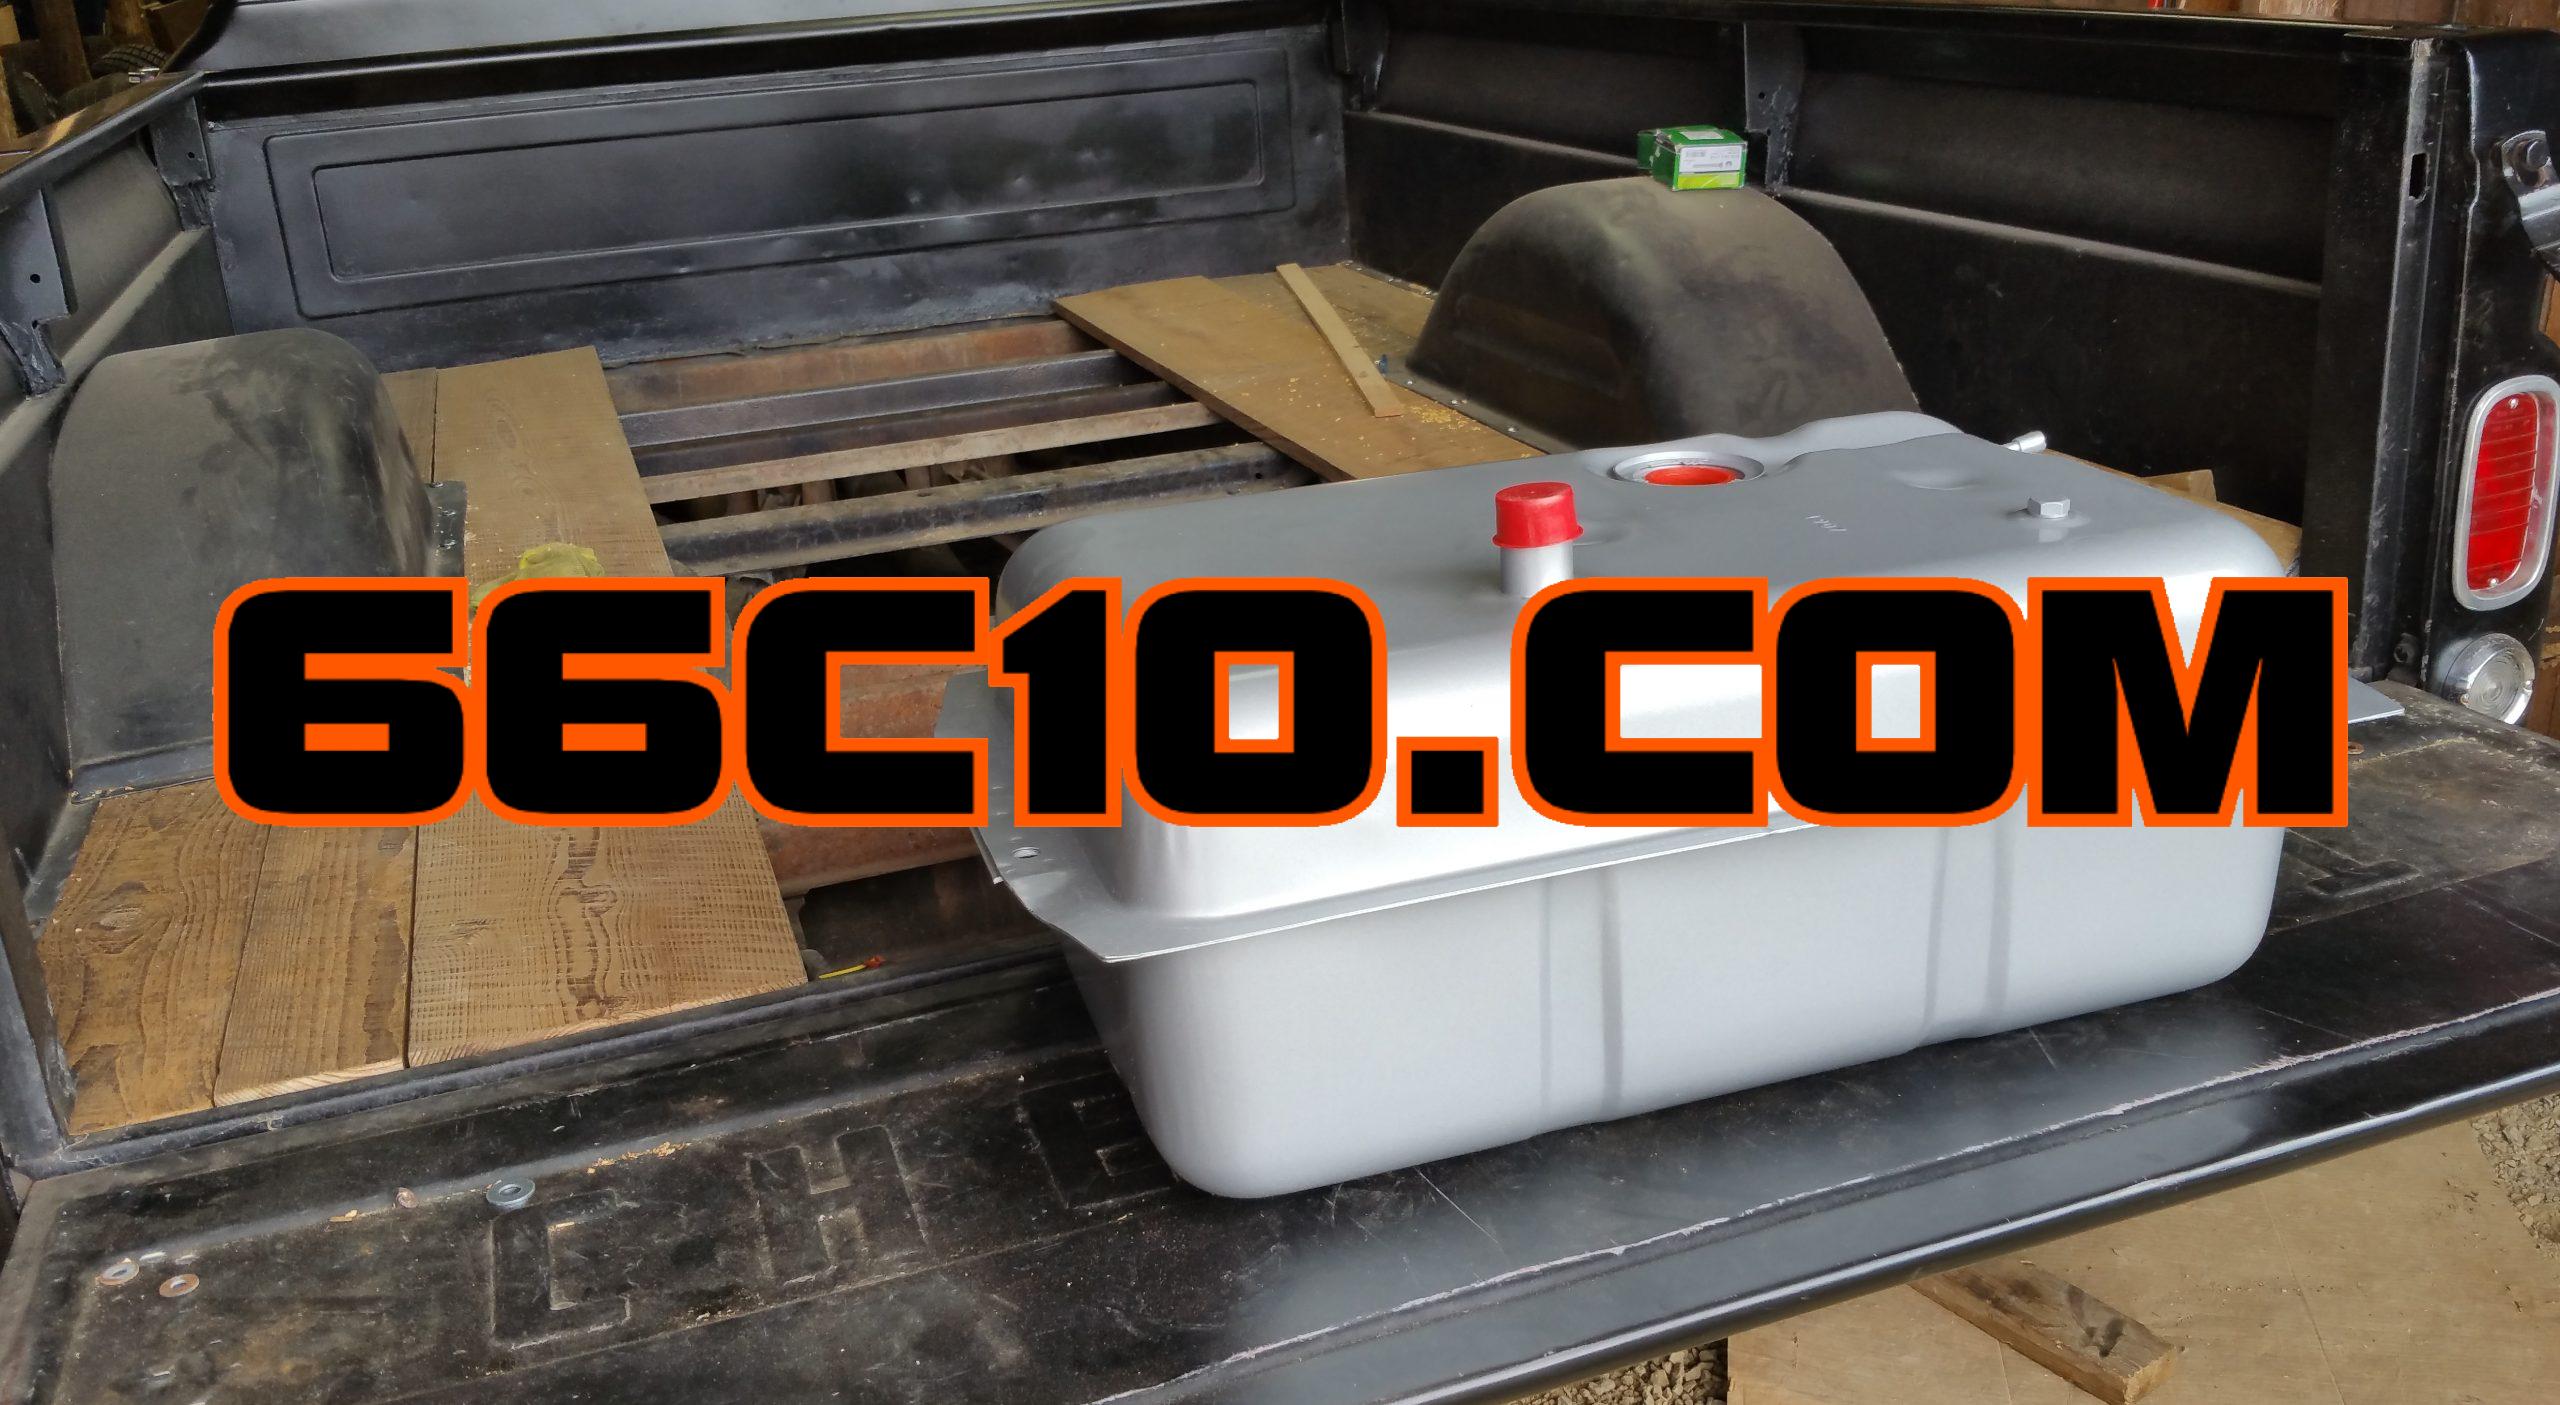
The tank is of high quality and from what I can tell the same tank manufacturer all the suppliers sell. However, I am not certain of this as there is very little information about these tanks. I chose the top fill tank over the side fill as I did not want to deal with the extra hassle of trying to locate the fuel filler for the side fill. I chose a fairly cheap, but good quality fuel cap from eBay. It’s a bit smaller than the more expensive ones (21 Gal vs 17 Gal) from LMC or Brothers or similar. and therefore less obtrusive I think.

For me the most difficult part about mounting the tank between the frame rails was deciding it’s exact location. It only basically fits in on place, but I moved it back and forth several times before deciding the “perfect” spot. I drilled a couple holes in one side of the frame for bolts and one in the other side, using an existing hole for one of the J-bolts. Bend the straps and add some cheap EPDM weatherstripping to keep any squeaking to a minimum and it’s done.
Since I’m running a mechanical fuel pump and carb at this point, I just ran new 3/8″ fuel line to the front and zip-tied in in place along the frame. I added a breather to a short hose off the tank vent.

The Bed
The bed floor was non-existent other than most of the cross sills for support. With a new replacement bed kit being nearly $1000 and lots of finishing work, I looked towards others options, finally settling on using my old barn wood for the material. I had this wood from my barn sitting in a pile outside for about two years. It’s sad how much it rotted in the time it sat there. It was on the barn for 40 years and was in good condition, as barn wood goes, and in just two years most of it was rotted from neglect. I had no use for it during this time and almost gave it away once. I honestly barely found enough to use for my bed floor replacement.
After sorting it all out, I found the pieces I needed and laid them out to what I thought best. I moved them around a few times to find the best fit knowing approximately where the fuel tank filler neck would be.

Keeping in mind that this wood, these few planks, was ALL the barn wood I had left for this, or any project, I carefully cut the planks to specified lengths and trimmed any lengthwise to get just the right fit. I had some beautiful pieces just the right lengths for the four corners and trimmed them up as needed. Since the original wood bed was made of 3/4″ planks and my boards ranged from 3/4″-1″, I had a few fitment issues in the corners where the wood and the metal met. A little careful carving and hammering got the fit just about “perfect”.

I was a little anxious to start drilling holes for the 5/16″ carriage bolts, but this was the necessary next step. I mounted all the corners and pre-drilled holes for the rest of the floor. I did this first before a final install to make sure everything was ready and fitting well. At this point, I still needed to treat the raw lumber with something to make sure it lasted well beyond usual outdoor projects. I researched several products to find what was best for me. I wanted the protection of Spar Urethane or Linseed Oil but didn’t want to change the color of the natural wood. I also wanted something that would be fairly simple to re-apply in the future as most any outdoor wood project would require.

After much research, I concluded that “Rain Guard Wood Sealer” was what I needed. Its similar to other water based wood sealers (Thompson’s or Olympic, etc.), except this penetrates and chemically bonds to the internal wood fibers to create an internal water block of sorts.
I removed all pieces and laid them out to spray. After this was done and they were allowed to dry thoroughly, it was time to re-place them in the bed.

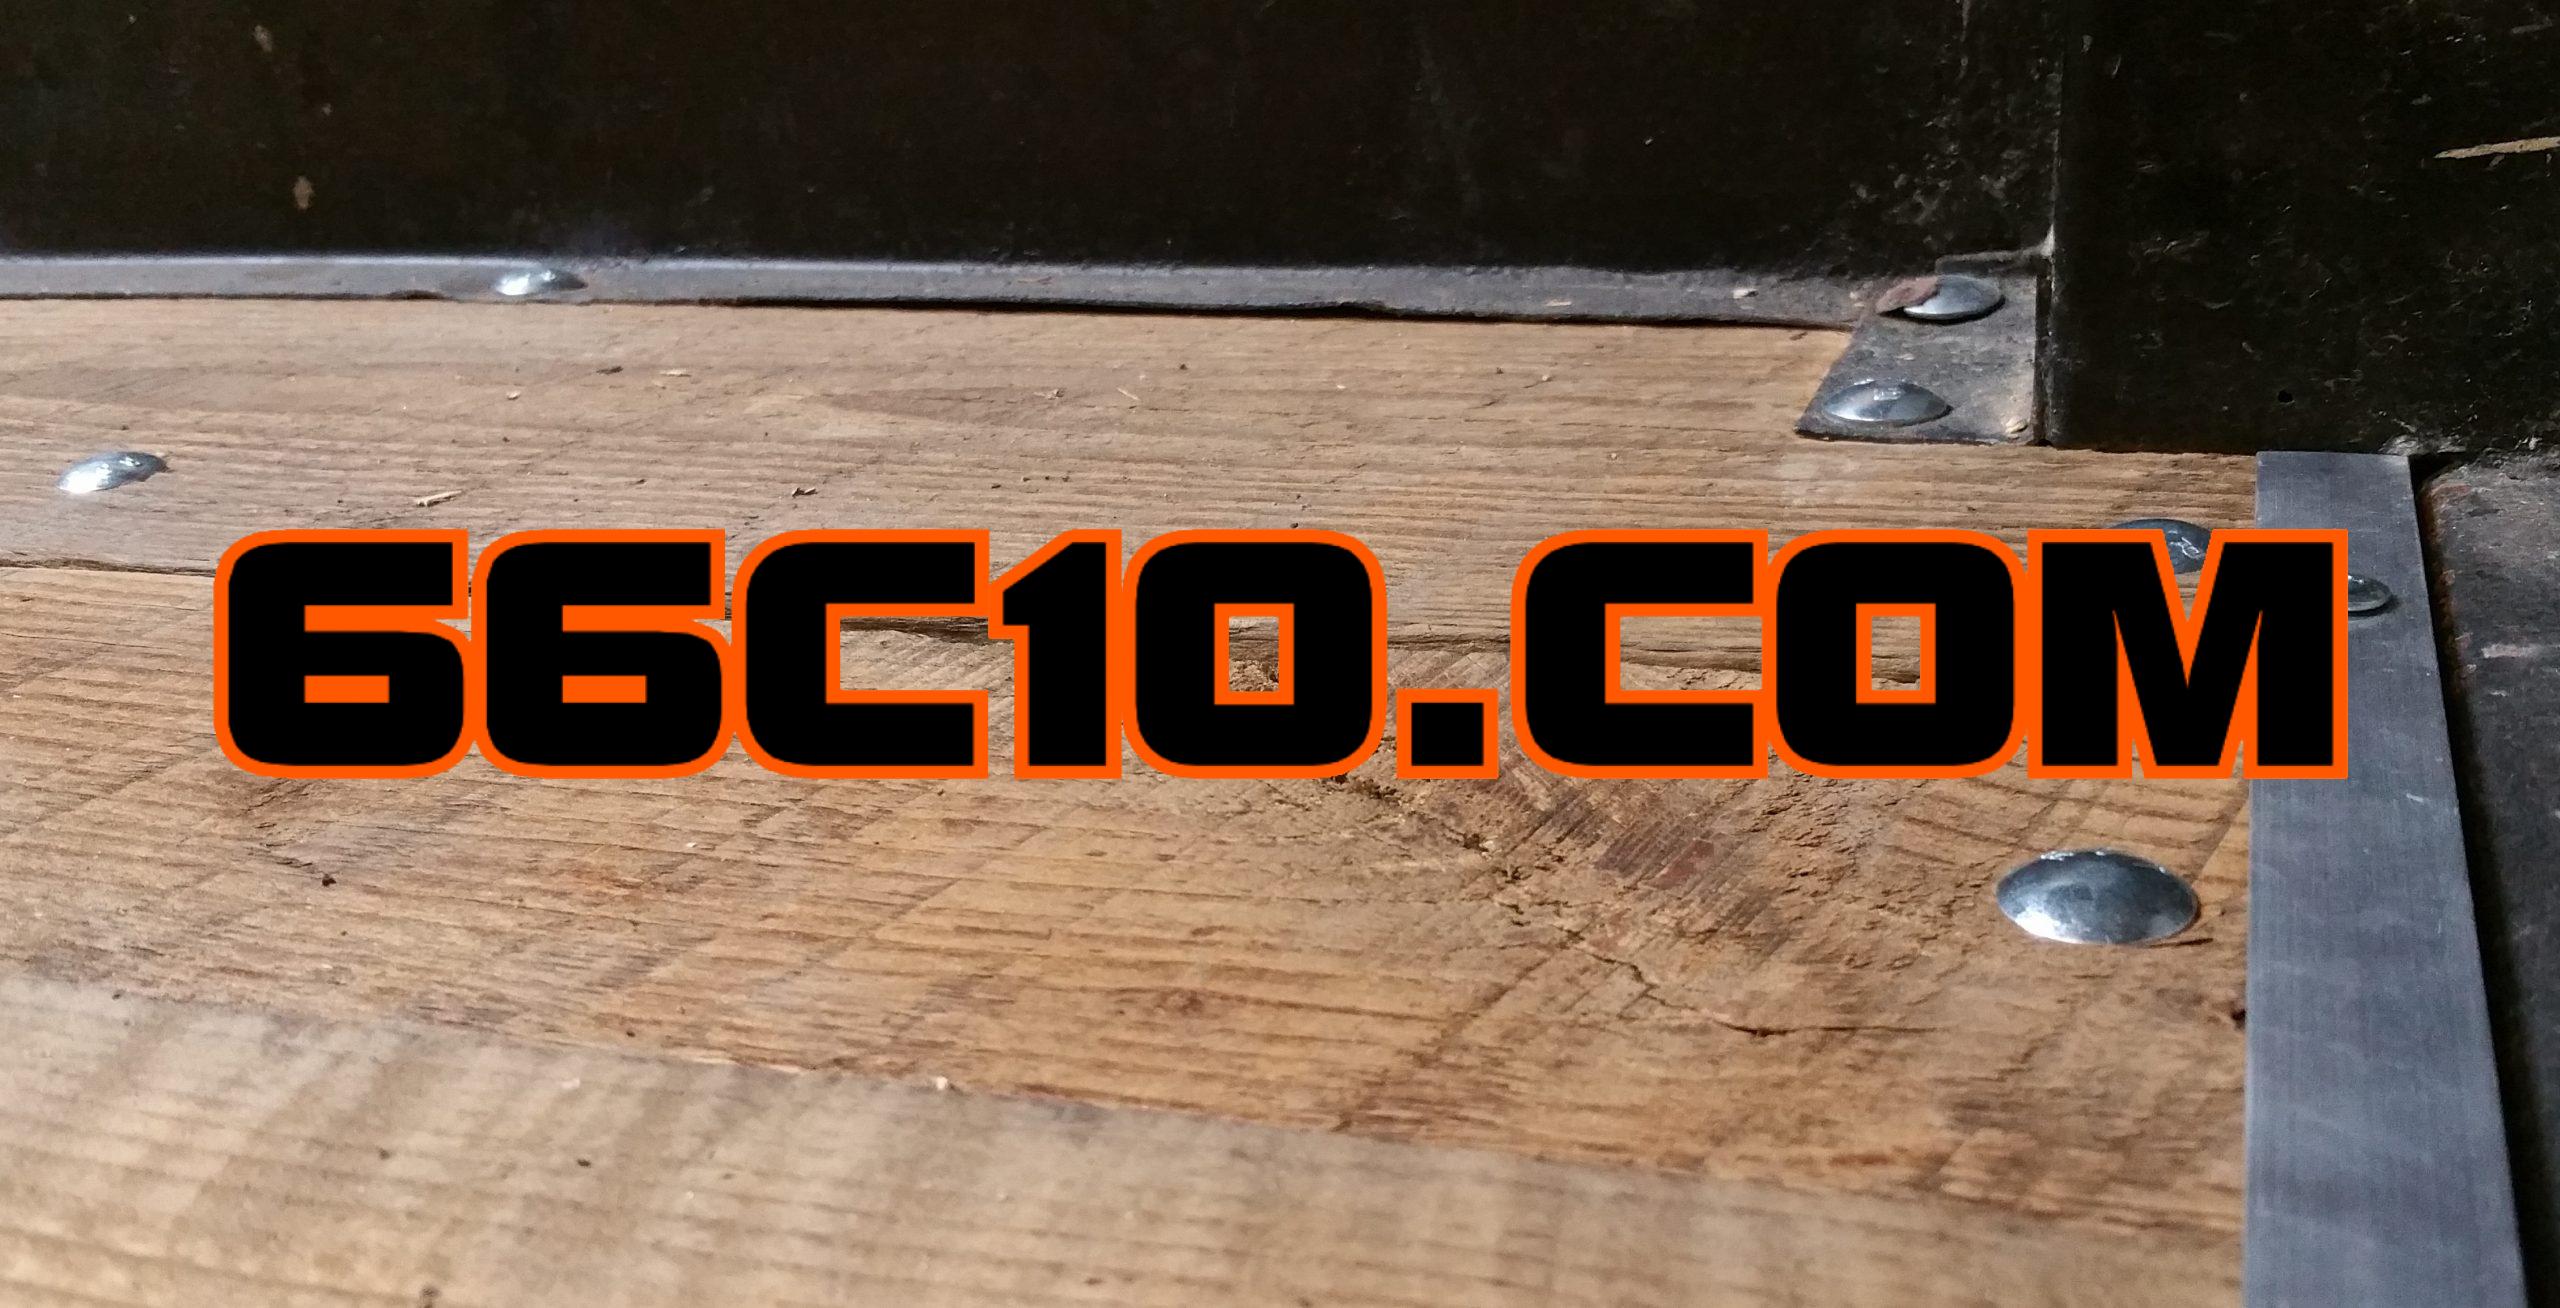
Some bolts were challenging to get to because they were obviously not in the factory locations, but all were reached with some effort. Each end, front and rear, were “capped” with a 3/4″ aluminum angle. This helped hide some very slight differences in board lengths while aiding in keeping anything from catching on the wood corners themselves and causing any damage.

The final board was ready to be cut for the fuel filler cap. This was very nerve wracking as this was the last available piece and there were no replacements available should I screw this up. I made a couple templates and measured and cut them making final adjustments to the hole before I drilled into the wood. I used a filler cap from Ebay. It’s slightly smaller than most other more expensive caps I found, but just as good quality and I like the way it fit. It was a bit tight on the 1-1/2″ filler neck hose, but that created no problems.
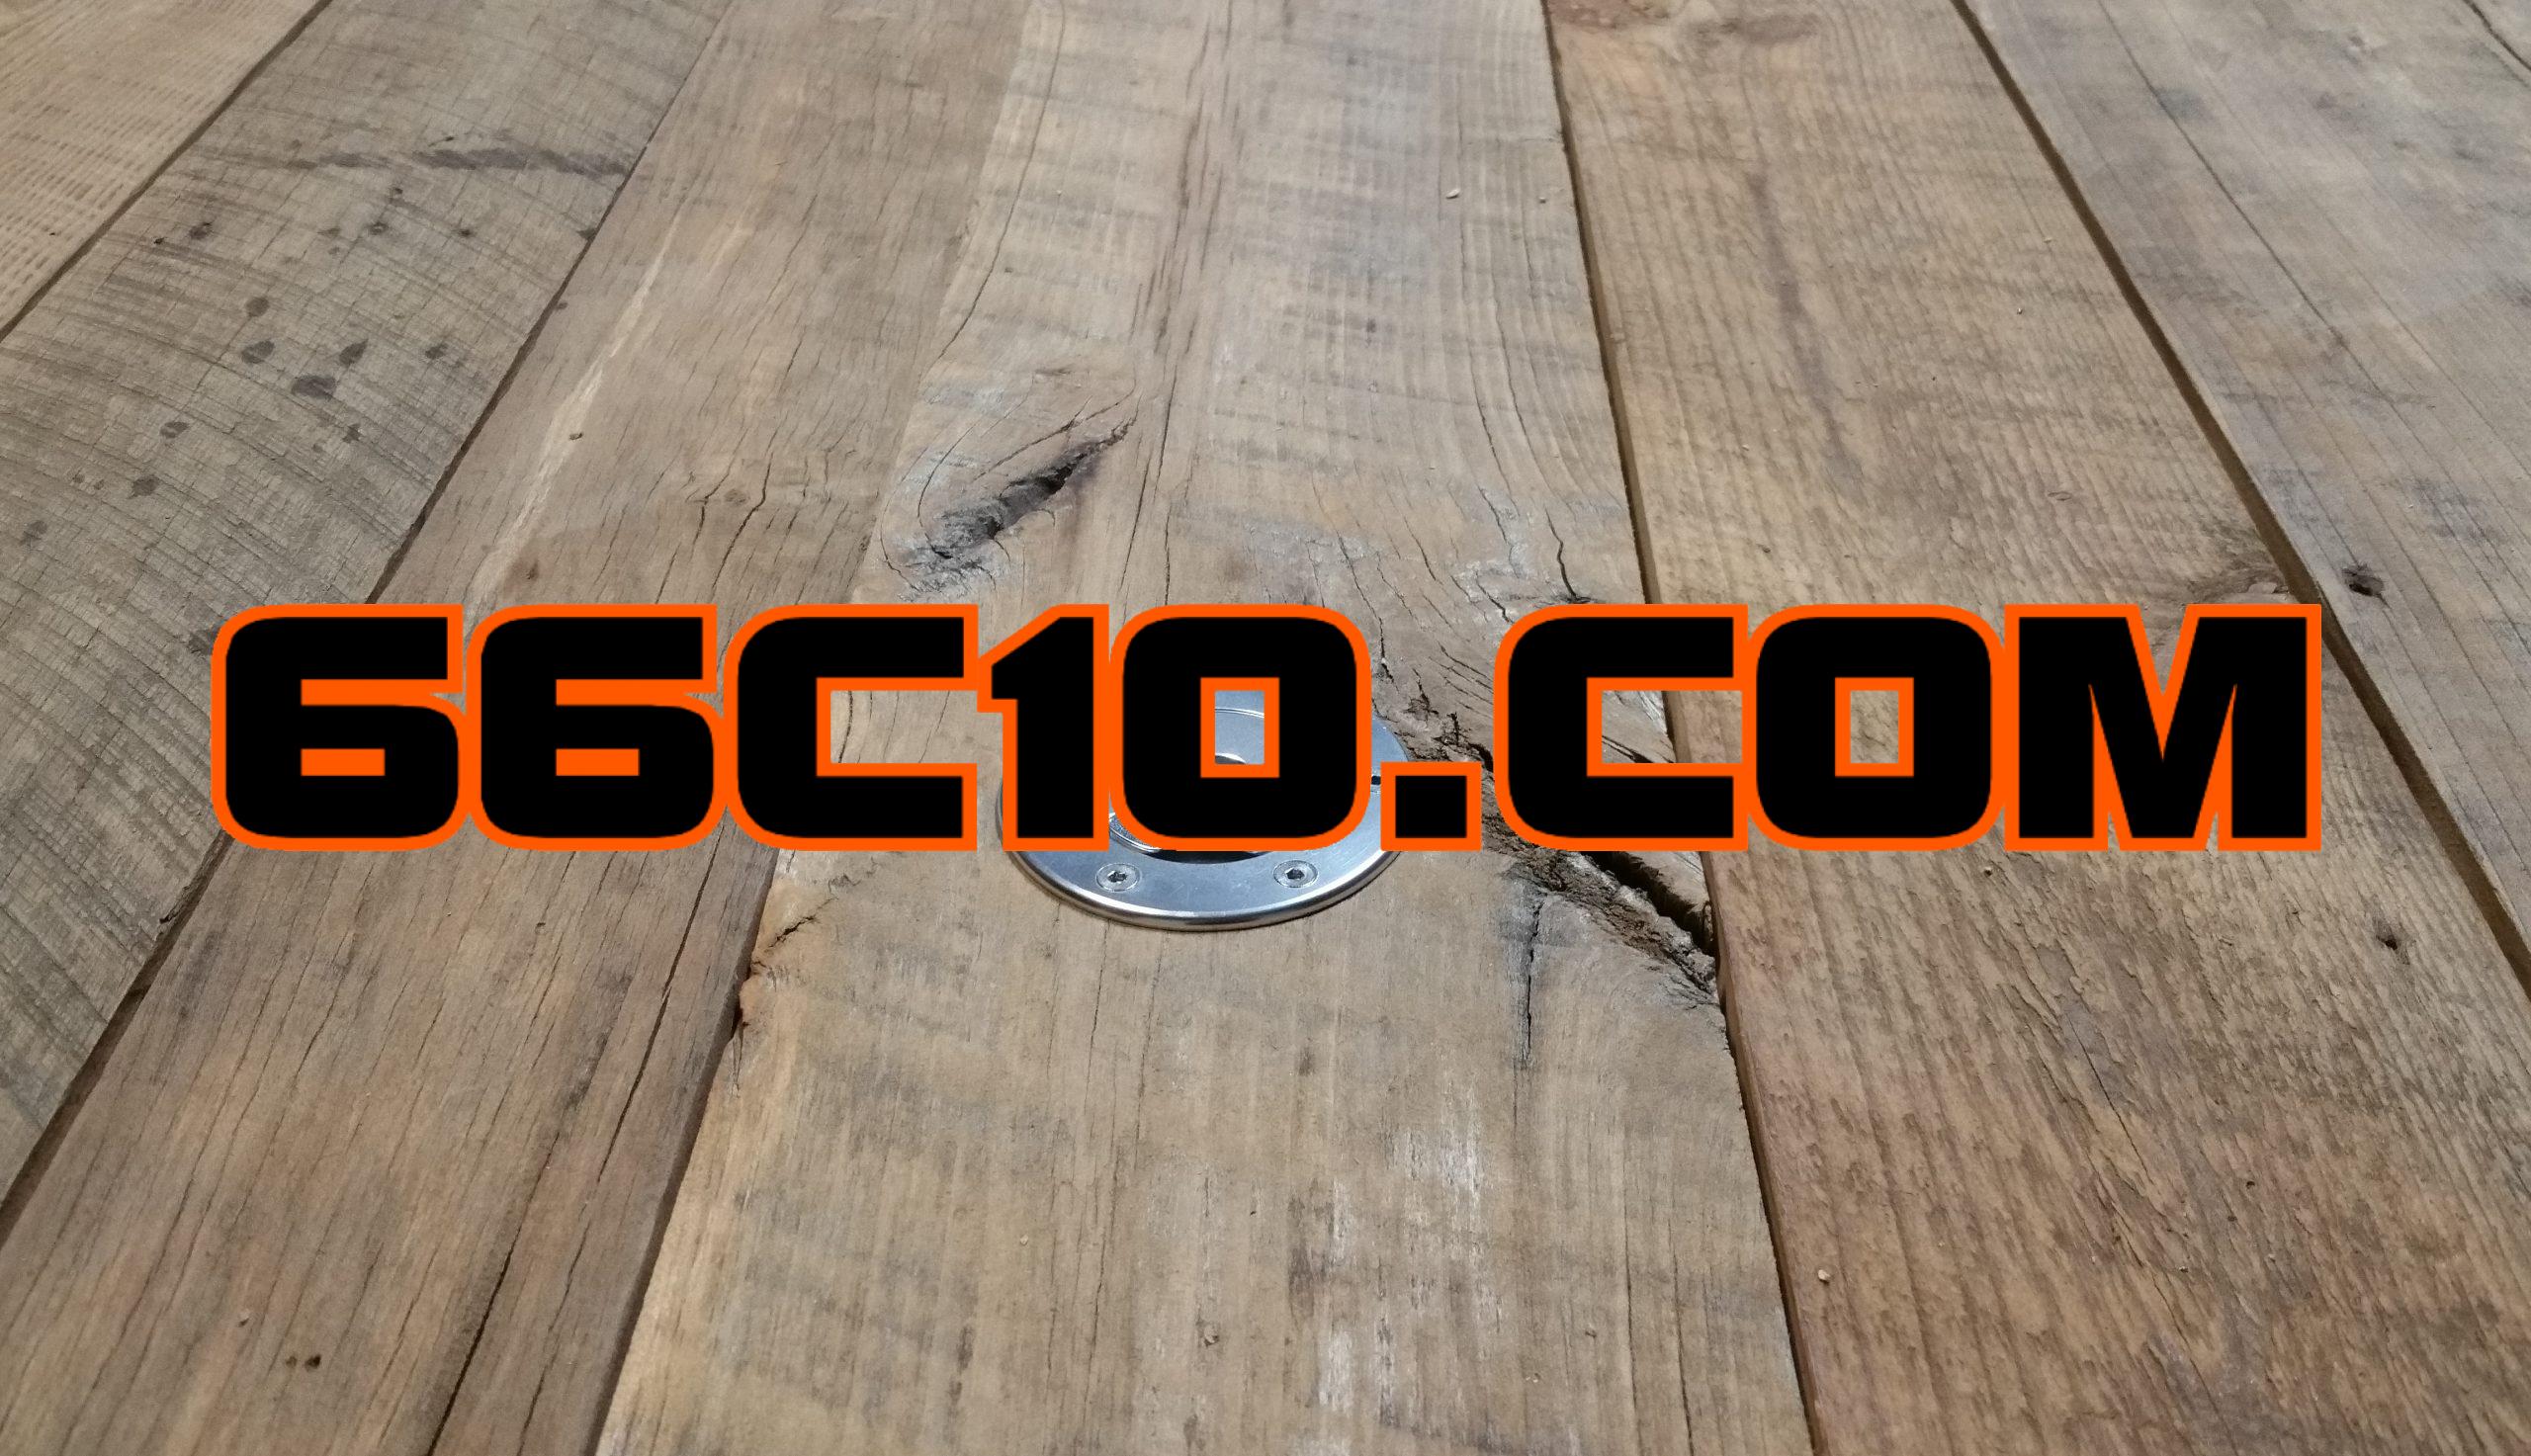

Looks nice and neat and economical toooo